Introduction
Removing the derailleur is simple and requires just two tools. Follow this guide to learn how to add or replace the derailleur on your bike.
What you need
-
-
The chain connects the crank arm to the gear cluster on the back wheel.
 Ask FixBot
-
-
-
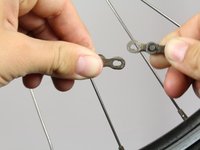
On the chain, locate the master link. It is a lighter gray than the other links of the chain. This is how you can break the chain for easier removal.
-
-
-
To separate the Master Link, hold the left side of the link in your left hand and the link to the right in your right hand. Push the two links together to enable the release. Pull the links apart, one hand moving towards yourself and the other away from you. This will separate the links of the chain.
-
-
-
Once you have separated the links of the chain, pull down on the right side of the chain as shown. Pull until the chain has been fully removed from the gears. Place the chain on a paper towel or cloth to prevent getting grease anywhere.
-
-
-
-
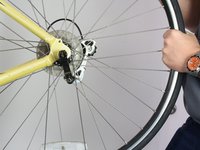
Hold the bicycle so that the bicycle wheels rests in the air and able to stand on its own.
-
-
-
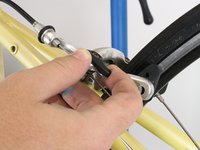
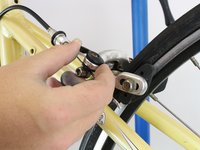
Open the sidepull brakes by fully rotating the title lever on the brake upwards.
-
-
-
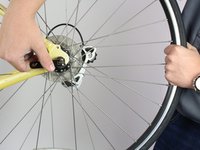
To loosen the wheel, simply pull out the lever, away from the frame and loosen up.
-
-
-
Loosen the hex nut, as shown, on the side of the derailleur. This bolt plays a key role in securing the derailleur cable which we will need to cut in step two.
-
-
-
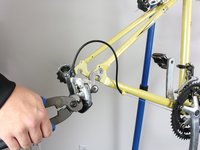
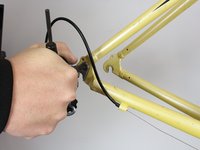
Using a pair of wire cutters, locate the end of the derailleur cable. Cut the wire just below the cap, cutting off the metal end piece.
-
-
-
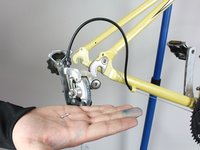
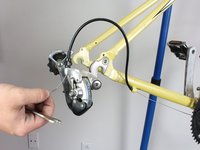
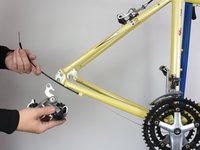
Using a hex key wrench, unscrew the bolt that fastens the derailleur to the bike frame. The derailleur should come off easily because it is no longer fastened to the bike and the derailleur cable can easily slip out.
-










To reassemble your device, follow these instructions in reverse order.

