Free Shipping on Domestic Orders $75+

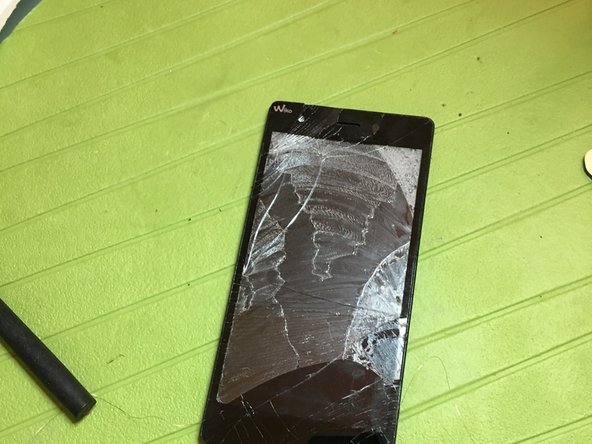
Wiko pulp 4g Touch screen Replacement

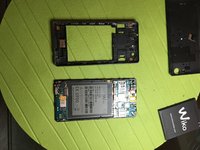
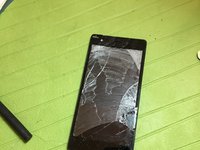
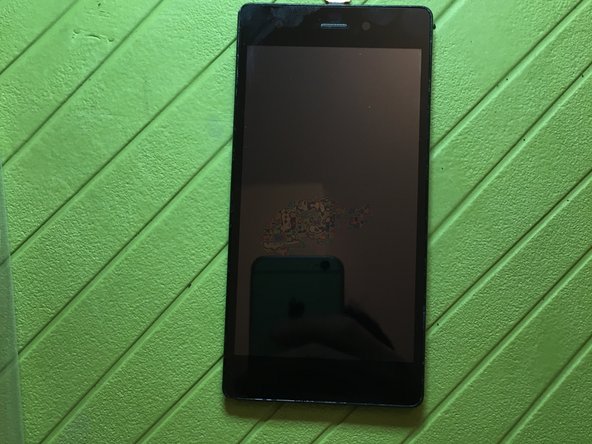
    1. Wiko pulp 4g Touch screen Replacement, Touch screen: step 1, image 1 of 2 Wiko pulp 4g Touch screen Replacement, Touch screen: step 1, image 2 of 2
      • Remove back cover

      • Remove battery

      Ask FixBot
      Add Comment

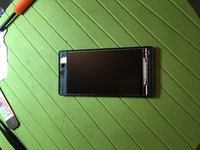
    2. Wiko pulp 4g Touch screen Replacement: step 2, image 1 of 1
      • remove the screws marked, attention is covered by a white sticker

      Ask FixBot
      Add Comment

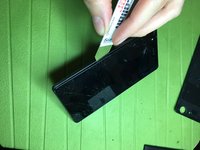
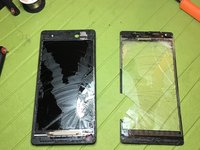
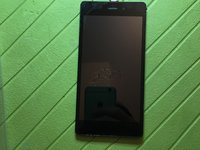
    3. Wiko pulp 4g Touch screen Replacement: step 3, image 1 of 2 Wiko pulp 4g Touch screen Replacement: step 3, image 2 of 2
      • using a thin tool separate the middle frame from the body display

      Ask FixBot
      Add Comment

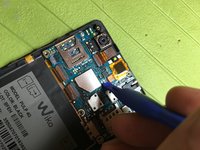
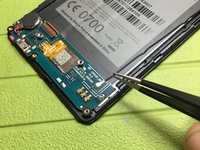
    4. Wiko pulp 4g Touch screen Replacement: step 4, image 1 of 2 Wiko pulp 4g Touch screen Replacement: step 4, image 2 of 2
      • unhook touchscreen connector

      Ask FixBot

      Add Comment

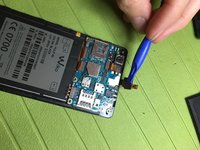
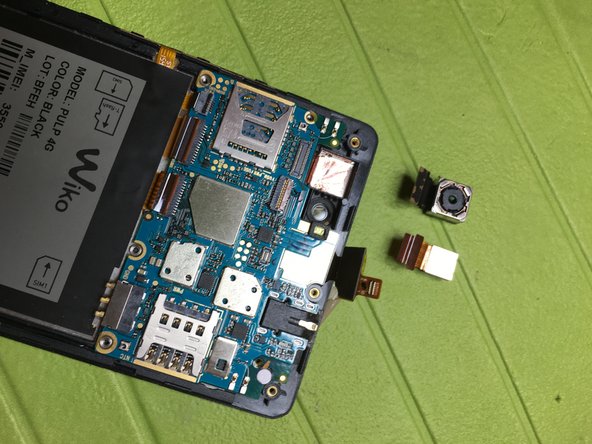
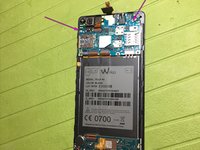
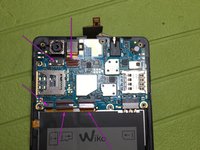
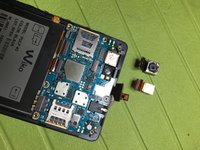
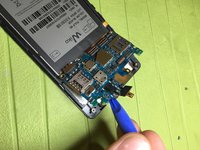
    5. Wiko pulp 4g Touch screen Replacement: step 5, image 1 of 3 Wiko pulp 4g Touch screen Replacement: step 5, image 2 of 3 Wiko pulp 4g Touch screen Replacement: step 5, image 3 of 3
      • Remove 2 screws securing the motherboard

      • Unfasten the connectors

      • remove front and rear cameras

      Ask FixBot

      Add Comment

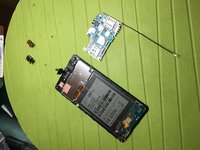
    6. Wiko pulp 4g Touch screen Replacement: step 6, image 1 of 3 Wiko pulp 4g Touch screen Replacement: step 6, image 2 of 3 Wiko pulp 4g Touch screen Replacement: step 6, image 3 of 3
      • Unhook cable connection between top and bottom card

      • remove top motherboard

      Ask FixBot

      Add Comment

    7. Wiko pulp 4g Touch screen Replacement: step 7, image 1 of 3 Wiko pulp 4g Touch screen Replacement: step 7, image 2 of 3 Wiko pulp 4g Touch screen Replacement: step 7, image 3 of 3
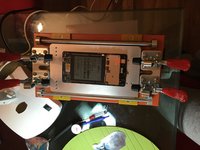
      • Heat the phone with a 80-degree plate or with an appropriate dryer

      • With the help of tools or special thin wire begin to separate from the touch glass display

      • Utmost care not to break the display, be sure to insert between the touch screen display instruments and not between glass and touch screen ..

      • There are no flat key is therefore the only attention to the display

      Ask FixBot

      Add Comment

    8. Wiko pulp 4g Touch screen Replacement: step 8, image 1 of 2 Wiko pulp 4g Touch screen Replacement: step 8, image 2 of 2
      • Clean the display from the sticky residue

      • applying adhesive on the edges and the new touchscreen glass

      Ask FixBot

      Add Comment

Conclusion

To assemble the device, follow these instructions in reverse order.

Cancel: I did not complete this guide.

8 other people completed this guide.

Special thanks to these translators:

it en

100%

These translators are helping us fix the world! Want to contribute?
Start translating ›

Smilzo

Member since: 11/09/13

12,359 Reputation

39 Guides authored

4 Guide Comments

I replaced a screen on a Acer Wiko Lenny 2 - was very simular to this one. I followed all these steps and it is working BUT the display does not respond as it should. Almost all touches on the outside border of the screen (for example, digit 1 on the left, digit 0 on the right) don't respond quickly, or don't respond at all. What could be wrong? If wonder if I didn't clean the digitizer properly enough...

Jan Oelbrandt - Reply Share

sorry for the delay.

I had some problem with the touch screen too much more intrusive than yours.

I have secured the edges well with scotch because it does not contact me.

But these Chinese touchscreens do not have good quality so I prefer to buy a screen mounted with touchscreen, so I save a lot of time and work is better and working

Smilzo - Reply Share

Ciao, come fai a rimuovere i residui di colla dal display, una volta tolto il vetro?

Roberto Oboe - Reply Share

Scaldando e con una spatolina ed anche con il puliscicontatti spray

Smilzo - Reply Share

Add Comment

View Statistics:

Past 24 Hours: 1

Past 7 Days: 7

Past 30 Days: 49

All Time: 8,182