Free Shipping on Domestic Orders $75+

Whirlpool Refrigerator Freezer Door Replacement

What you need

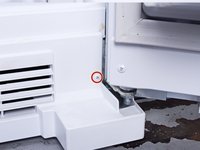
    1. Whirlpool Refrigerator Freezer Door Replacement, Safety precautions: step 1, image 1 of 1
      • Before you begin your repair, perform the following:

      • Turn off your main water supply

      • Unplug your device

      Ask FixBot
      Add Comment

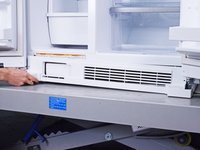
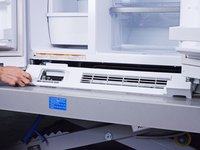
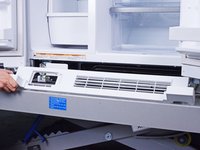
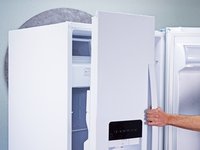
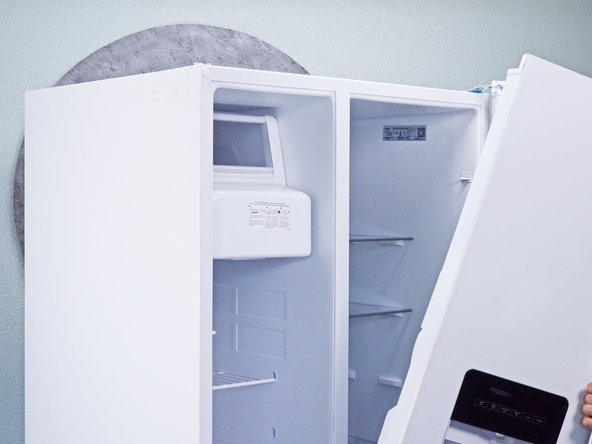
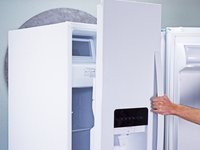
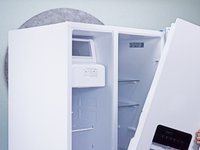
    1. Whirlpool Refrigerator Freezer Door Replacement, Open the doors: step 2, image 1 of 3 Whirlpool Refrigerator Freezer Door Replacement, Open the doors: step 2, image 2 of 3 Whirlpool Refrigerator Freezer Door Replacement, Open the doors: step 2, image 3 of 3
      • Depending on your repair, open one or both doors.

      Ask FixBot
      Add Comment

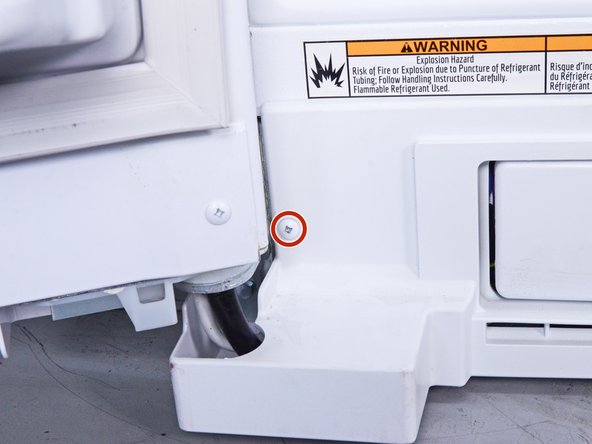
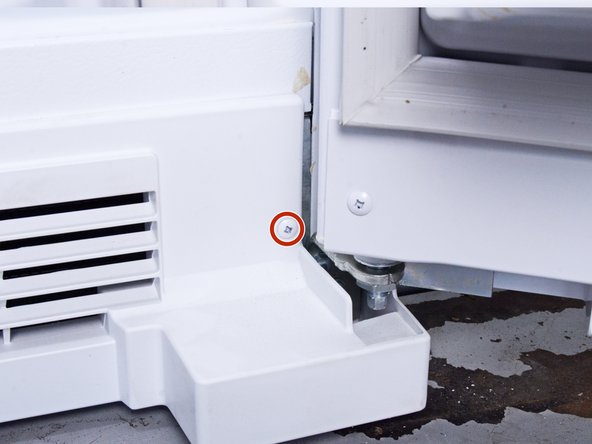
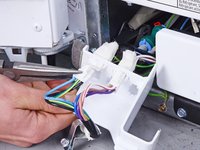
    1. Whirlpool Refrigerator Freezer Door Replacement, Unfasten the front panel: step 3, image 1 of 3 Whirlpool Refrigerator Freezer Door Replacement, Unfasten the front panel: step 3, image 2 of 3 Whirlpool Refrigerator Freezer Door Replacement, Unfasten the front panel: step 3, image 3 of 3
      • Remove the screw(s) securing the front panel.

      Ask FixBot
      Add Comment

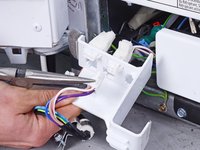
    2. Whirlpool Refrigerator Freezer Door Replacement, Remove the front panel: step 4, image 1 of 3 Whirlpool Refrigerator Freezer Door Replacement, Remove the front panel: step 4, image 2 of 3 Whirlpool Refrigerator Freezer Door Replacement, Remove the front panel: step 4, image 3 of 3
      • Pull the front panel straight off the chassis and remove it.

      • You may have to slightly open the water filter door to remove the front panel completely.

      Ask FixBot
      Add Comment

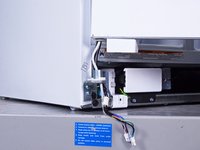
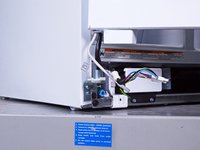
    1. Whirlpool Refrigerator Freezer Door Replacement, Unfasten the door connections: step 5, image 1 of 2 Whirlpool Refrigerator Freezer Door Replacement, Unfasten the door connections: step 5, image 2 of 2
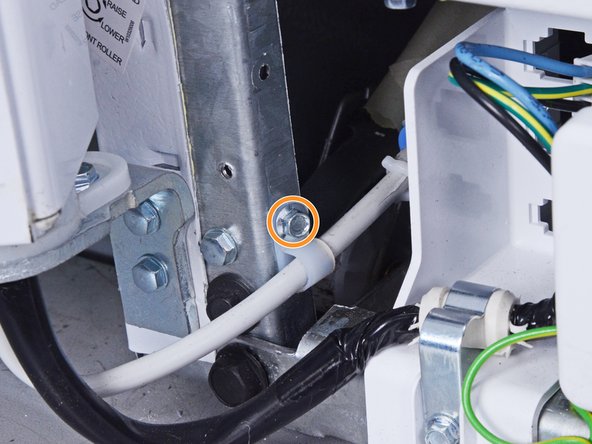
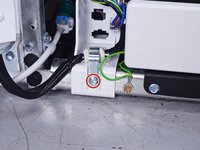
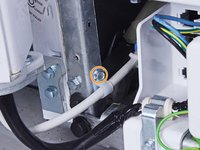
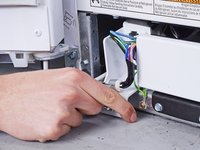
      • Remove the screw(s) securing the freezer door wiring harness.

      • Remove the screw(s) securing the freezer door water hose.

      Ask FixBot

      Add Comment

    2. Whirlpool Refrigerator Freezer Door Replacement, Reposition the wiring harness: step 6, image 1 of 2 Whirlpool Refrigerator Freezer Door Replacement, Reposition the wiring harness: step 6, image 2 of 2
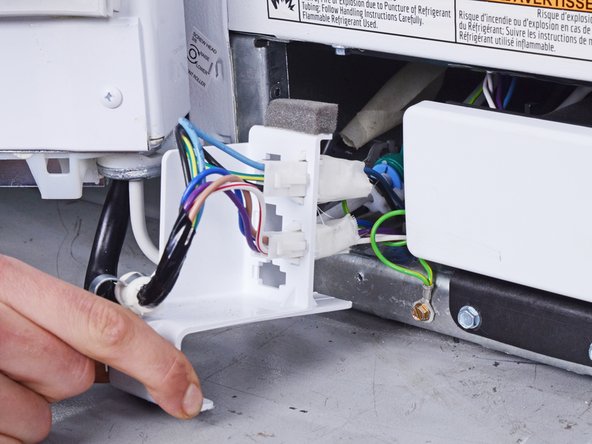
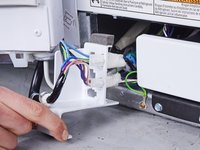
      • Pull the wiring harness out of its slot in the chassis to access its connectors.

      Ask FixBot

      Add Comment

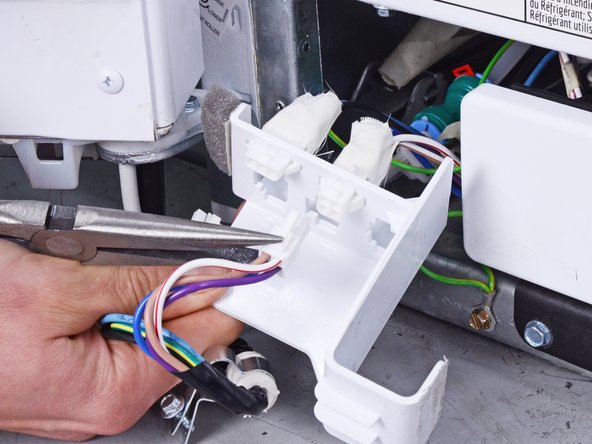
    3. Whirlpool Refrigerator Freezer Door Replacement, Disconnect the wiring harness: step 7, image 1 of 3 Whirlpool Refrigerator Freezer Door Replacement, Disconnect the wiring harness: step 7, image 2 of 3 Whirlpool Refrigerator Freezer Door Replacement, Disconnect the wiring harness: step 7, image 3 of 3
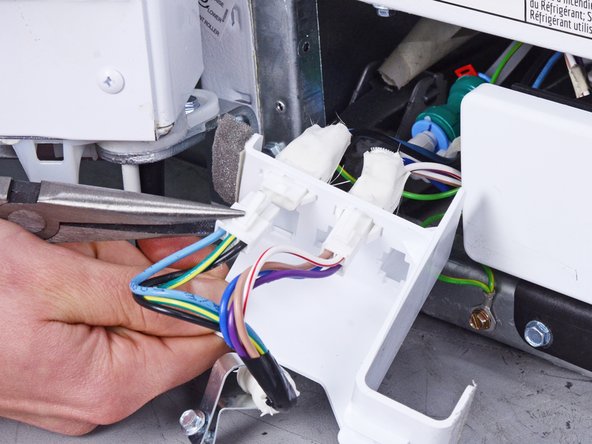
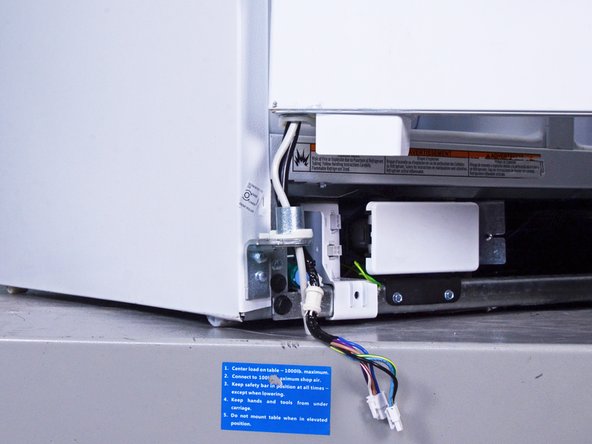
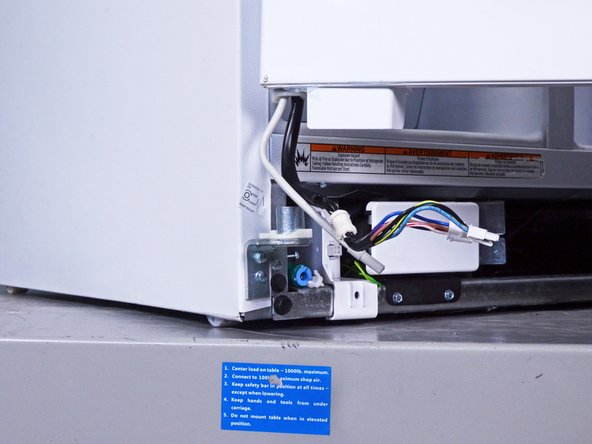
      • Disconnect any connectors attached to the door wiring harness.

      Ask FixBot

      Add Comment

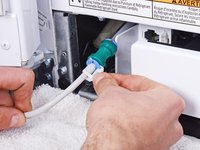
    4. Whirlpool Refrigerator Freezer Door Replacement: step 8, image 1 of 1
      • Place a clean cloth under the water hose before continuing.

      Ask FixBot
      Add Comment

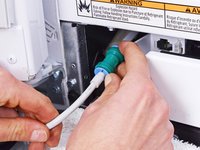
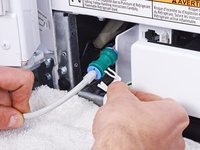
    5. Whirlpool Refrigerator Freezer Door Replacement: step 9, image 1 of 2 Whirlpool Refrigerator Freezer Door Replacement: step 9, image 2 of 2
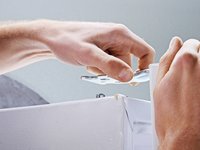
      • Pull the plastic clip off the freezer door water hose.

      Ask FixBot
      Add Comment

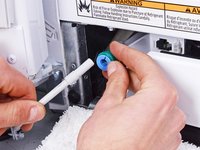
    6. Whirlpool Refrigerator Freezer Door Replacement, Disconnect the water hose: step 10, image 1 of 3 Whirlpool Refrigerator Freezer Door Replacement, Disconnect the water hose: step 10, image 2 of 3 Whirlpool Refrigerator Freezer Door Replacement, Disconnect the water hose: step 10, image 3 of 3
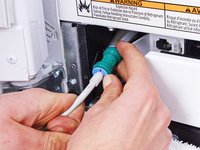
      • Use one hand to compress the blue plastic ring into the green section of the hose.

      • Use the other hand to pull the water tube out of its slot.

      Ask FixBot

      Add Comment

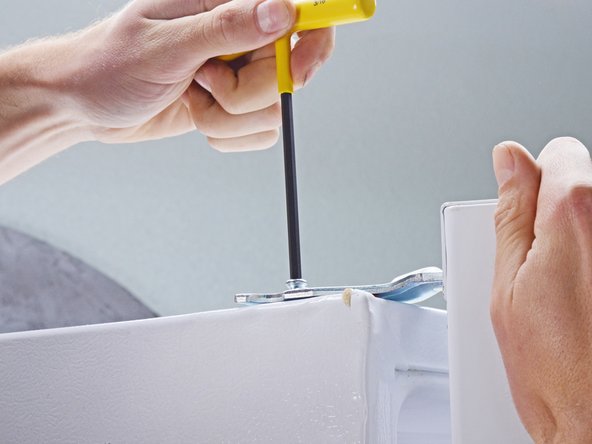
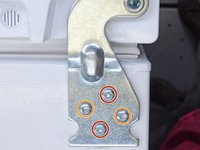
    7. Whirlpool Refrigerator Freezer Door Replacement, Unfasten the freezer door: step 11, image 1 of 2 Whirlpool Refrigerator Freezer Door Replacement, Unfasten the freezer door: step 11, image 2 of 2
      • Depending on your device, you may have a plastic cover on the hinge. Remove it before continuing.

      • Hold the door while performing the next two steps to avoid the door from accidentally falling.

      • Remove the screw(s) securing the freezer door.

      • Some devices may have screws solely for alignment. You don't need to remove these.

      Ask FixBot

      Add Comment

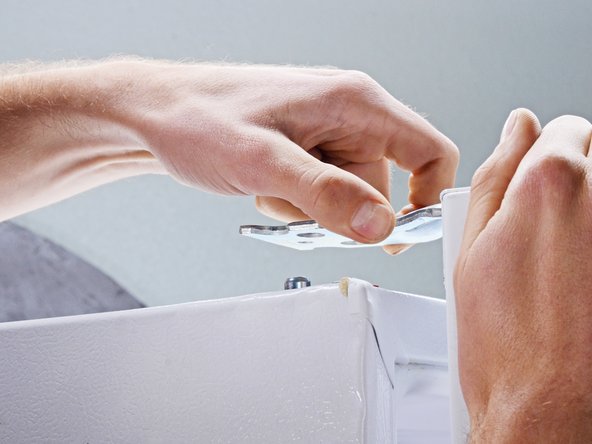
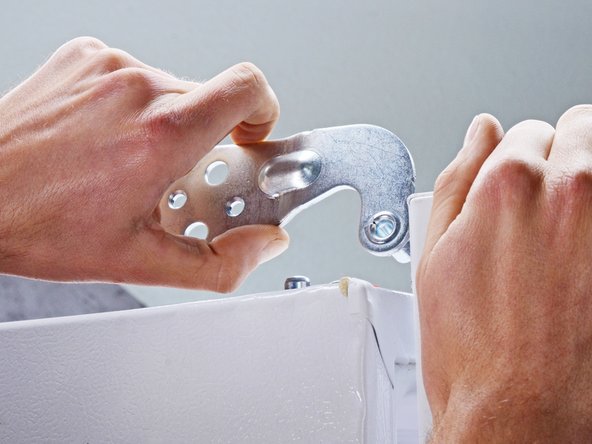
    8. Whirlpool Refrigerator Freezer Door Replacement, Remove the door hinge: step 12, image 1 of 3 Whirlpool Refrigerator Freezer Door Replacement, Remove the door hinge: step 12, image 2 of 3 Whirlpool Refrigerator Freezer Door Replacement, Remove the door hinge: step 12, image 3 of 3
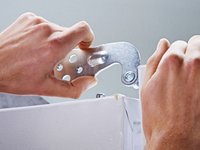
      • Pull the door hinge straight up to separate its alignment pins from the chassis.

      • Remove the door hinge.

      Ask FixBot

      Add Comment

    9. Whirlpool Refrigerator Freezer Door Replacement, Reposition the cables: step 13, image 1 of 3 Whirlpool Refrigerator Freezer Door Replacement, Reposition the cables: step 13, image 2 of 3 Whirlpool Refrigerator Freezer Door Replacement, Reposition the cables: step 13, image 3 of 3
      • Pull the freezer door straight up to disconnect it from the chassis.

      • Thread the cables through their slot in the chassis.

      • You may need to thread them individually.

      Ask FixBot

      Add Comment

    10. Whirlpool Refrigerator Freezer Door Replacement, Remove the door: step 14, image 1 of 2 Whirlpool Refrigerator Freezer Door Replacement, Remove the door: step 14, image 2 of 2
      • You're now left with the freezer door.

      Ask FixBot

      Add Comment

Conclusion

To reassemble your device, follow these instructions in reverse order.

Take your e-waste to an R2 or e-Stewards certified recycler.

Repair didn’t go as planned? Ask our Answers community for help.

Cancel: I did not complete this guide.

nicO

Member since: 04/14/15

15,990 Reputation

89 Guides authored

1 Guide Comment

There is a pending class action suit about this defect: https://chimicles.com/whirlpool-refriger...

Barbara Hoover - Reply Share

Add Comment

View Statistics:

Past 24 Hours: 6

Past 7 Days: 24

Past 30 Days: 90

All Time: 2,968