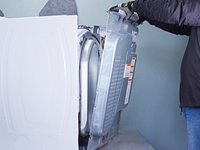
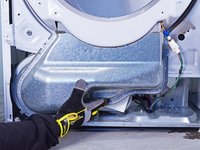
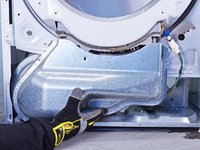
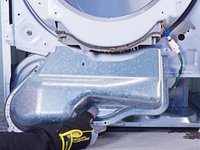
Free Shipping on Domestic Orders $75+

Whirlpool Dryer Moisture Sensor Testing and Replacement

What you need

  1. Whirlpool Dryer Moisture Sensor Testing and Replacement, Safety Precautions: step 1, image 1 of 1
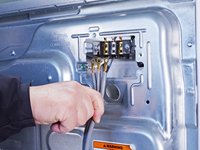
    • Before you begin your repair, unplug your dryer.

    • Your power cord may have four prongs rather than three. The additional prong is a ground connection.

    Ask FixBot

    Add Comment

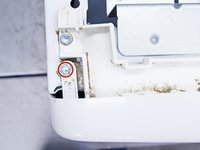
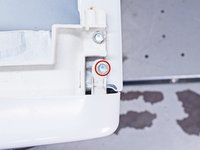
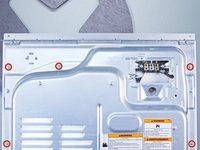
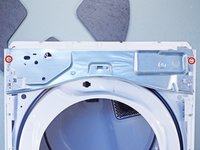
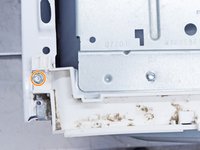
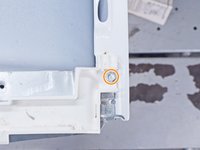
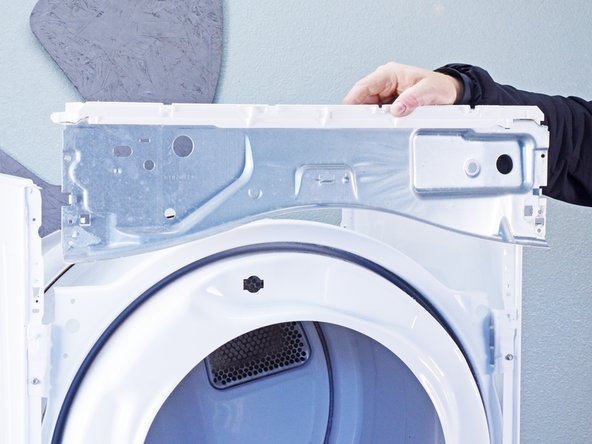
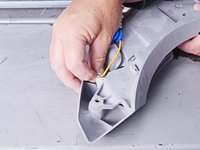
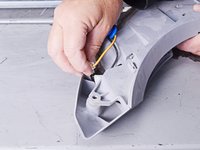
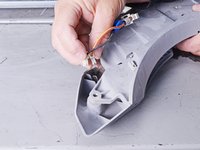
  2. Whirlpool Dryer Moisture Sensor Testing and Replacement, Unfasten the top panel: step 2, image 1 of 3 Whirlpool Dryer Moisture Sensor Testing and Replacement, Unfasten the top panel: step 2, image 2 of 3 Whirlpool Dryer Moisture Sensor Testing and Replacement, Unfasten the top panel: step 2, image 3 of 3
    Tool used on this step:
    FixMat
    $36.95
    Buy
    • Throughout this guide, keep track of each screw and reinstall it exactly where it came from.

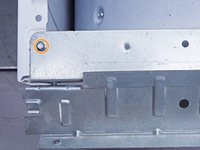
    • Use a nut driver to remove the screws securing the top panel to the rear panel bracket.

    Ask FixBot

    Add Comment

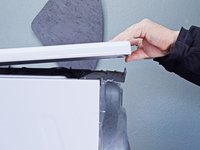
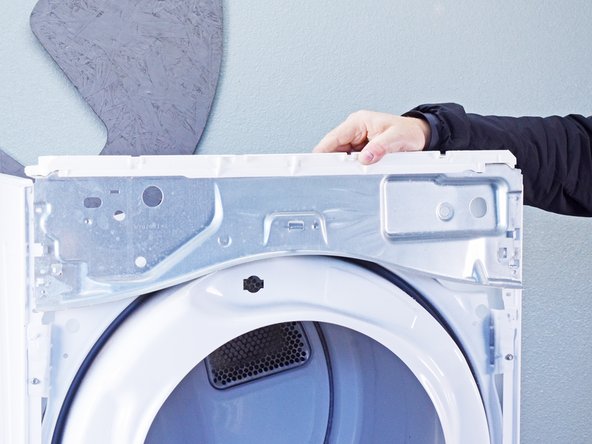
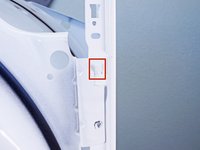
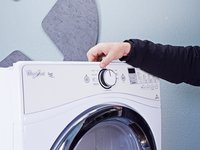
  3. Whirlpool Dryer Moisture Sensor Testing and Replacement, Remove the top panel: step 3, image 1 of 2 Whirlpool Dryer Moisture Sensor Testing and Replacement, Remove the top panel: step 3, image 2 of 2
    • Grasp the top and slide it 1/2 to 1 inch toward the rear of the machine.

    Ask FixBot
    Add Comment

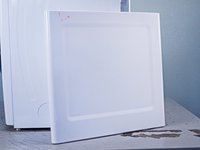
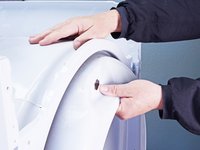
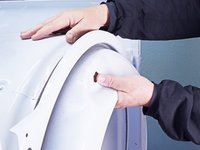
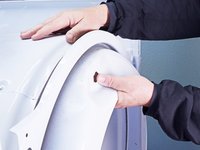
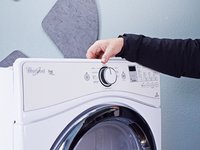
  4. Whirlpool Dryer Moisture Sensor Testing and Replacement: step 4, image 1 of 2 Whirlpool Dryer Moisture Sensor Testing and Replacement: step 4, image 2 of 2
    • Lift the top panel upward to separate it from the chassis.

    • Remove the top panel from the machine.

    Ask FixBot
    Add Comment

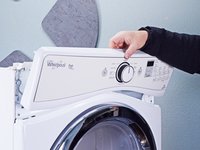
  5. Whirlpool Dryer Moisture Sensor Testing and Replacement, Disconnect the control panel: step 5, image 1 of 2 Whirlpool Dryer Moisture Sensor Testing and Replacement, Disconnect the control panel: step 5, image 2 of 2
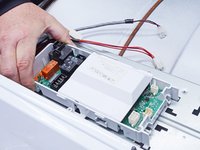
    • Disconnect the control panel cable from the main board.

    Ask FixBot
    Add Comment

  6. Whirlpool Dryer Moisture Sensor Testing and Replacement: step 6, image 1 of 2 Whirlpool Dryer Moisture Sensor Testing and Replacement: step 6, image 2 of 2
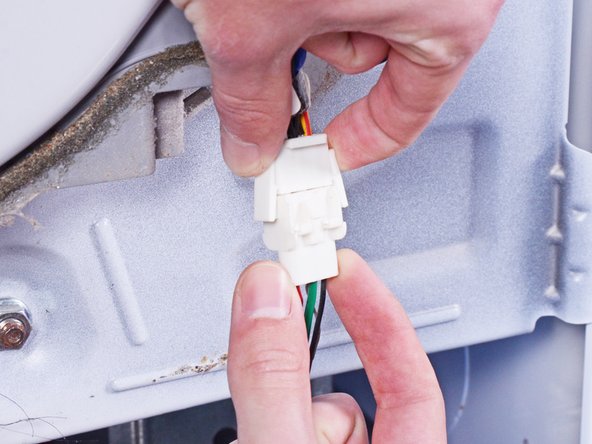
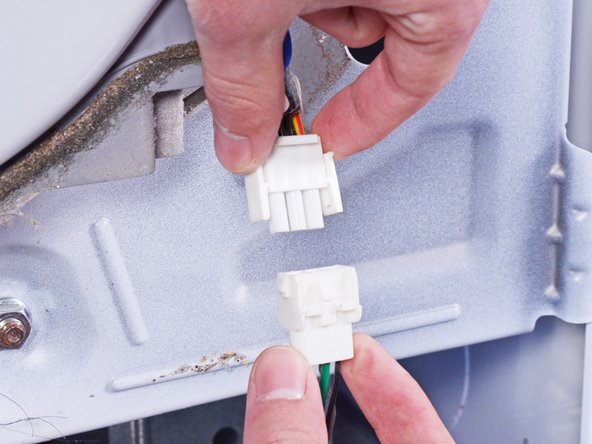
    • Disconnect the drum light connector.

    Ask FixBot

    Add Comment

  7. Whirlpool Dryer Moisture Sensor Testing and Replacement, Unfasten the control panel: step 7, image 1 of 2 Whirlpool Dryer Moisture Sensor Testing and Replacement, Unfasten the control panel: step 7, image 2 of 2
    • Remove the screws securing the control panel.

    Ask FixBot

    Add Comment

  8. Whirlpool Dryer Moisture Sensor Testing and Replacement, Remove the control panel: step 8, image 1 of 3 Whirlpool Dryer Moisture Sensor Testing and Replacement, Remove the control panel: step 8, image 2 of 3 Whirlpool Dryer Moisture Sensor Testing and Replacement, Remove the control panel: step 8, image 3 of 3
    • Lift the control panel up and tilt it away from the chassis to remove it.

    • Make sure to thread the cable through the hole in the chassis.

    • During reassembly, thread the cable through its proper hole before reinstalling the control panel.

    Ask FixBot

    Add Comment

  9. Whirlpool Dryer Moisture Sensor Testing and Replacement, Disconnect the door switch: step 9, image 1 of 3 Whirlpool Dryer Moisture Sensor Testing and Replacement, Disconnect the door switch: step 9, image 2 of 3 Whirlpool Dryer Moisture Sensor Testing and Replacement, Disconnect the door switch: step 9, image 3 of 3
    • Use a small flat blade screwdriver or a spudger to unlatch both sides of the door switch connector.

    • Unplug the connector.

    Ask FixBot

    Add Comment

  10. Whirlpool Dryer Moisture Sensor Testing and Replacement, Unfasten the front panel: step 10, image 1 of 2 Whirlpool Dryer Moisture Sensor Testing and Replacement, Unfasten the front panel: step 10, image 2 of 2
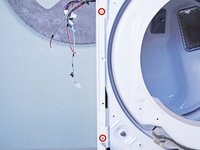
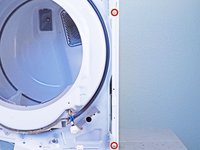
    • Remove the upper front panel sheet metal screws.

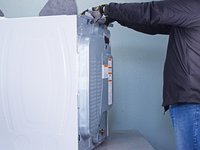
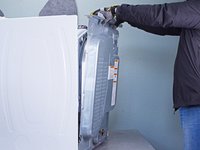
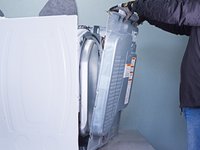
    • Tilt the machine backwards and prop it securely, or have a friend hold it.

    • Remove the sheet metal screws on the bottom edge of the panel.

    Ask FixBot

    Add Comment

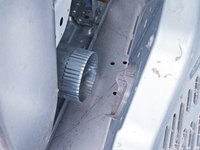
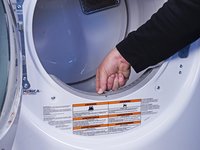
  11. Whirlpool Dryer Moisture Sensor Testing and Replacement: step 11, image 1 of 1
    • Remove the screws inside the door area below the drum opening.

    Ask FixBot
    Add Comment

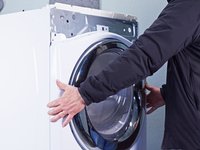
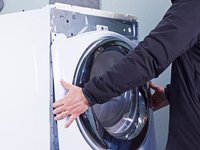
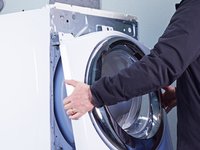
  12. Whirlpool Dryer Moisture Sensor Testing and Replacement, Remove the front panel: step 12, image 1 of 3 Whirlpool Dryer Moisture Sensor Testing and Replacement, Remove the front panel: step 12, image 2 of 3 Whirlpool Dryer Moisture Sensor Testing and Replacement, Remove the front panel: step 12, image 3 of 3
    • The panel is heavy and awkward. You may want to have a friend help you with this step.

    • Pull the bottom of the panel away from the chassis about two to three inches.

    • Lift the front panel off the small tabs on the chassis near the top of the panel and remove it.

    • Make sure you don't snag the door switch wire harness as you remove the panel.

    Ask FixBot

    Add Comment

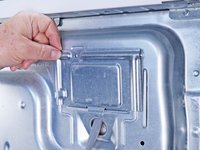
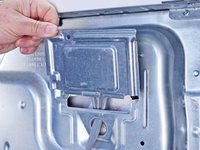
  13. Whirlpool Dryer Moisture Sensor Testing and Replacement, Unfasten the cover plate: step 13, image 1 of 1
    • Remove the cover plate screw.

    Ask FixBot

    Add Comment

  14. Whirlpool Dryer Moisture Sensor Testing and Replacement, Remove the cover plate: step 14, image 1 of 3 Whirlpool Dryer Moisture Sensor Testing and Replacement, Remove the cover plate: step 14, image 2 of 3 Whirlpool Dryer Moisture Sensor Testing and Replacement, Remove the cover plate: step 14, image 3 of 3
    • Remove the cover plate.

    Ask FixBot

    Add Comment

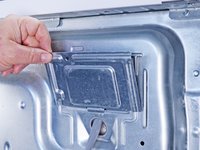
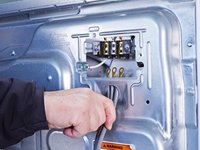
  15. Whirlpool Dryer Moisture Sensor Testing and Replacement, Disconnect the cord: step 15, image 1 of 1
    • Remove the screws securing the cord cables.

    • Mark the cables with a permanent marker if needed and take a picture or draw a diagram.

    Ask FixBot
    Add Comment

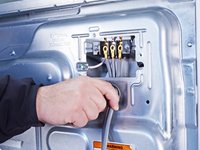
  16. Whirlpool Dryer Moisture Sensor Testing and Replacement, Remove the cord: step 16, image 1 of 3 Whirlpool Dryer Moisture Sensor Testing and Replacement, Remove the cord: step 16, image 2 of 3 Whirlpool Dryer Moisture Sensor Testing and Replacement, Remove the cord: step 16, image 3 of 3
    • Pull the cord carefully down through the round hole.

    • Make sure you replace the connections correctly when you reassemble.

    Ask FixBot
    Add Comment

  17. Whirlpool Dryer Moisture Sensor Testing and Replacement, Unfasten the cord terminal block: step 17, image 1 of 1
    • Remove the green ground screw.

    • Remove the cord terminal block screws.

    Ask FixBot
    Add Comment

  18. Whirlpool Dryer Moisture Sensor Testing and Replacement, Move the cord terminal block: step 18, image 1 of 3 Whirlpool Dryer Moisture Sensor Testing and Replacement, Move the cord terminal block: step 18, image 2 of 3 Whirlpool Dryer Moisture Sensor Testing and Replacement, Move the cord terminal block: step 18, image 3 of 3
    • Move the cord terminal block behind the rear panel.

    Ask FixBot

    Add Comment

  19. Whirlpool Dryer Moisture Sensor Testing and Replacement, Unfasten the rear panel: step 19, image 1 of 2 Whirlpool Dryer Moisture Sensor Testing and Replacement, Unfasten the rear panel: step 19, image 2 of 2
    Tool used on this step:
    FixMat
    $36.95
    Buy
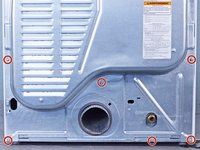
    • Remove the rear panel screws.

    • Throughout this guide, keep track of each screw and reinstall it exactly where it came from.

    Ask FixBot

    Add Comment

  20. Whirlpool Dryer Moisture Sensor Testing and Replacement: step 20, image 1 of 2 Whirlpool Dryer Moisture Sensor Testing and Replacement: step 20, image 2 of 2
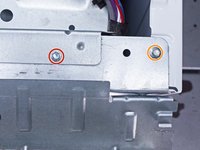
    • Remove the screw holding the main board bracket to the chassis.

    • Remove the screws from the top rear of the machine.

    Ask FixBot

    Add Comment

  21. Whirlpool Dryer Moisture Sensor Testing and Replacement, Remove the rear panel: step 21, image 1 of 3 Whirlpool Dryer Moisture Sensor Testing and Replacement, Remove the rear panel: step 21, image 2 of 3 Whirlpool Dryer Moisture Sensor Testing and Replacement, Remove the rear panel: step 21, image 3 of 3
    • Put on gloves before continuing, as the rear panel is sharp.

    • Lift the panel about 1/2 inch and tilt it to the rear to release it from the vent pipe.

    • Slide the panel off the vent pipe and remove it.

    Ask FixBot

    Add Comment

  22. Whirlpool Dryer Moisture Sensor Testing and Replacement, Reassembly information: step 22, image 1 of 2 Whirlpool Dryer Moisture Sensor Testing and Replacement, Reassembly information: step 22, image 2 of 2
    • During reassembly, perform the following:

    • Make sure that the vent pipe is fitted into the collar on the panel.

    • Make sure the tabs at the bottom are aligned to the bottom rim of the chassis.

    • Position the panel so its screw holes match with the chassis.

    Ask FixBot

    Add Comment

  23. Whirlpool Dryer Moisture Sensor Testing and Replacement, Remove the lint filter: step 23, image 1 of 3 Whirlpool Dryer Moisture Sensor Testing and Replacement, Remove the lint filter: step 23, image 2 of 3 Whirlpool Dryer Moisture Sensor Testing and Replacement, Remove the lint filter: step 23, image 3 of 3
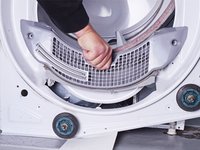
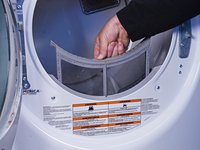
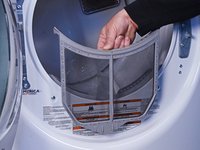
    • Pull the lint filter up out of the lint filter slot to remove it.

    • These photos show the front panel in place, but the procedure is the same if the front panel is already removed.

    Ask FixBot

    Add Comment

  24. Whirlpool Dryer Moisture Sensor Testing and Replacement, Unfasten the lint filter housing: step 24, image 1 of 1
    • Remove the mounting screws securing the lint filter housing.

    Ask FixBot

    Add Comment

  25. Whirlpool Dryer Moisture Sensor Testing and Replacement, Remove the lint filter housing: step 25, image 1 of 3 Whirlpool Dryer Moisture Sensor Testing and Replacement, Remove the lint filter housing: step 25, image 2 of 3 Whirlpool Dryer Moisture Sensor Testing and Replacement, Remove the lint filter housing: step 25, image 3 of 3
    • Pull the filter housing outward from the chassis and down to remove it.

    Ask FixBot

    Add Comment

  26. Whirlpool Dryer Moisture Sensor Testing and Replacement, Disconnect the moisture sensor: step 26, image 1 of 3 Whirlpool Dryer Moisture Sensor Testing and Replacement, Disconnect the moisture sensor: step 26, image 2 of 3 Whirlpool Dryer Moisture Sensor Testing and Replacement, Disconnect the moisture sensor: step 26, image 3 of 3
    • Squeeze the locking tabs on the moisture sensor connector.

    • Disconnect the connector.

    Ask FixBot

    Add Comment

  27. Whirlpool Dryer Moisture Sensor Testing and Replacement, Disconnect the main board: step 27, image 1 of 3 Whirlpool Dryer Moisture Sensor Testing and Replacement, Disconnect the main board: step 27, image 2 of 3 Whirlpool Dryer Moisture Sensor Testing and Replacement, Disconnect the main board: step 27, image 3 of 3
    • Label, photograph or make a sketch of the connector locations and of the main board bracket position on your machine.

    • Disconnect all of the connectors on the main board front half.

    Ask FixBot

    Add Comment

  28. Whirlpool Dryer Moisture Sensor Testing and Replacement: step 28, image 1 of 3 Whirlpool Dryer Moisture Sensor Testing and Replacement: step 28, image 2 of 3 Whirlpool Dryer Moisture Sensor Testing and Replacement: step 28, image 3 of 3
    • Label, photograph or make a sketch of the connector locations and of the main board bracket position on your machine.

    • Disconnect all the connectors from the rear half of the main board.

    Ask FixBot

    Add Comment

  29. Whirlpool Dryer Moisture Sensor Testing and Replacement, Unfasten the main board from the main board bracket: step 29, image 1 of 1
    • Remove the sheet metal screw that retains the main board to the main board bracket.

    Ask FixBot

    Add Comment

  30. Whirlpool Dryer Moisture Sensor Testing and Replacement, Separate the main board from the main board bracket: step 30, image 1 of 3 Whirlpool Dryer Moisture Sensor Testing and Replacement, Separate the main board from the main board bracket: step 30, image 2 of 3 Whirlpool Dryer Moisture Sensor Testing and Replacement, Separate the main board from the main board bracket: step 30, image 3 of 3
    • Lift the rear corner of the main board nearest to the side walls of the chassis.

    • You want to release the locking tab on the side of the main board.

    • Slide the main board toward the front of the dryer to release the tabs securing it to the main board bracket.

    Ask FixBot

    Add Comment

  31. Whirlpool Dryer Moisture Sensor Testing and Replacement, Remove the main board: step 31, image 1 of 1
    • Remove the main board from the main board bracket.

    Ask FixBot

    Add Comment

  32. Whirlpool Dryer Moisture Sensor Testing and Replacement, Remove the main board bracket: step 32, image 1 of 1
    • Remove the sheet metal screw holding the main board bracket.

    Ask FixBot

    Add Comment

  33. Whirlpool Dryer Moisture Sensor Testing and Replacement, Remove the wiring harness from the main board bracket: step 33, image 1 of 3 Whirlpool Dryer Moisture Sensor Testing and Replacement, Remove the wiring harness from the main board bracket: step 33, image 2 of 3 Whirlpool Dryer Moisture Sensor Testing and Replacement, Remove the wiring harness from the main board bracket: step 33, image 3 of 3
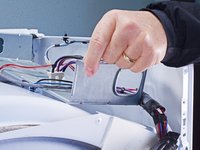
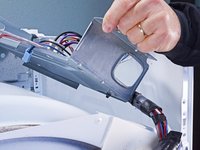
    • Lift off the main board bracket from the chassis and turn it so the bottom is exposed.

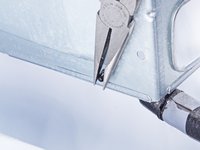
    • Using long nose or slip joint pliers, pinch the locking wings of the harness retainer clamp.

    • Separate the harness from the main board bracket and remove the main board bracket.

    Ask FixBot

    Add Comment

  34. Whirlpool Dryer Moisture Sensor Testing and Replacement, Unfasten the upper front bulkhead: step 34, image 1 of 3 Whirlpool Dryer Moisture Sensor Testing and Replacement, Unfasten the upper front bulkhead: step 34, image 2 of 3 Whirlpool Dryer Moisture Sensor Testing and Replacement, Unfasten the upper front bulkhead: step 34, image 3 of 3
    • Remove the screws securing the upper front bulkhead to the front of the chassis.

    • Remove the sheet metal screws securing the top plastic portion to the upper front bulkhead.

    Ask FixBot

    Add Comment

  35. Whirlpool Dryer Moisture Sensor Testing and Replacement, Remove the upper front bulkhead: step 35, image 1 of 3 Whirlpool Dryer Moisture Sensor Testing and Replacement, Remove the upper front bulkhead: step 35, image 2 of 3 Whirlpool Dryer Moisture Sensor Testing and Replacement, Remove the upper front bulkhead: step 35, image 3 of 3
    • Remove the upper front bulkhead and set it aside.

    Ask FixBot

    Add Comment

  36. Whirlpool Dryer Moisture Sensor Testing and Replacement, Release the belt tension: step 36, image 1 of 3 Whirlpool Dryer Moisture Sensor Testing and Replacement, Release the belt tension: step 36, image 2 of 3 Whirlpool Dryer Moisture Sensor Testing and Replacement, Release the belt tension: step 36, image 3 of 3
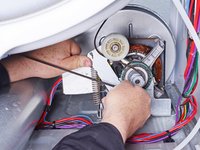
    • Take careful note of the belt path before proceeding.

    • Be careful during this procedure! The idler arm is under spring tension and may pinch you, or it could damage the belt switch if the arm is allowed to snap down.

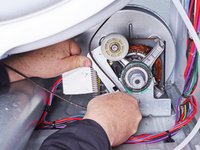
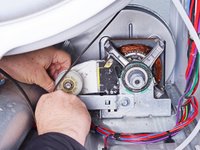
    • Push the idler arm (the metal upside-down "L") up to relieve the tension on the drive belt.

    • Remove the belt from the motor pulley.

    • Gently lower the idler arm until it rests parallel to the dryer floor.

    • During reassembly, refer to your notes or the belt path link to rethread the drive belt.

    Ask FixBot

    Add Comment

  37. Whirlpool Dryer Moisture Sensor Testing and Replacement, Unfasten the lower front bulkhead: step 37, image 1 of 2 Whirlpool Dryer Moisture Sensor Testing and Replacement, Unfasten the lower front bulkhead: step 37, image 2 of 2
    • Remove the screws securing the lower front bulkhead.

    Ask FixBot

    Add Comment

  38. Whirlpool Dryer Moisture Sensor Testing and Replacement, Remove the lower front bulkhead: step 38, image 1 of 3 Whirlpool Dryer Moisture Sensor Testing and Replacement, Remove the lower front bulkhead: step 38, image 2 of 3 Whirlpool Dryer Moisture Sensor Testing and Replacement, Remove the lower front bulkhead: step 38, image 3 of 3
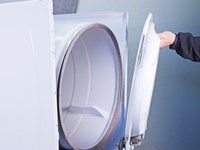
    • While supporting the drum, lift the lower front bulkhead off of the hooks on the chassis.

    Ask FixBot

    Add Comment

  39. Whirlpool Dryer Moisture Sensor Testing and Replacement: step 39, image 1 of 3 Whirlpool Dryer Moisture Sensor Testing and Replacement: step 39, image 2 of 3 Whirlpool Dryer Moisture Sensor Testing and Replacement: step 39, image 3 of 3
    • Lower the bulkhead about 2 inches to free the drum rollers tucked under the drum.

    • While supporting the drum, remove the lower front bulkhead.

    • During reassembly, tilt the bulkhead to the right to get the rollers under the lip on the front of the drum. Once the drum is on the rollers, you can move the bulkhead to the upright position.

    Ask FixBot

    Add Comment

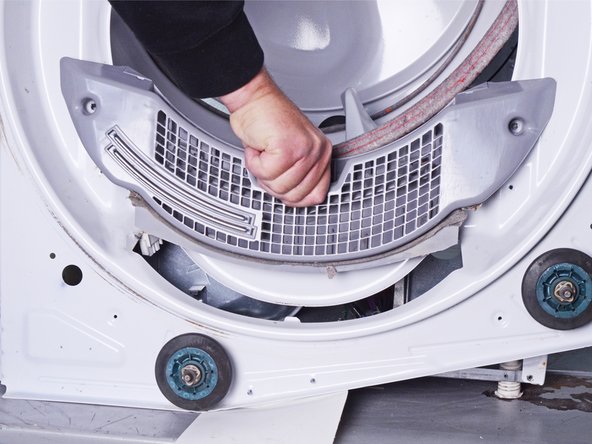
  40. Whirlpool Dryer Moisture Sensor Testing and Replacement, Unfasten the filter holder: step 40, image 1 of 1
    • Remove screws on the filter holder.

    • The two metal strips on the filter holder are the moisture sensor contacts.

    Ask FixBot

    Add Comment

  41. Whirlpool Dryer Moisture Sensor Testing and Replacement, Remove the filter holder: step 41, image 1 of 2 Whirlpool Dryer Moisture Sensor Testing and Replacement, Remove the filter holder: step 41, image 2 of 2
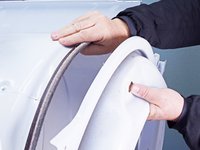
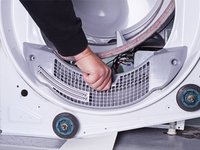
    • Grab the filter holder and pull it straight up out of the lower front bulkhead.

    • Remove the filter holder.

    Ask FixBot

    Add Comment

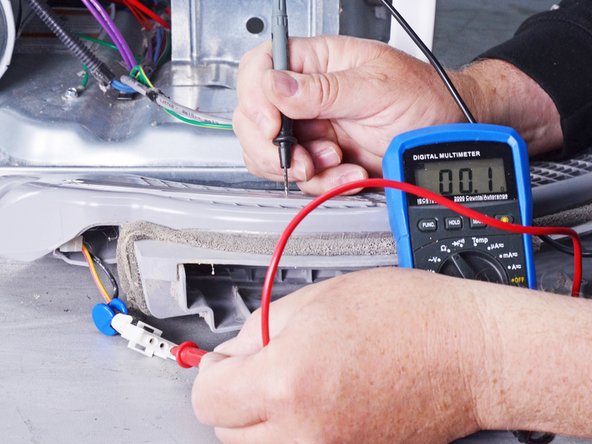
  42. Whirlpool Dryer Moisture Sensor Testing and Replacement, Check continuity from strip to connector: step 42, image 1 of 3 Whirlpool Dryer Moisture Sensor Testing and Replacement, Check continuity from strip to connector: step 42, image 2 of 3 Whirlpool Dryer Moisture Sensor Testing and Replacement, Check continuity from strip to connector: step 42, image 3 of 3
    • The next two steps will require a multimeter. If you aren't familiar with how to use one, here is a guide that will help you.

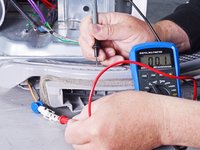
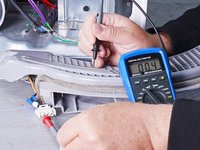
    • Set the multimeter to resistance (Ω) and check the continuity between the two metal strips and their respective ports located on the outside edges of the connector.

    • Trace the connector wires on the back of the module to match each port to a metal strip.

    • If the strips show continuity (less than 1 Ω) to the connector, go to the next step.

    • If either strip shows an open circuit (OL) to its connector, skip the next step.

    Ask FixBot

    Add Comment

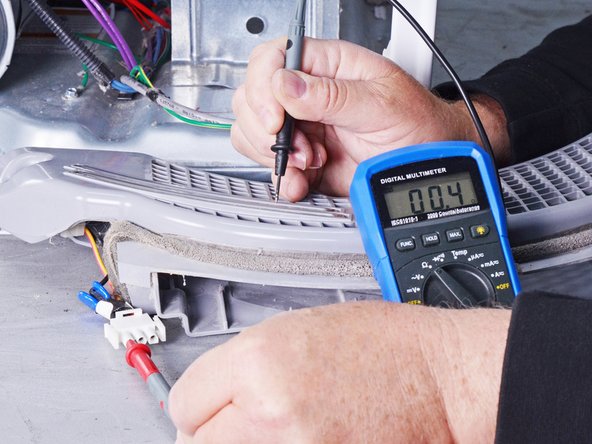
  43. Whirlpool Dryer Moisture Sensor Testing and Replacement, Check for strip-to-strip shorts: step 43, image 1 of 1
    • Use your multimeter to test that there's no contact between the two strips. Your meter should read OL.

    • If there's some resistance value between the strips, check for physical contact between the strips.

    • If there's physical contact like a bent strip or a cracked holder, replace the holder.

    • If there's some resistance value, and there's no physical contact between the strips, go to the next step to replace the connector module.

    Ask FixBot

    Add Comment

  44. Whirlpool Dryer Moisture Sensor Testing and Replacement, Remove the connector module: step 44, image 1 of 3 Whirlpool Dryer Moisture Sensor Testing and Replacement, Remove the connector module: step 44, image 2 of 3 Whirlpool Dryer Moisture Sensor Testing and Replacement, Remove the connector module: step 44, image 3 of 3
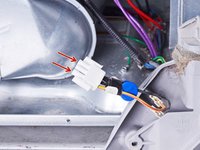
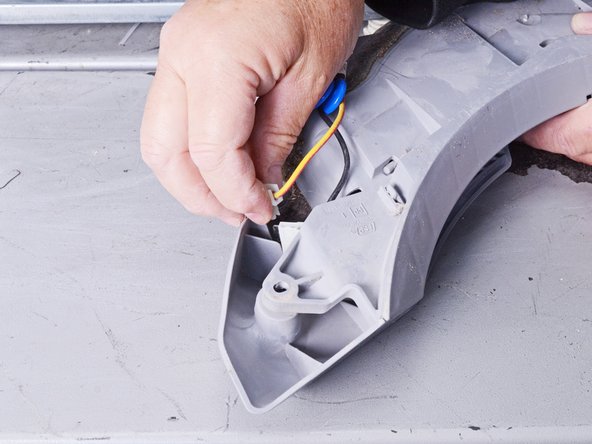
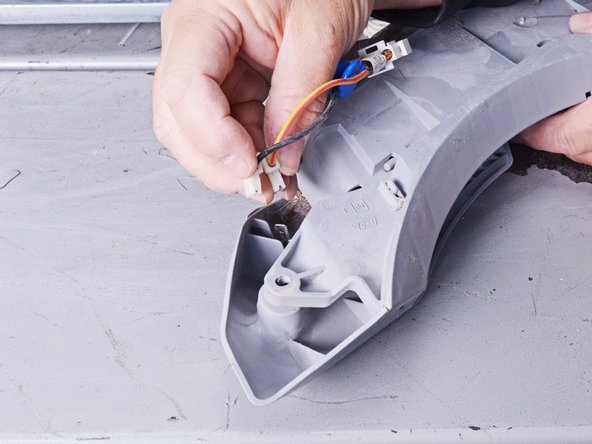
    • If the connector module is bad, pull and disconnect the two moisture sensor connectors straight out of the sockets on the module wiring.

    • Remove the moisture sensor connector module.

    Ask FixBot

    Add Comment

Conclusion

To reassemble your device, follow these instructions in reverse order.

Repair didn’t go as planned? Ask our Answers community for help.

Cancel: I did not complete this guide.

One other person completed this guide.

Bill Gilbert

Member since: 06/30/22

40,113 Reputation

261 Guides authored

Team

iFixit Member of iFixit

Staff

123 Members

27,554 Guides authored

0 Guide Comments

Add Comment

View Statistics:

Past 24 Hours: 11

Past 7 Days: 108

Past 30 Days: 466

All Time: 22,252