Free Shipping on Domestic Orders $75+

Whirlpool Dryer Main Board Replacement

Views: 1.4K

View statistics:

Past 24 Hours:
2
Past 7 Days:
20
Past 30 Days:
113
All Time:
1,417
Comments: 1

1 guide comment.

Go to guide comments
Completed: 1

1 person has marked this guide "completed." Will you be next?

Favorites: 0

No one has favorited (and subscribed to) this guide. Will you be the first?

Time Required: 45 minutes - 1 hour
Difficulty: Moderate
Whirlpool Dryer Main Board Replacement

Introduction

Go to step 1 ↓

Use this guide to replace the main board a.k.a. Cycle Control Unit (CCU) on your Whirlpool dryer.

The main board is the "brain" of the dryer. When it fails, the dryer will operate erratically or not operate at all.

This guide will work for most Whirlpool dryers. This guide is written with a model WED87HED dryer. If you have a different model, you may encounter some minor disassembly differences, but the overall repair process will be the same.

What you need

Tools

    1. Whirlpool Dryer Main Board Replacement, Safety Precautions: step 1, image 1 of 1
      • Before you begin your repair, unplug your dryer.

      • Your power cord may have four prongs rather than three. The additional prong is a ground connection.

      Ask FixBot
      Add Comment

    1. Whirlpool Dryer Main Board Replacement, Unfasten the top panel: step 2, image 1 of 3 Whirlpool Dryer Main Board Replacement, Unfasten the top panel: step 2, image 2 of 3 Whirlpool Dryer Main Board Replacement, Unfasten the top panel: step 2, image 3 of 3
      Tool used on this step:
      FixMat
      $36.95
      Buy
      • Throughout this guide, keep track of each screw and reinstall it exactly where it came from.

      • Use a nut driver to remove the screws securing the top panel to the rear panel bracket.

      Ask FixBot

      Add Comment

    2. Whirlpool Dryer Main Board Replacement, Remove the top panel: step 3, image 1 of 2 Whirlpool Dryer Main Board Replacement, Remove the top panel: step 3, image 2 of 2
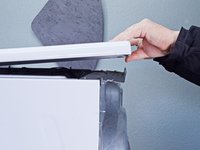
      • Grasp the top and slide it 1/2 to 1 inch toward the rear of the machine.

      Ask FixBot

      Add Comment

    3. Whirlpool Dryer Main Board Replacement: step 4, image 1 of 2 Whirlpool Dryer Main Board Replacement: step 4, image 2 of 2
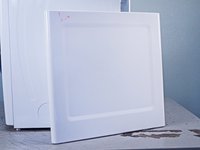
      • Lift the top panel upward to separate it from the chassis.

      • Remove the top panel from the machine.

      Ask FixBot

      Add Comment

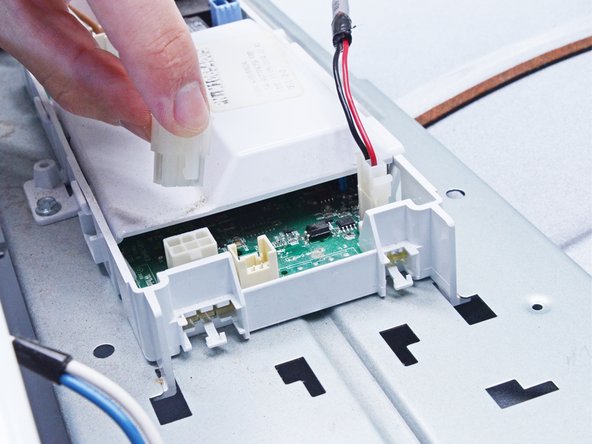
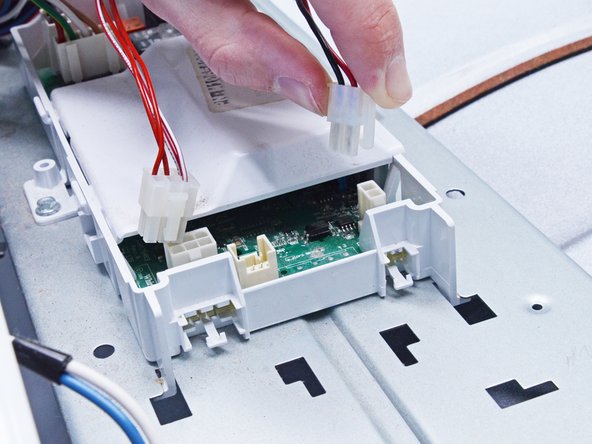
    1. Whirlpool Dryer Main Board Replacement, Disconnect the Main Board: step 5, image 1 of 2 Whirlpool Dryer Main Board Replacement, Disconnect the Main Board: step 5, image 2 of 2
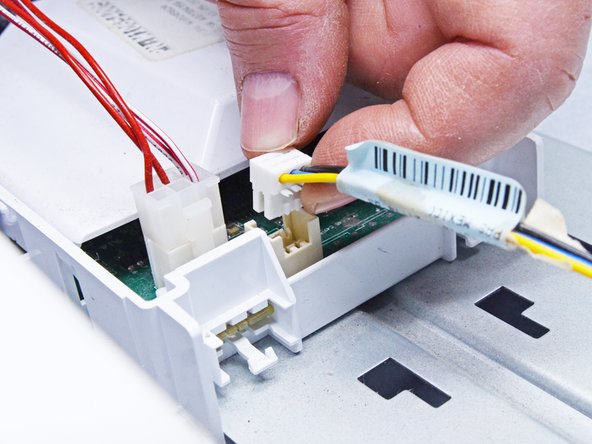
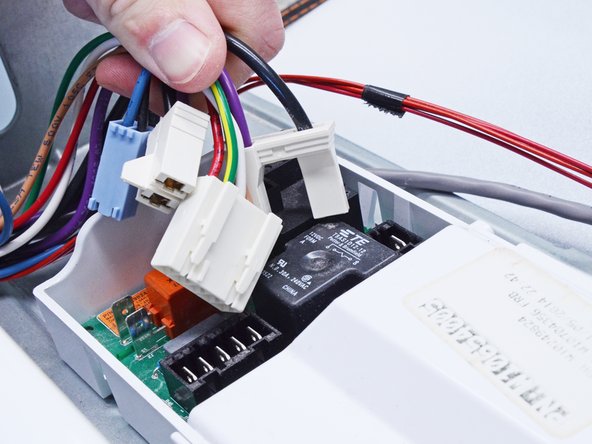
      • Disconnect all the wires from the main board.

      Ask FixBot

      Add Comment

    2. Whirlpool Dryer Main Board Replacement: step 6, image 1 of 3 Whirlpool Dryer Main Board Replacement: step 6, image 2 of 3 Whirlpool Dryer Main Board Replacement: step 6, image 3 of 3
      • Continue disconnecting the main board.

      Ask FixBot
      Add Comment

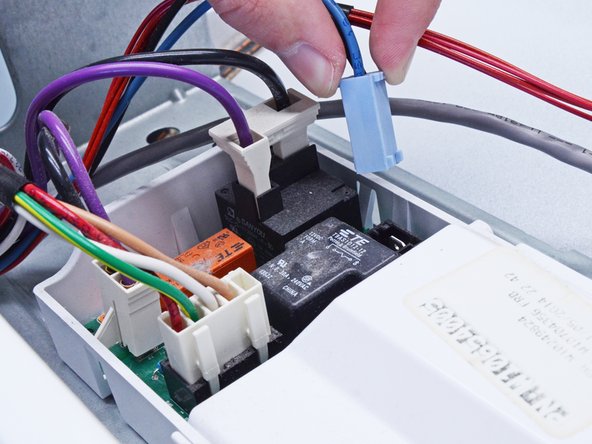
    3. Whirlpool Dryer Main Board Replacement: step 7, image 1 of 3 Whirlpool Dryer Main Board Replacement: step 7, image 2 of 3 Whirlpool Dryer Main Board Replacement: step 7, image 3 of 3
      • Finish disconnecting the wires from the main board.

      Ask FixBot
      Add Comment

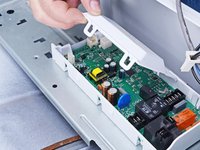
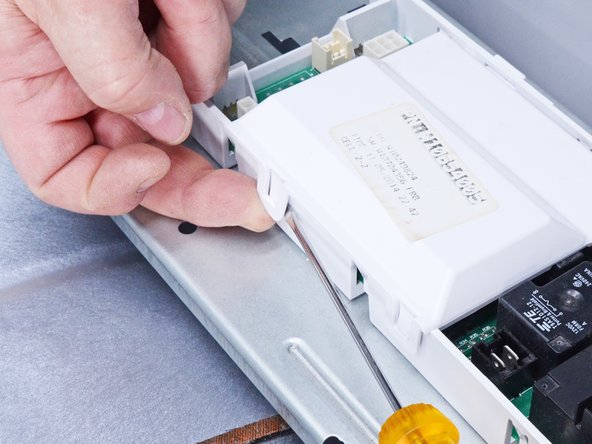
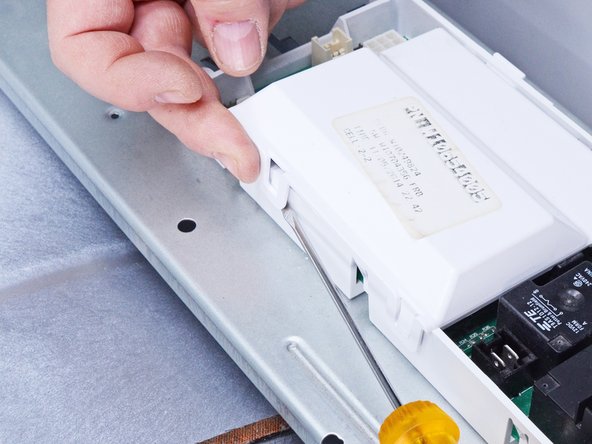
    4. Whirlpool Dryer Main Board Replacement, Unfasten the main board cover: step 8, image 1 of 3 Whirlpool Dryer Main Board Replacement, Unfasten the main board cover: step 8, image 2 of 3 Whirlpool Dryer Main Board Replacement, Unfasten the main board cover: step 8, image 3 of 3
      • Using a flat head screwdriver or a spudger, release the cover clips.

      Ask FixBot

      Add Comment

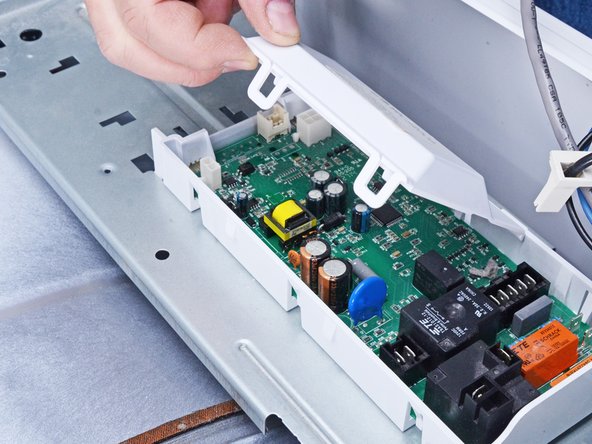
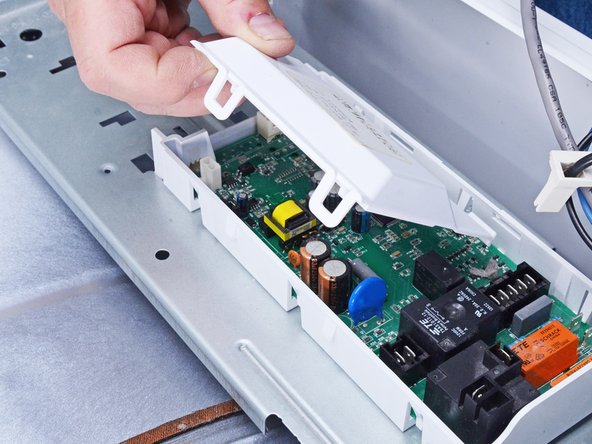
    5. Whirlpool Dryer Main Board Replacement, Remove the main board cover: step 9, image 1 of 3 Whirlpool Dryer Main Board Replacement, Remove the main board cover: step 9, image 2 of 3 Whirlpool Dryer Main Board Replacement, Remove the main board cover: step 9, image 3 of 3
      • Lift the cover to release the tabs on the opposite side of the main board housing.

      • Remove the cover.

      Ask FixBot

      Add Comment

    6. Whirlpool Dryer Main Board Replacement, Release the main board: step 10, image 1 of 3 Whirlpool Dryer Main Board Replacement, Release the main board: step 10, image 2 of 3 Whirlpool Dryer Main Board Replacement, Release the main board: step 10, image 3 of 3
      Tool used on this step:
      Anti-Static Wrist Strap
      $7.95
      Buy
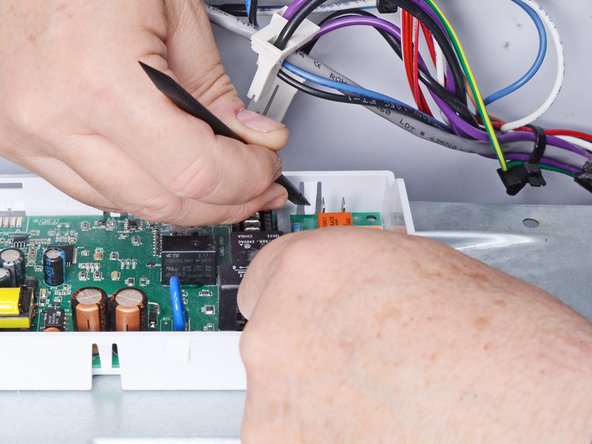
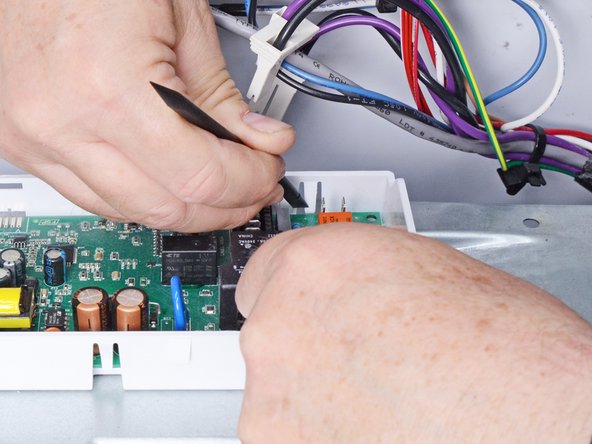
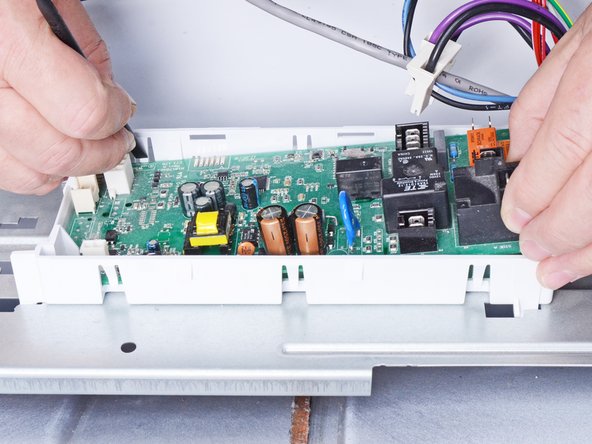
      • There are six retaining clips securing the main board. Start at one end and work towards the other.

      • When you're handling the main board, wear an anti-static strap if possible, or regularly touch the exposed metal parts of the dryer to prevent electrostatic damage to the board.

      • Lift the board with one hand and use the other to release each clip with a spudger.

      • As you go, keep a gentle upward pull on the board so that the released clips don't snap back into place as you work.

      • Alternate sides of the board when releasing the clips.

      Ask FixBot

      Add Comment

    7. Whirlpool Dryer Main Board Replacement: step 11, image 1 of 2 Whirlpool Dryer Main Board Replacement: step 11, image 2 of 2
      • Release the remaining clips until the board is completely separated from its housing.

      Ask FixBot

      Add Comment

    8. Whirlpool Dryer Main Board Replacement, Remove the main board: step 12, image 1 of 1
      • Remove the main board from its housing.

      Ask FixBot
      Add Comment
Conclusion

To reassemble your device, follow these instructions in reverse order.

Take your e-waste to an R2 or e-Stewards certified recycler.

Repair didn’t go as planned? Ask our Answers community for help.

Cancel: I did not complete this guide.

One other person completed this guide.

Bill Gilbert

Member since: 06/30/22

40,960 Reputation

261 Guides authored

Team

iFixit Member of iFixit

Staff

121 Members

72,931 Guides authored

1 Guide Comment

Hola, podrías decirme en el relevador qué tiene dos entradas, conterminales macho y se le conectan los cables contermi ales hembra, en cual va el cable de color rojo y en cual el negro?

JuanRamon - Reply Share

Add Comment

View Statistics:

Past 24 Hours: 2

Past 7 Days: 20

Past 30 Days: 113

All Time: 1,417