Introduction
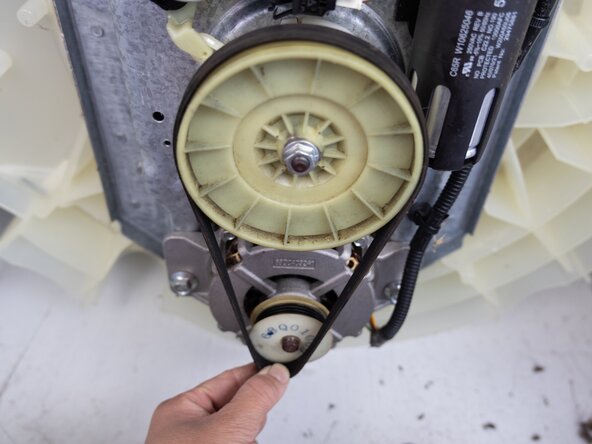
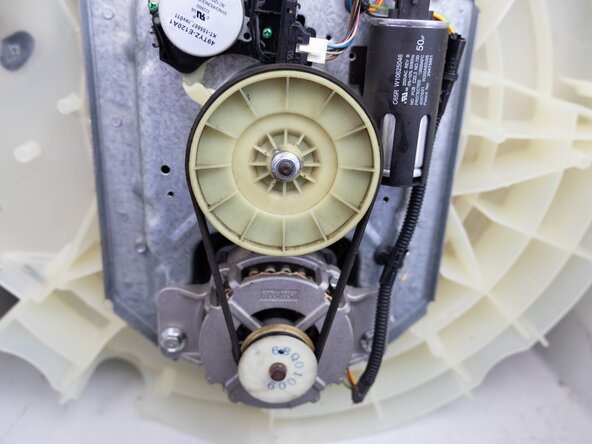
This guide provides step-by-step instructions for replacing the Whirlpool WTW5000DW top-load washing machine drive belt. Usually, the main reason the washing machine fails to spin properly is due to worn or broken bearings, seals, or drive belt.
The guide is simple yet can still cause water or electrical damage if not followed appropriately, especially if the washer is located inside the house with other electrical appliances. It's important to work in a clean and dry space for a safe working environment.
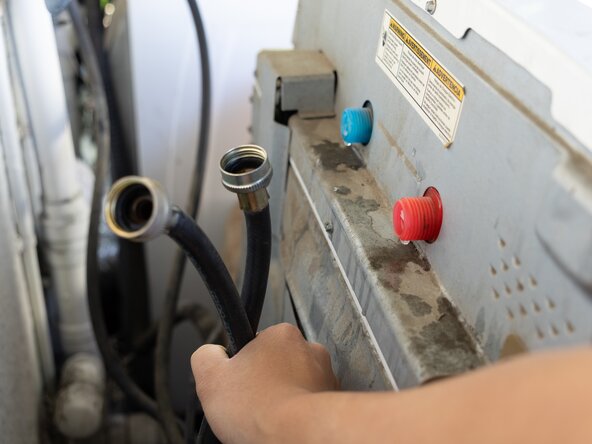
Before you begin, disconnect the washer from the power outlet.
What you need
-
-
There will be two valves: one for hot water and one for cold water. Don't forget to unplug the electricity as well.
-
-


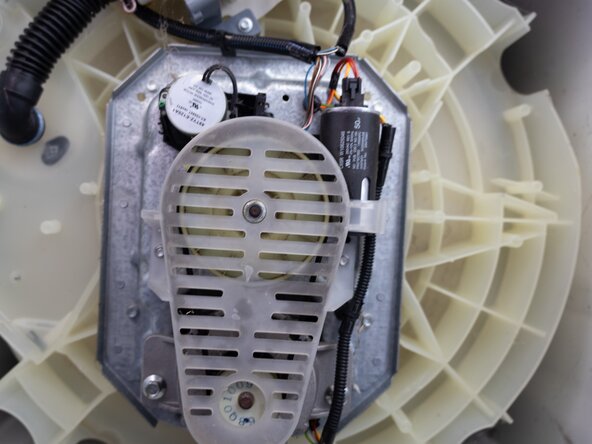


To reassemble your appliance, simply follow these instructions in reverse.
Cancel: I did not complete this guide.
One other person completed this guide.