Free Shipping on Domestic Orders $75+

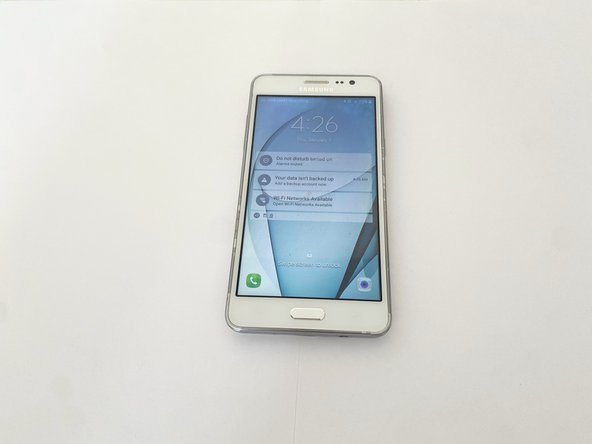
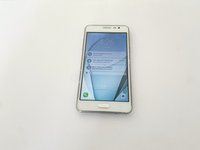
Waterlogged Samsung Galaxy Grand Prime

What you need

    1. Waterlogged Samsung Galaxy Grand Prime, Waterlogged Samsung Galaxy Grand Prime: step 1, image 1 of 2 Waterlogged Samsung Galaxy Grand Prime, Waterlogged Samsung Galaxy Grand Prime: step 1, image 2 of 2
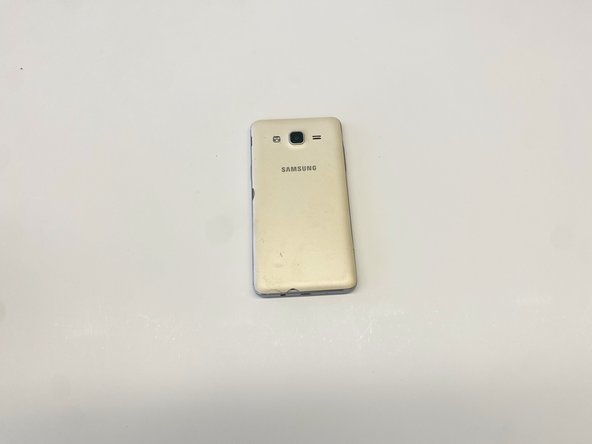
      • Power off your waterlogged Samsung Galaxy Grand Prime to prevent potential damage to the running circuitry

      • Place the phone with its screen facing the work surface

      Ask FixBot

      Add Comment

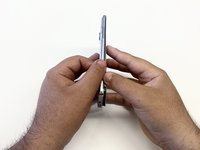
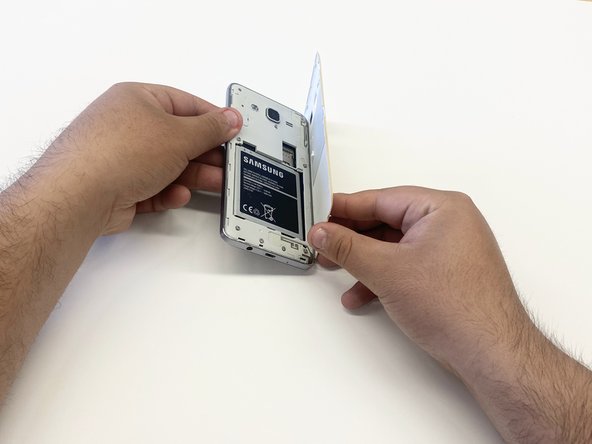
    2. Waterlogged Samsung Galaxy Grand Prime: step 2, image 1 of 3 Waterlogged Samsung Galaxy Grand Prime: step 2, image 2 of 3 Waterlogged Samsung Galaxy Grand Prime: step 2, image 3 of 3
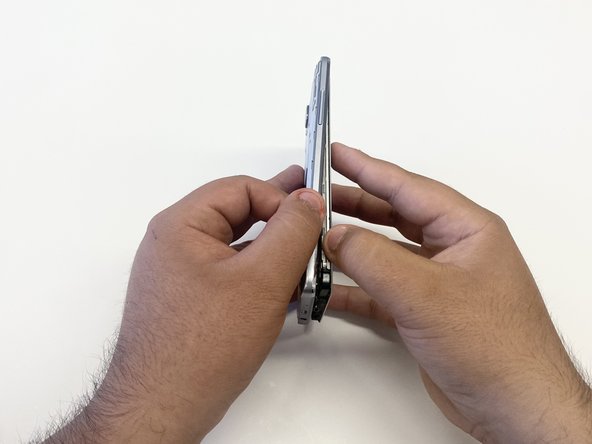
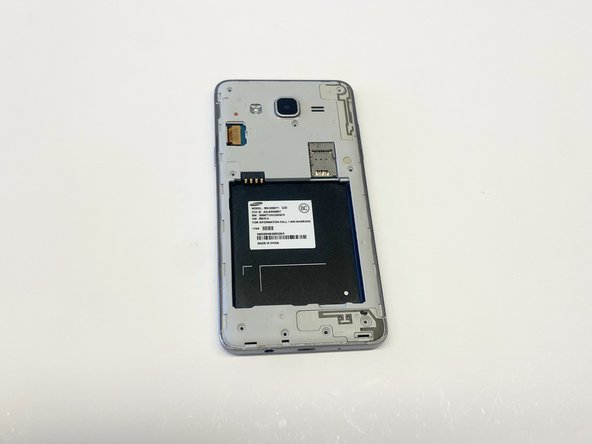
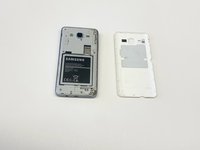
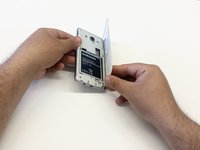
      • Position the primary back panel towards you

      • Detach the primary back panel to expose the battery in the secondary back panel

      Ask FixBot

      Add Comment

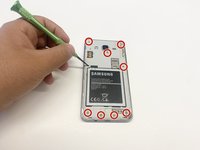
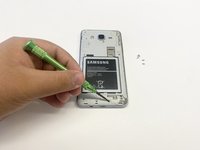
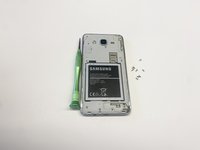
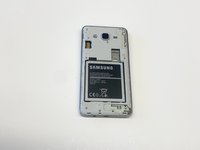
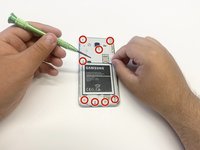
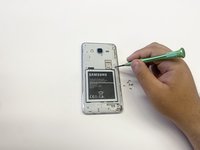
    3. Waterlogged Samsung Galaxy Grand Prime: step 3, image 1 of 3 Waterlogged Samsung Galaxy Grand Prime: step 3, image 2 of 3 Waterlogged Samsung Galaxy Grand Prime: step 3, image 3 of 3
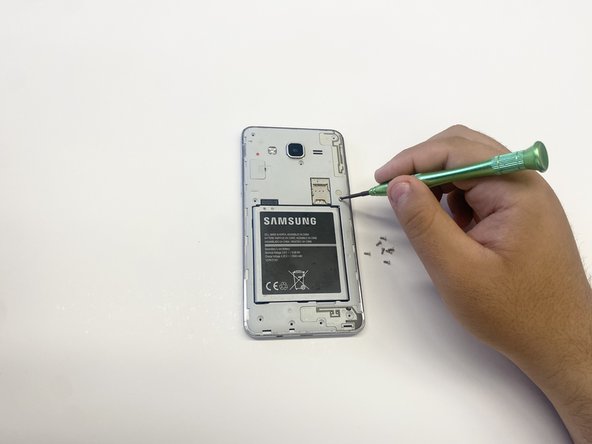
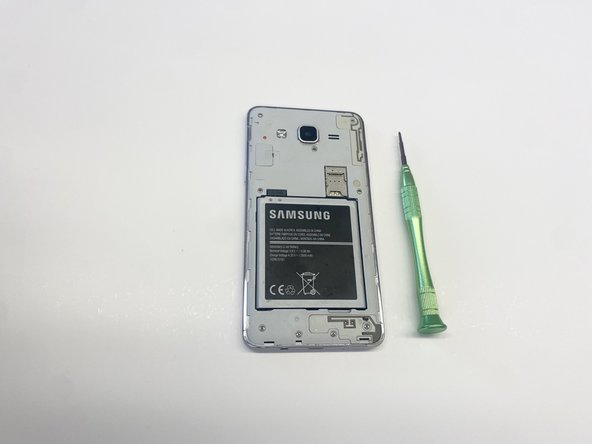
      • Using a 1.5x25 millimeter Phillips head screwdriver, remove the nine 4mm screws to gain access to the inner circuitry.

      • Put the screws to the side in order to avoid misplacement

      Ask FixBot

      Add Comment

    4. Waterlogged Samsung Galaxy Grand Prime: step 4, image 1 of 3 Waterlogged Samsung Galaxy Grand Prime: step 4, image 2 of 3 Waterlogged Samsung Galaxy Grand Prime: step 4, image 3 of 3
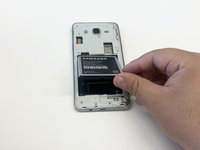
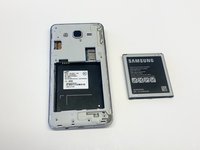
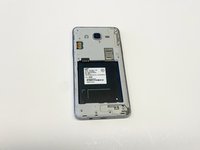
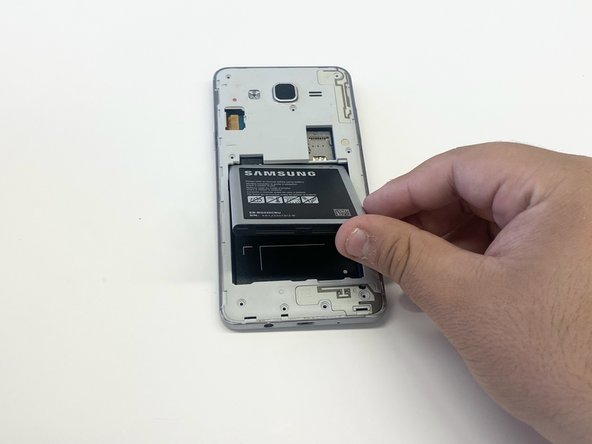
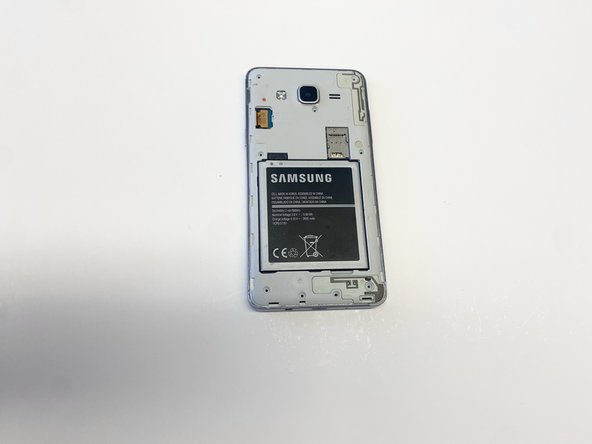
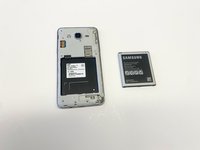
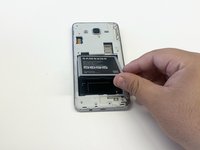
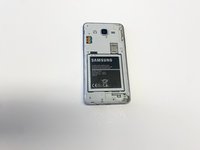
      • Remove the battery to prevent damage during the process

      • Gently peel up the battery and set it aside

      Ask FixBot

      Add Comment

    5. Waterlogged Samsung Galaxy Grand Prime: step 5, image 1 of 3 Waterlogged Samsung Galaxy Grand Prime: step 5, image 2 of 3 Waterlogged Samsung Galaxy Grand Prime: step 5, image 3 of 3
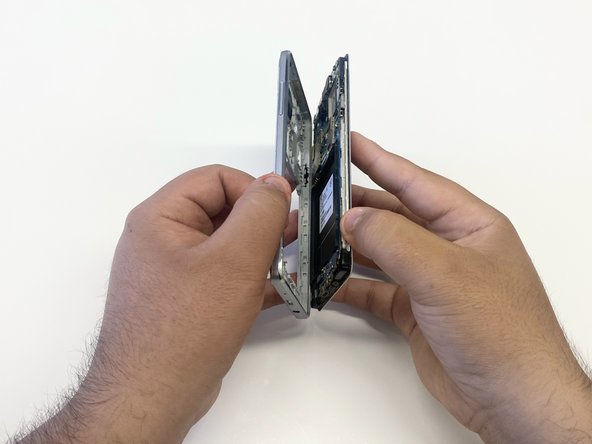
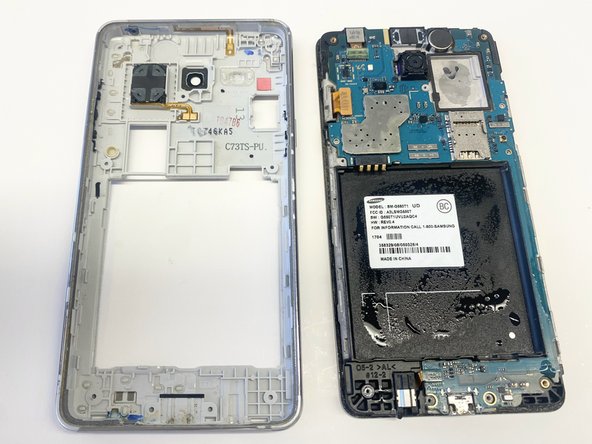
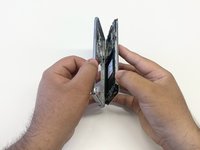
      • Carefully peel away the screen display from the secondary back panel

      • Use a hair dryer if needed to soften adhesive

      Ask FixBot

      Add Comment

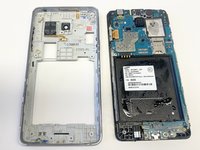
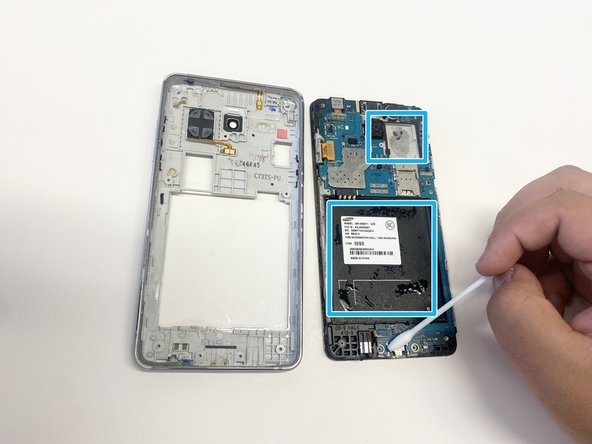
    6. Waterlogged Samsung Galaxy Grand Prime: step 6, image 1 of 3 Waterlogged Samsung Galaxy Grand Prime: step 6, image 2 of 3 Waterlogged Samsung Galaxy Grand Prime: step 6, image 3 of 3
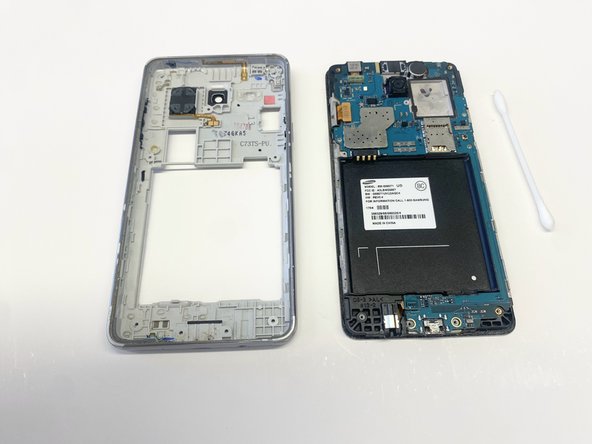
      • Address areas of concern in the main frame with a small towel or cotton swab

      • Submerging both parts in a container of desiccants like silica gel for a period of time can also be another option

      Ask FixBot

      Add Comment

    7. Waterlogged Samsung Galaxy Grand Prime: step 7, image 1 of 3 Waterlogged Samsung Galaxy Grand Prime: step 7, image 2 of 3 Waterlogged Samsung Galaxy Grand Prime: step 7, image 3 of 3
      • Make sure that there is no remaining liquid

      • Reassemble the phone, starting with the screen and secondary back panel

      • Press in on every side until the frame clicks into place

      Ask FixBot

      Add Comment

    8. Waterlogged Samsung Galaxy Grand Prime: step 8, image 1 of 3 Waterlogged Samsung Galaxy Grand Prime: step 8, image 2 of 3 Waterlogged Samsung Galaxy Grand Prime: step 8, image 3 of 3
      • Retrieve the battery set aside in step 4

      • Orient it correctly so the phone can properly boot up later

      • Carefully place the battery back into its slot

      Ask FixBot

      Add Comment

    9. Waterlogged Samsung Galaxy Grand Prime: step 9, image 1 of 3 Waterlogged Samsung Galaxy Grand Prime: step 9, image 2 of 3 Waterlogged Samsung Galaxy Grand Prime: step 9, image 3 of 3
      • Retrieve all of the 4mm screws you put aside in Step 3

      • Using the 1.5x25 millimeter Phillips head screwdriver, tighten all 9 of the 4mm screws

      • Confirm that each screw is sufficiently tightened to ensure stability and proper function

      Ask FixBot

      Add Comment

    10. Waterlogged Samsung Galaxy Grand Prime: step 10, image 1 of 3 Waterlogged Samsung Galaxy Grand Prime: step 10, image 2 of 3 Waterlogged Samsung Galaxy Grand Prime: step 10, image 3 of 3
      • Bring back the primary back panel from step 2

      • Align the primary back panel with the secondary back panel, ensuring the Samsung logo is facing outward

      • Click the panels together and work your way around until all sides are securely attached

      Ask FixBot

      Add Comment

    11. Waterlogged Samsung Galaxy Grand Prime: step 11, image 1 of 2 Waterlogged Samsung Galaxy Grand Prime: step 11, image 2 of 2
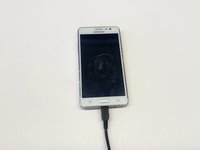
      • Charge the phone with a USB Micro-B cable so it has an initial charge when opening it back up

      • When all steps are performed correctly, the phone should power up and work as intended

      Ask FixBot

      Add Comment

Finish Line

Cancel: I did not complete this guide.

4 other people completed this guide.

Johny Vu

Member since: 10/24/23

265 Reputation

1 Guide authored

Team

CSU Los Angeles, Team 9-7, Ribeiro Fall 2023 Member of CSU Los Angeles, Team 9-7, Ribeiro Fall 2023

CSULA-RIBEIRO-F23S9G7

3 Members

12 Guides authored

0 Guide Comments

Add Comment

View Statistics:

Past 24 Hours: 2

Past 7 Days: 17

Past 30 Days: 59

All Time: 847