Introduction
This guide demonstrates how to replace the rumble motor for WarioWare: Twisted!
WarioWare: Twisted! is a beloved Gameboy Advance game from the early 2000s that people still play to this day. WarioWare: Twisted! uses a rumble motor that is essential for the game to function. It works together with the built-in gyro sensor to provide feedback to the game player when the handheld game is rotated. If the rumble motor fails due to age or it burns out after lots of gameplay, use this guide to replace the rumble motor.
This repair requires soldering. If you're not experienced with soldering or need a refresher on the topic, take a look at this guide, How to Solder and Desolder Connections.
What you need
-
-
-
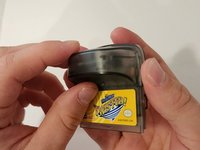
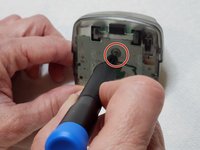
Use a Tri-point Y0 screwdriver to remove the single 3 mm screw located at the back of the game.
-
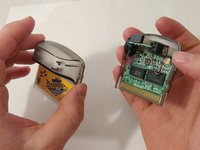
Remove the cover to expose the control module electronics board underneath.
 Ask FixBot
-
-
-
Heat up the soldering iron to approximately 350 degrees Fahrenheit.
-
Remove the rumble motor from the slot.
-
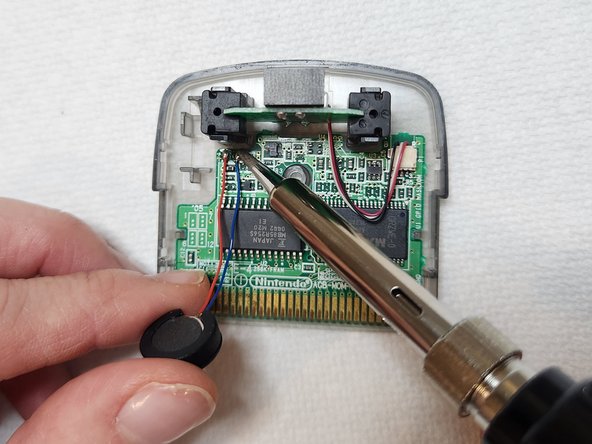
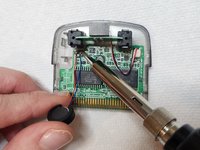
Apply the tip of the soldering iron to the connection points, causing the red and blue wires to melt and detach.
-
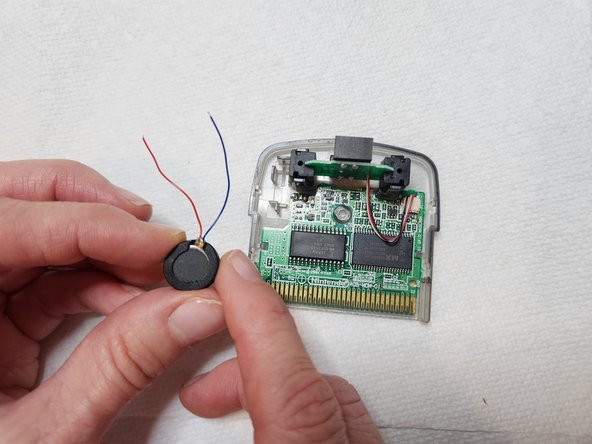
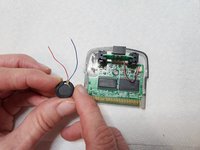
Separate the old rumble motor from the board and set it aside.
-
-
-
-
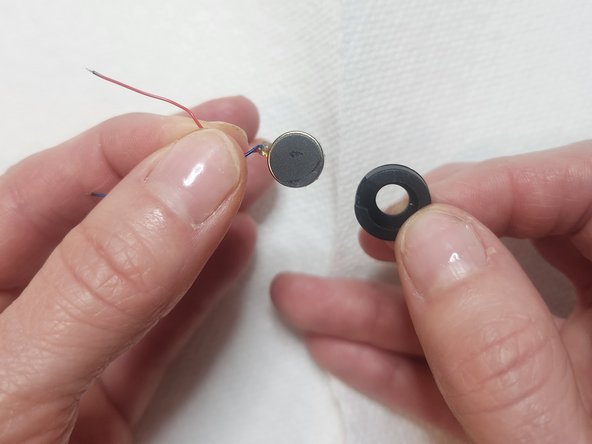
Use your hands to remove the black sleeve from the old rumble motor.
-
Set the old rumble motor aside.
-
Use your hands to place the black sleeve onto the new rumble motor you're using.
-
-
-
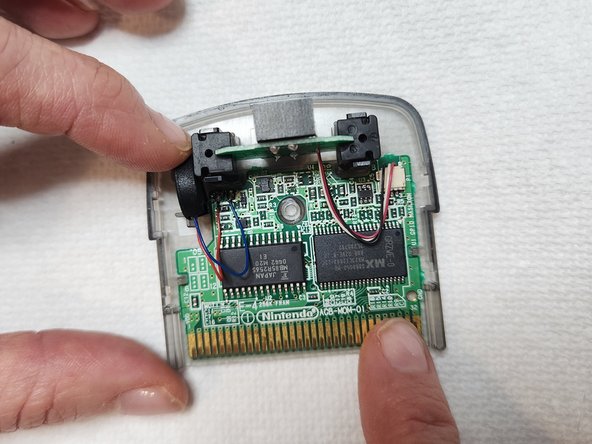
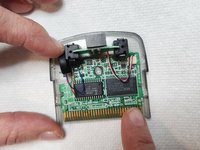
Place the red wire onto the plus (left) side, and the blue wire onto the minus (right) side.
-
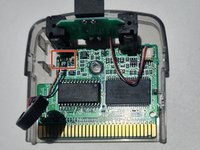
To reattach the red and blue wires, carefully bring the tip of the soldering iron into contact with the connection points.
-
Place the new rumble motor back in its slot.
-
Turn off the soldering iron after you finish this step.
-
-
-
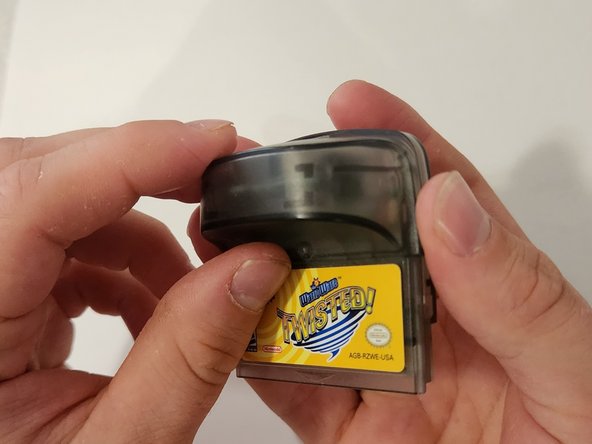
Use your Tri-point Y0 screwdriver to screw the single 3 mm screw back into place.
-
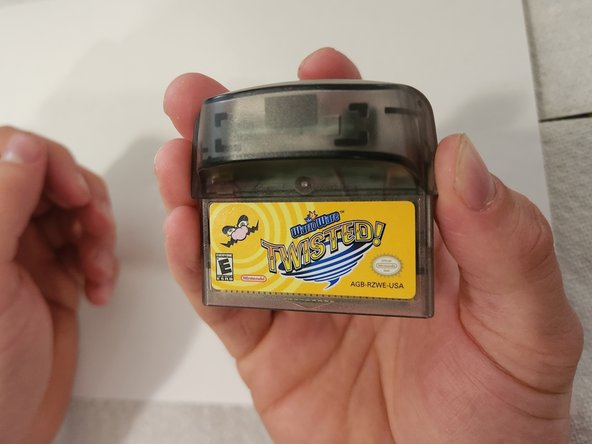
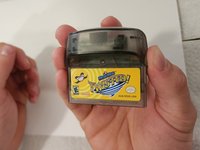
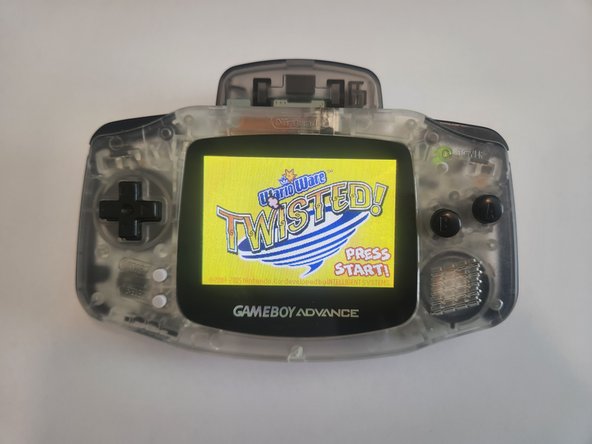
Test the game to make sure the problem is fixed and you should be ready to play!
-
-





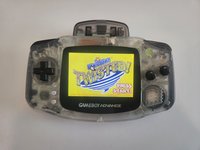
I hope this guide solved your problem, and your game should work like new again!
Cancel: I did not complete this guide.
4 other people completed this guide.

Team

Austin Community College, Team 4-7, Watkins Summer 2023 Member of Austin Community College, Team 4-7, Watkins Summer 2023
AUSTINCC-WATKINS-SU23S4G7
1 Member
12 Guides authored
