Free Shipping on Domestic Orders $75+

Wahl Professional Designer Power Cord Replacement

What you need

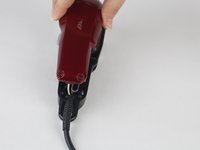
    1. Wahl Professional Designer Power Cord Replacement, Power Cord: step 1, image 1 of 2 Wahl Professional Designer Power Cord Replacement, Power Cord: step 1, image 2 of 2
      • Unscrew the 12 mm Phillips head screws located at the top of the cover and at the bottom two corners, using a Phillips #1 Screwdriver.

      Ask FixBot

      Add Comment

    2. Wahl Professional Designer Power Cord Replacement: step 2, image 1 of 3 Wahl Professional Designer Power Cord Replacement: step 2, image 2 of 3 Wahl Professional Designer Power Cord Replacement: step 2, image 3 of 3
      • Remove the cover from the device.

      Ask FixBot

      Add Comment

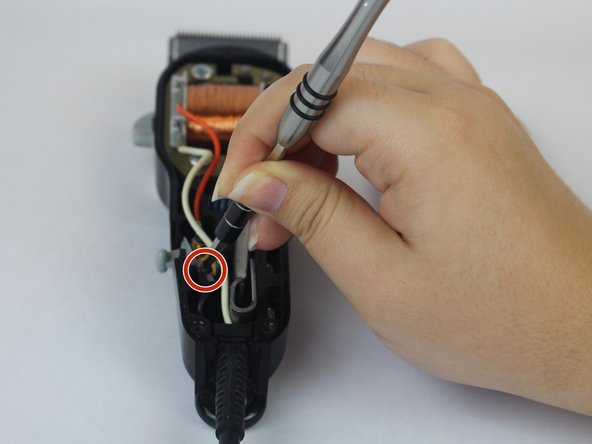
    3. Wahl Professional Designer Power Cord Replacement: step 3, image 1 of 3 Wahl Professional Designer Power Cord Replacement: step 3, image 2 of 3 Wahl Professional Designer Power Cord Replacement: step 3, image 3 of 3
      • Unscrew the black 5.556 mm Phillip head screw on the power switch, closest to the power cord with a Phillips #0 Screwdriver.

      Ask FixBot

      Add Comment

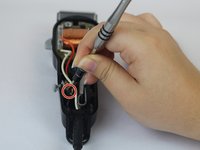
    4. Wahl Professional Designer Power Cord Replacement: step 4, image 1 of 2 Wahl Professional Designer Power Cord Replacement: step 4, image 2 of 2
      • Gently remove the black wire connected to the black screw.

      Ask FixBot

      Add Comment

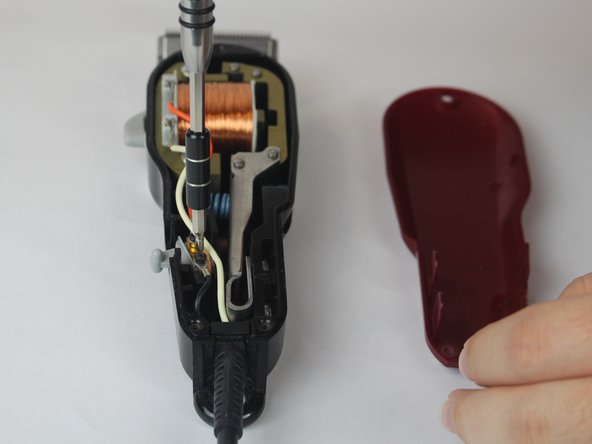
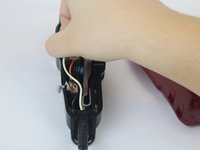
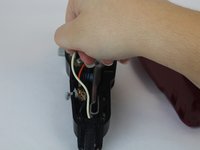
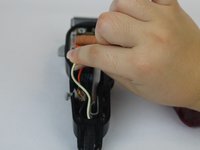
    5. Wahl Professional Designer Power Cord Replacement: step 5, image 1 of 3 Wahl Professional Designer Power Cord Replacement: step 5, image 2 of 3 Wahl Professional Designer Power Cord Replacement: step 5, image 3 of 3
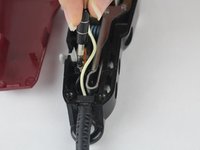
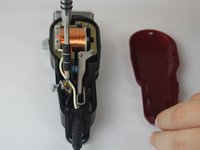
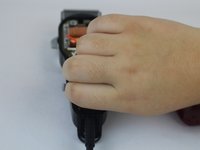
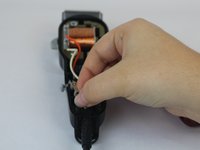
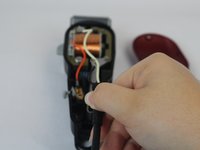
      • Remove the white wire connected to the power cord and the motor by grabbing the white wire firmly on both sides near the motor mounting and wiggling until release.

      Ask FixBot

      Add Comment

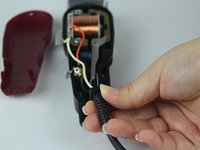
    6. Wahl Professional Designer Power Cord Replacement: step 6, image 1 of 2 Wahl Professional Designer Power Cord Replacement: step 6, image 2 of 2
      • Remove the power cord from its mount at the bottom of the device.

      Ask FixBot

      Add Comment

Conclusion

To reassemble your device, follow these instructions in reverse order.

Cancel: I did not complete this guide.

Sophia Swearengin

Member since: 09/26/17

814 Reputation

5 Guides authored

Team

USF Tampa, Team S14-G5, Boczar Fall 2017 Member of USF Tampa, Team S14-G5, Boczar Fall 2017

USFT-BOCZAR-F17S14G5

2 Members

60 Guides authored

0 Guide Comments

Add Comment

View Statistics:

Past 24 Hours: 2

Past 7 Days: 33

Past 30 Days: 56

All Time: 824