
Wacom Intuos4 Express Keys Replacement

Aidan Sullivan and 4 other contributors
Last updated on May 7, 2024
Views: 799
View statistics:
- Past 24 Hours:
- 2
- Past 7 Days:
- 19
- Past 30 Days:
- 76
- All Time:
- 799
Comments: 0
No one has left comments on this guide. Will you be first?
Go to guide commentsCompleted: 0 1
No one has marked this guide "completed." Will you be the first?
1 person has marked this guide "completed." It's you — great job!
Favorites: 0 1
No one has favorited (and subscribed to) this guide. Will you be the first?
1 person has favorited (and subscribed to) this guide — and that's you!
Introduction
Go to step 1 ↓Use this guide to replace the express keys of a Wacom Intuos4.
Express keys are buttons on the Wacom Intuos4 used to quickly navigate your computer while using the tablet. The express keys may be broken or destroyed by physical damage.
This guide was created with a model PTK-640 Wacom Intuos4. Different models may vary in design.
What you need
Tools


-
-
-
Flip device on its back and remove all fourteen 7.1 mm screws using a Phillips #1 screwdriver.
-
There is a single screw located under each of the rubber leg pieces. Use a shimmy tool to remove these pieces to access the screws.
 Ask FixBot
-
-
-
Lift the screen's foam backing connecting the motherboard/drawing board to the two smaller express-key boards, placing it onto the motherboard.
-
Separate the outer casing from the rest of the tablet.
-
-
-
-
Tool used on this step:Tweezers$4.99
-
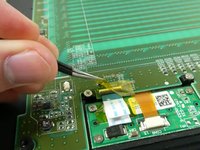
Lift yellow tape covering the flat wires with a pair of tweezers.
-
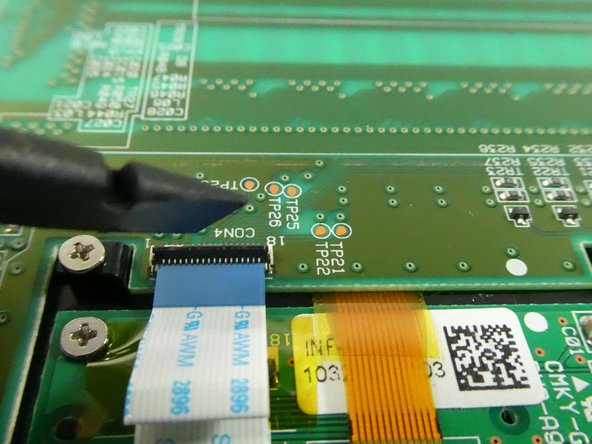
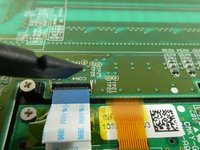
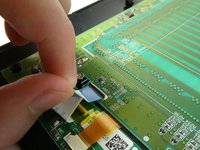
Lift the black plastic clip holding the flat wire to the connector.
-
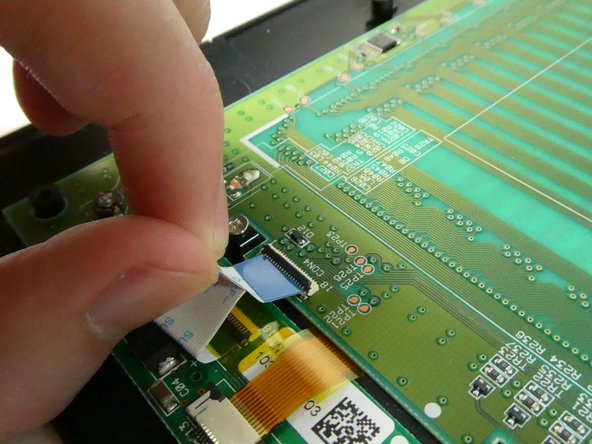
Pull on the white plastic tab to disconnect the flat wire.
-
Do this for the left and right express key chips.
-
-
-
Pull the black plastic clip away from the flat wire connector, and pull the flat wire out.
-
-
-
-
Use a #1 Phillips head screwdriver to unscrew the four 5mm screws on the express key board you want to replace.
-
-
-
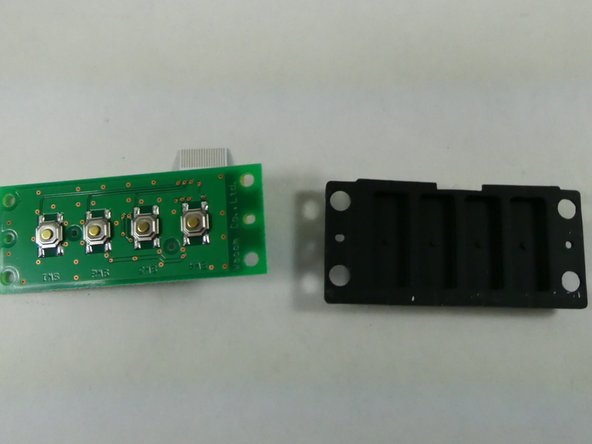
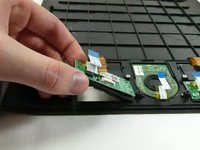
Lift the board and rubber buttons up from the case.
-
Separate the rubber buttons from the board.
-
-




To reassemble your device, follow these instructions in reverse order.

Team

UMass Dartmouth, Team 3-6, Botvin Fall 2022 Member of UMass Dartmouth, Team 3-6, Botvin Fall 2022
UMASSD-BOTVIN-F22S3G6
4 Members
60 Guides authored
