Introduction
If your Wacom Intuos Pro touch pad is damaged, the device will not be able to fully detect pen inputs and pressure. If this occurs, you may experience dead zones or zones where your touchpad may not detect pen pressure accurately. If troubleshooting your device does not work, you may need to replace the touch pad sensor. Replacing the sensor can remove dead zones and improve pressure accuracy.
! - Be sure to exercise caution when lifting the touch pad out of the case. Incorrectly removing the touch pad may damage the sensors or other components.
Follow this link for troubleshooting instructions before replacing the touch pad hardware.
What you need
-
-
-
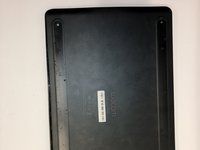
Orient the device so the bottom casing is facing upwards.
-
Use your fingers to gently pull on the rubber covers on the bottom of the device to remove them.
 Ask FixBot
-
-
-
Remove the four 4mm screws from underneath the rubber feet using a Phillips #00 screwdriver.
-
The screws are located 40mm in from the edge, so it not necessary to completely remove the rubber if you prefer not to.
-
-
-
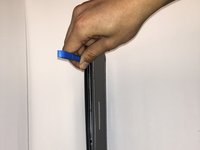
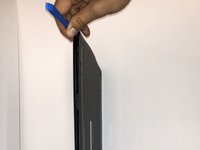
Insert the iFixit Opening Tool between the front and back cover of the device in order to snap and separate the type locks from around the edges.
-
Use the iFixit Opening Tool all the way around the edges until all the snaps have been released.
-
-
-
-
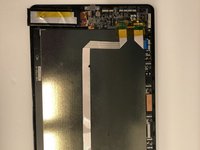
Remove the case backing from the rear of the device with your hands so the internal components are exposed.
-
-
-
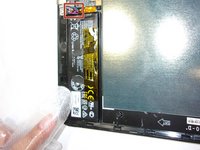
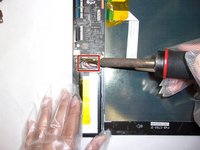
If not already done, desolder the three colored cables that connect the battery to the motherboard.
-
After desoldering the battery, carefully remove it.
-
-
-
-
-
Gently pull the blue tabs on the four ribbon cables from the ZIF connectors on the motherboard.
-
-
-
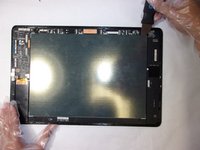
Gently wedge the Jimmy under the black backing of the blue touchpad.
-
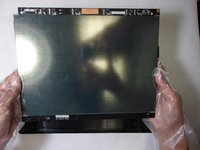
Gently pry up the touchpad and remove it from the case.
-
-








To reassemble your device, follow these instructions in reverse order.

Team

The Citadel Military College of South Carolina, Team 2-13, Eggleston Fall 2021 Member of The Citadel Military College of South Carolina, Team 2-13, Eggleston Fall 2021
CMCSC-EGGLESTON-F21S2G13
3 Members
24 Guides authored
