Introduction
The power port in the Wacom Cintiq 24HD can fail over time due to overuse. The power port must function in order for the Cintiq to work. This guide will show you how to replace the power port. Soldering skills and tools will be needed for this replacement. iFixit has a guide to soldering which you can find here.
What you need
-
-
-
Unplug any cables from the USB, power, display or DVI-D ports by gripping the cord by the connector and pulling straight out of the port.
 Ask FixBot
-
-
-
Place the device screen down on a flat surface.
-
Remove eight 10mm Phillips #2 screws (four on each leg of the stand) by turning the screwdriver counterclockwise.
-
-
-
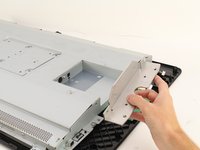
Lift the stand up and away from the rest of the device so the legs separate from the mounting plate.
-
-
-
-
-
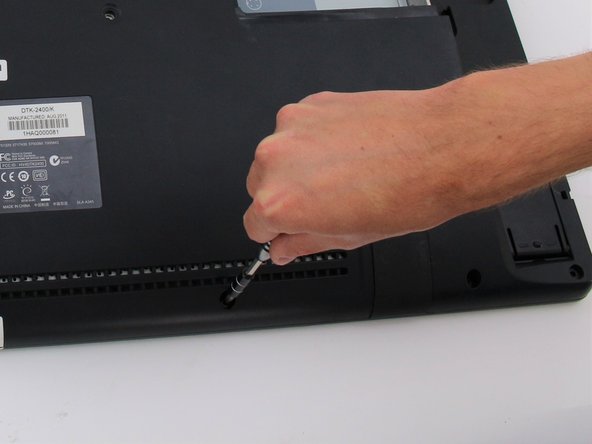
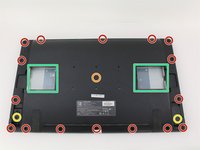
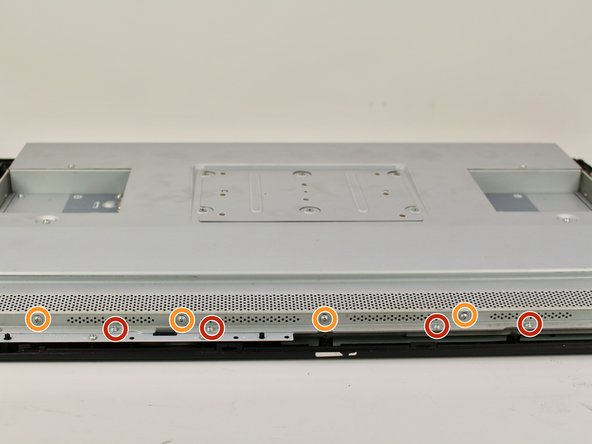
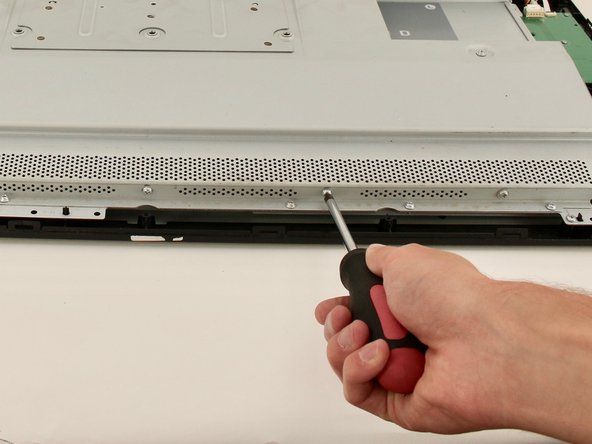
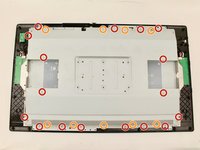
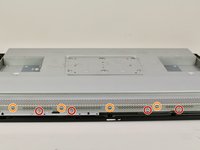
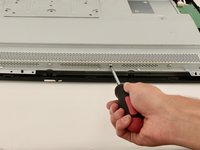
Remove eighteen 10.2mm Phillips #1 screws from the perimeter of the back panel by turning the screwdriver counterclockwise.
-
Remove one 11.9mm Phillips #1 screw from the center of the back panel.
-
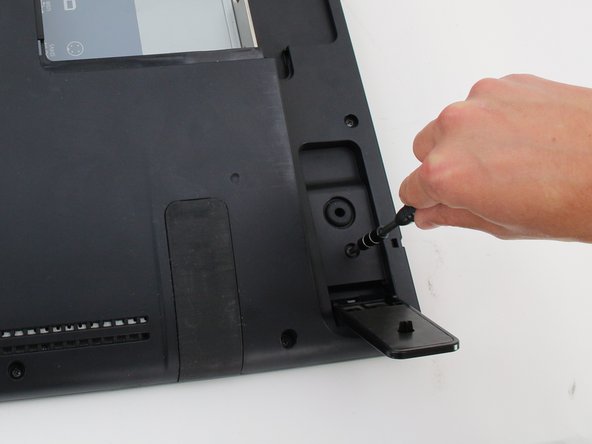
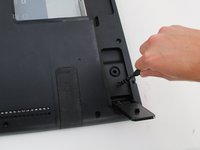
Remove two 10.2mm Phillips #1 screws from underneath hinged panels in the bottom right and left corners.
-
-
-
Lift the back panel up by a corner and insert a plastic opening tool in the gap.
-
Slide the tool along the gap around the perimeter of the device while lifting to unlatch the back panel.
-
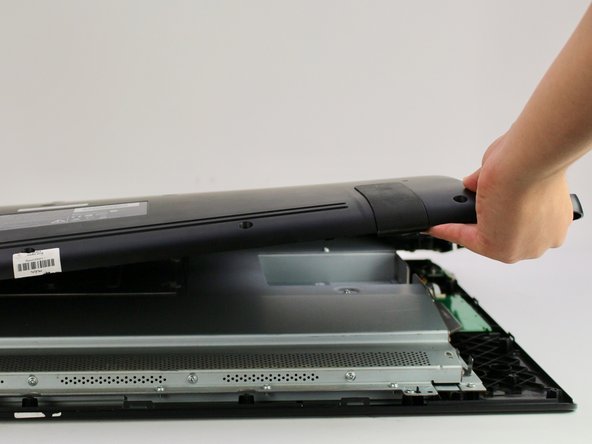
Remove the panel by lifting it up and off of the device.
-
-
-
-
-
-
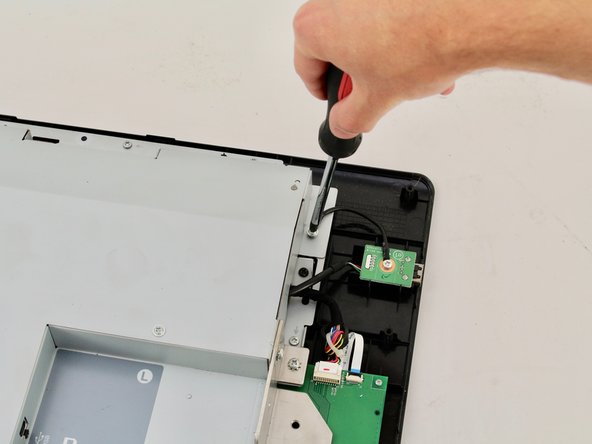
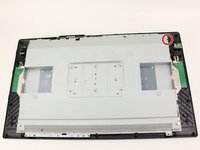
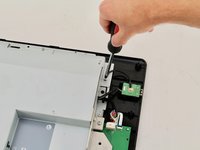
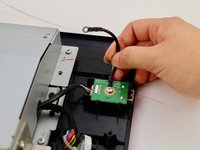
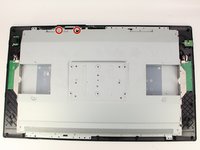
Detach the small black wire connecting the back metal plate to the USB video port by removing the one 8 mm Phillips #2 screw from the back metal plate and turning the screwdriver counterclockwise.
-
-
-
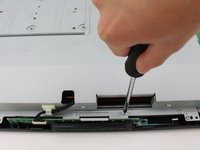
Remove the two 8 mm Phillips #2 screws from the metal button plate by rotating the screwdriver counterclockwise.
-
Remove the metal button plate from the back metal plate.
-
-
-
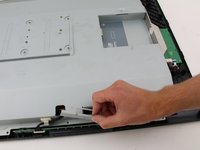
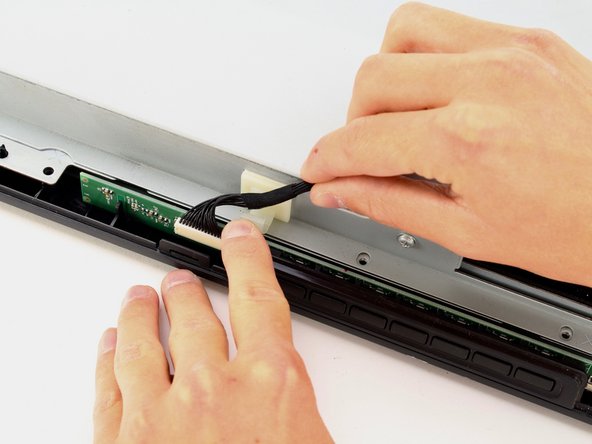
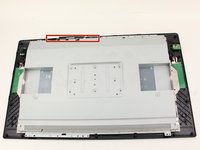
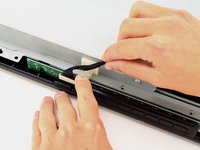
Remove the button wires from the support clip by pushing down on the clip.
-
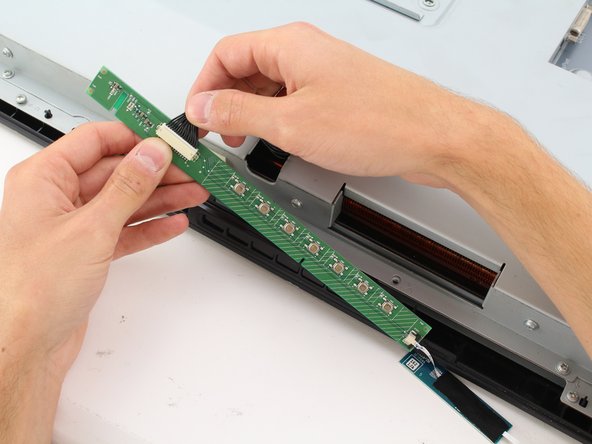
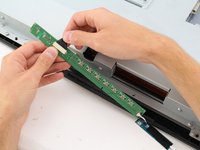
Detach the button wires from the button board by pulling the button wires away from the board.
-
Place the button board back in to the device.
-
-
-
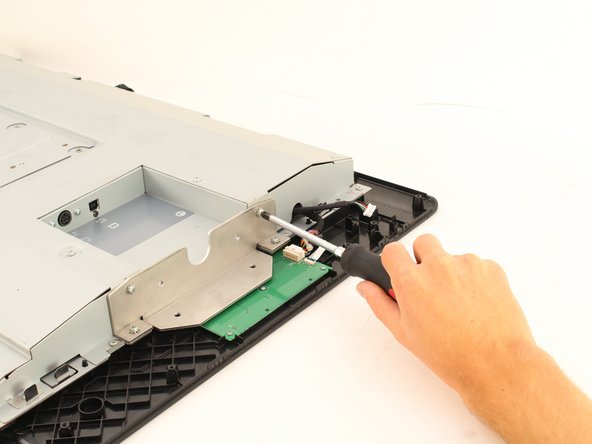
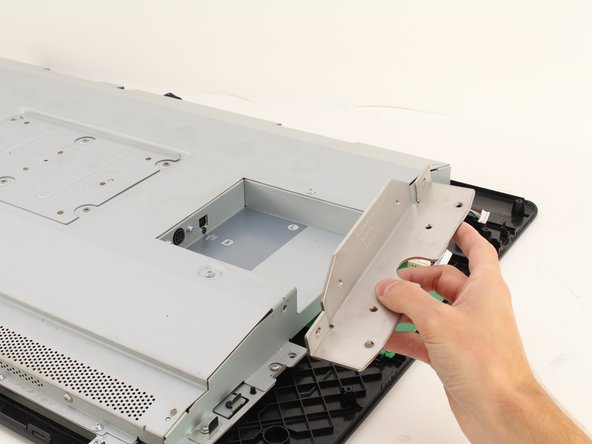
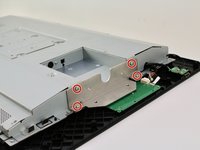
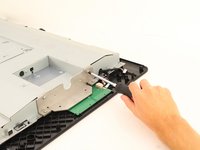
Remove the eight (four on each plate) 10.2mm Phillips #2 screws with locking washers from the metal mounting plates by rotating the screwdriver counterclockwise.
-
Remove the two metal mounting plates.
-
-
-
Remove the sixteen 8 mm Phillips #2 screws with flanges from the horizontal side of the plate by turning the screwdriver counterclockwise.
-
Remove the ten 8 mm Phillips #2 screws with flanges from the vertical sides of the plate by turning the screwdriver counterclockwise.
-
-
-
Remove the back metal plate by lifting up along one edge , then lifting the plate off and away from the device.
-
-
-
-
-
Remove the two 7.8mm Phillips #2 screws from the right back panel connected to the power port by turning the screwdriver counterclockwise.
-
-
-
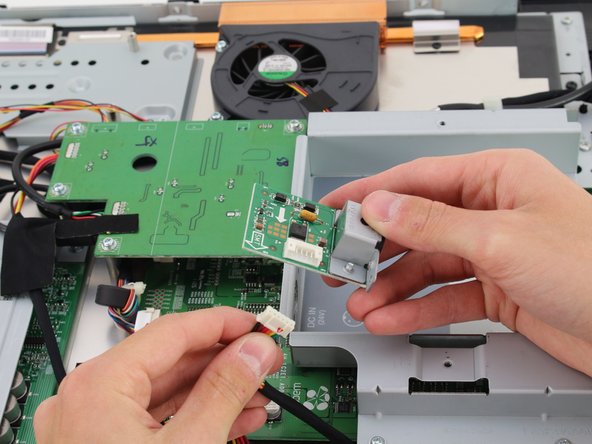
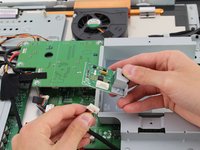
Lift the power port and attached daughterboard out of the device.
-
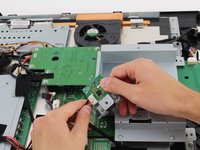
Remove the wires from the daughterboard.
-
-
-
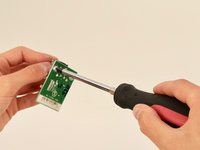
Remove the two 8 mm Phillips #2 screws from the daughterboard by turning the screwdriver counterclockwise.
-
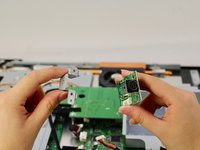
Detach the metal cover from the power port.
-
-
-
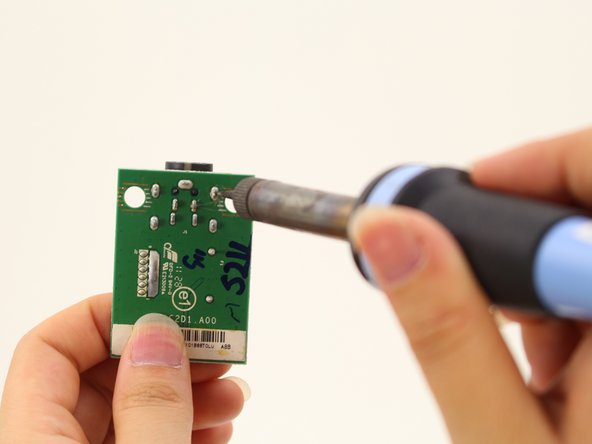
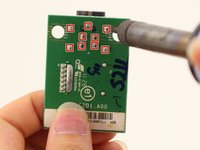
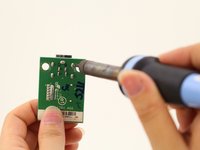
Desolder the connections the power port connections using a soldering iron.
-
Remove the power port from the daughterboard by lifting it off.
-
-















To reassemble your device, follow these instructions in reverse order.
Cancel: I did not complete this guide.
3 other people completed this guide.

Team

Cal Poly, Team S15-G3, White Fall 2018 Member of Cal Poly, Team S15-G3, White Fall 2018
CPSU-WHITE-F18S15G3
4 Members
18 Guides authored
8 Guide Comments
My 24 HD blue power light comes on and off about once a second, you can hear the fan start and stop. Is a faulty power board the reason or is it the ps block ?
Is there any where I can get this part the circuit board is damaged
any information regarding where to buy this component
