Free Shipping on Domestic Orders $75+

Wacker Pump PG1 2014 Seal Kit Replacement

What you need

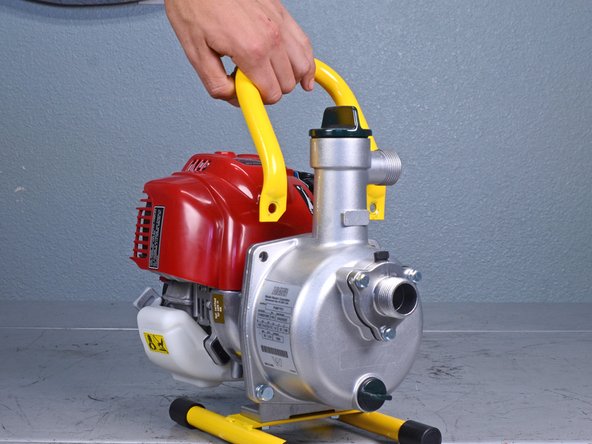
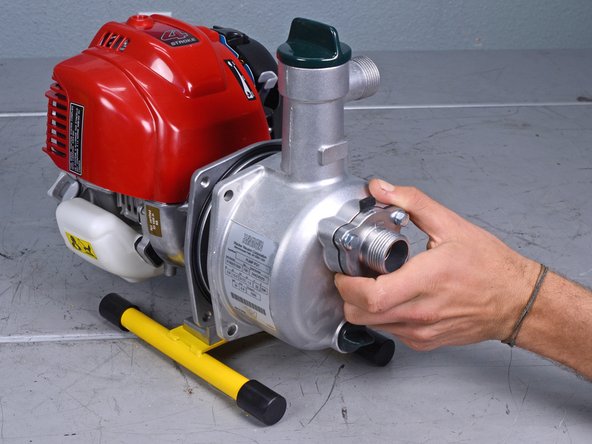
    1. Wacker Pump PG1 2014 Seal Kit Replacement, Safety precautions: step 1, image 1 of 2 Wacker Pump PG1 2014 Seal Kit Replacement, Safety precautions: step 1, image 2 of 2
      • Before beginning repairs, disconnect and remove all hoses.

      • Flip the motor ignition switch into the OFF position.

      Ask FixBot

      Add Comment

    1. Wacker Pump PG1 2014 Seal Kit Replacement, Float Chamber Housing: step 2, image 1 of 1
      • Use a 13 mm socket to remove the two bolts securing the handle.

      Ask FixBot

      Add Comment

    2. Wacker Pump PG1 2014 Seal Kit Replacement: step 3, image 1 of 2 Wacker Pump PG1 2014 Seal Kit Replacement: step 3, image 2 of 2
      • Remove the handle.

      Ask FixBot

      Add Comment

    3. Wacker Pump PG1 2014 Seal Kit Replacement: step 4, image 1 of 1
      • Use a 13 mm socket to remove the two bolts securing the float chamber housing.

      Ask FixBot

      Add Comment

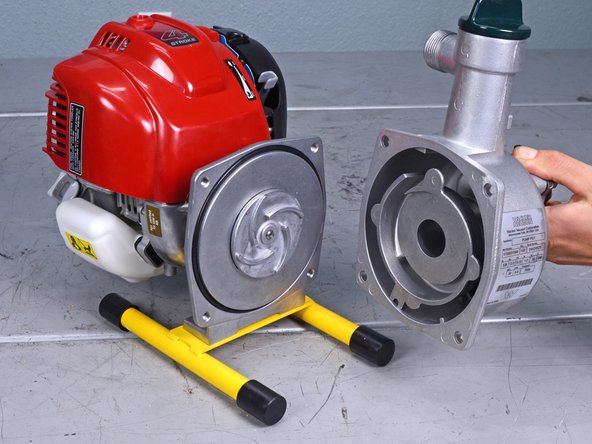
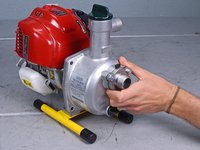
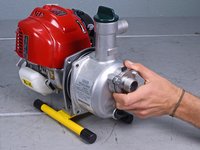
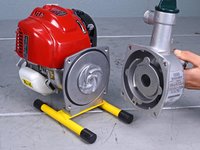
    4. Wacker Pump PG1 2014 Seal Kit Replacement: step 5, image 1 of 3 Wacker Pump PG1 2014 Seal Kit Replacement: step 5, image 2 of 3 Wacker Pump PG1 2014 Seal Kit Replacement: step 5, image 3 of 3
      • Remove the float chamber housing.

      Ask FixBot

      Add Comment

    1. Wacker Pump PG1 2014 Seal Kit Replacement, Remove the engine cover: step 6, image 1 of 1
      • Use a 4 mm hex key to remove the bolt securing the engine cover.

      Ask FixBot

      Add Comment

    2. Wacker Pump PG1 2014 Seal Kit Replacement: step 7, image 1 of 2 Wacker Pump PG1 2014 Seal Kit Replacement: step 7, image 2 of 2
      • Lift up to remove the engine cover.

      Ask FixBot

      Add Comment

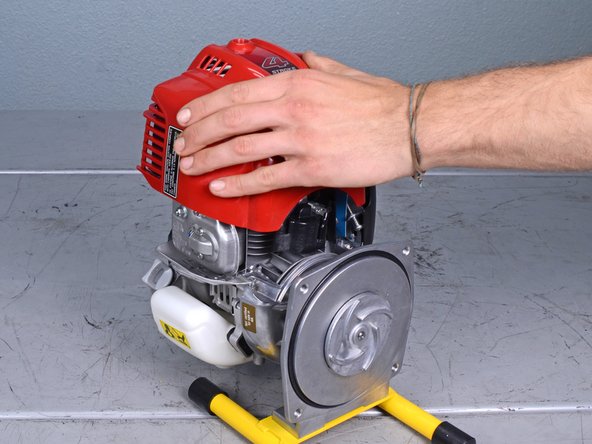
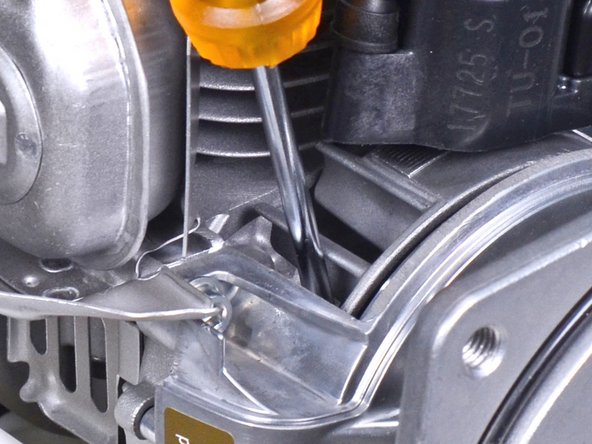
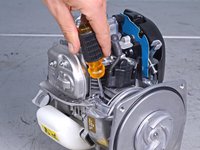
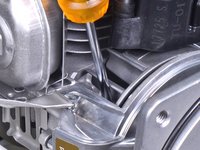
    3. Wacker Pump PG1 2014 Seal Kit Replacement, Block the fan blades: step 8, image 1 of 2 Wacker Pump PG1 2014 Seal Kit Replacement, Block the fan blades: step 8, image 2 of 2
      • The impeller is threaded onto the motor's output shaft and will need to be loosened. In order to stop the shaft from rotating, the motor fan assembly will need to be blocked.

      • Insert a flathead screwdriver between two fan blades on the motor fan assembly.

      Ask FixBot

      Add Comment

    4. Wacker Pump PG1 2014 Seal Kit Replacement, Loosen the impeller: step 9, image 1 of 1
      • Tap the impeller on one of its blades with a rubber mallet and a punch to break it loose from the threads on the output shaft.

      Ask FixBot

      Add Comment

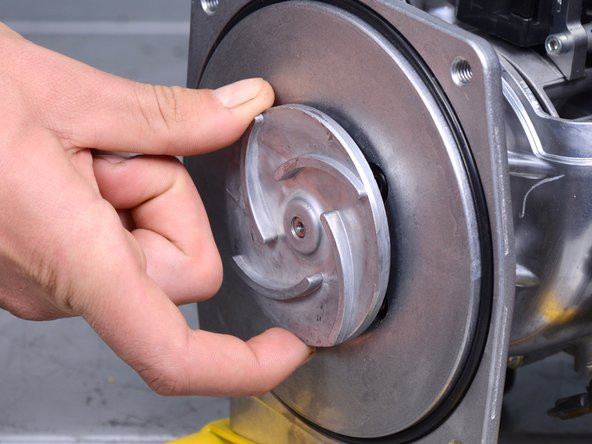
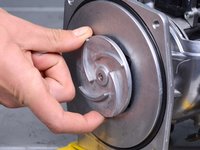
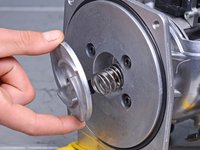
    5. Wacker Pump PG1 2014 Seal Kit Replacement, Remove the impeller: step 10, image 1 of 3 Wacker Pump PG1 2014 Seal Kit Replacement, Remove the impeller: step 10, image 2 of 3 Wacker Pump PG1 2014 Seal Kit Replacement, Remove the impeller: step 10, image 3 of 3
      • Use your fingers to unthread and remove the impeller.

      • With the impeller removed, the seal kit spring will become loose and may fall out.

      Ask FixBot

      Add Comment

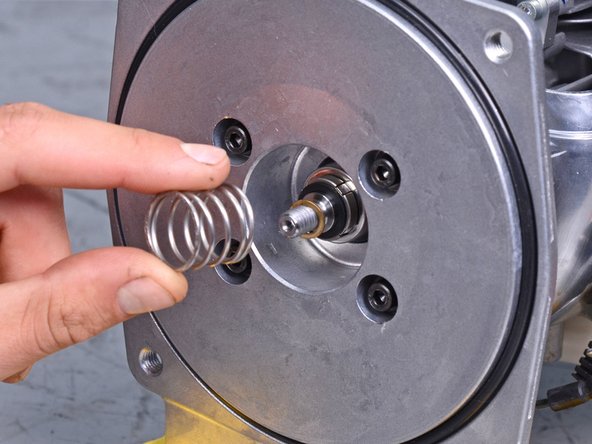
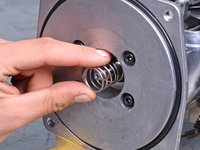
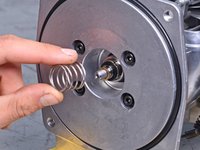
    1. Wacker Pump PG1 2014 Seal Kit Replacement, Remove the seal spring: step 11, image 1 of 2 Wacker Pump PG1 2014 Seal Kit Replacement, Remove the seal spring: step 11, image 2 of 2
      • Remove the seal kit spring.

      Ask FixBot

      Add Comment

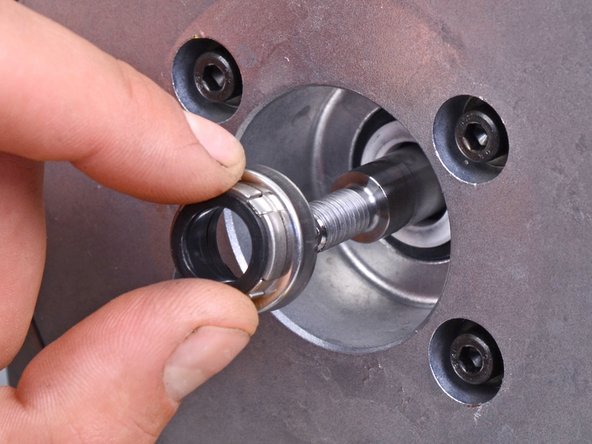
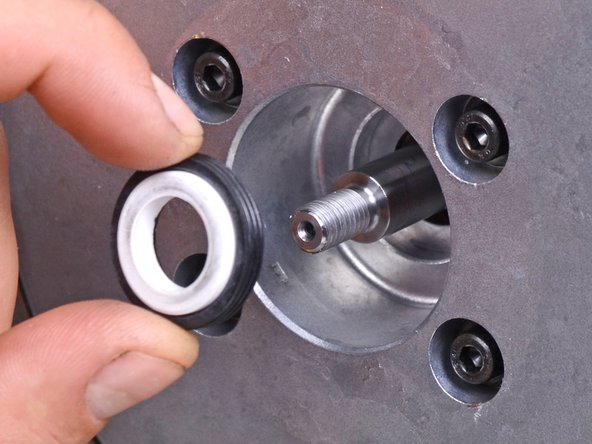
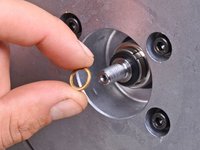
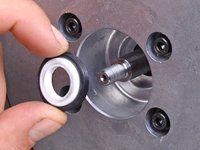
    2. Wacker Pump PG1 2014 Seal Kit Replacement, Remove the seal kit components: step 12, image 1 of 3 Wacker Pump PG1 2014 Seal Kit Replacement, Remove the seal kit components: step 12, image 2 of 3 Wacker Pump PG1 2014 Seal Kit Replacement, Remove the seal kit components: step 12, image 3 of 3
      • Remove the seal kit washer.

      • Remove the seal kit flange.

      • Remove the seal kit bushing.

      Ask FixBot

      Add Comment

Conclusion

To reassemble your device, follow these instructions in reverse order.

Cancel: I did not complete this guide.

Carsten Frauenheim

Member since: 03/10/20

168,890 Reputation

437 Guides authored

Team

iFixit Member of iFixit

Staff

123 Members

80,460 Guides authored

0 Guide Comments

Add Comment

View Statistics:

Past 24 Hours: 0

Past 7 Days: 10

Past 30 Days: 29

All Time: 456