Free Shipping on Domestic Orders $75+

WRS315SDHW Dispenser Solenoid Replacement

What you need

    1. WRS315SDHW Dispenser Solenoid Replacement, Safety precautions: step 1, image 1 of 1
      • Before you begin your repair, perform the following:

      • Turn off your main water supply

      • Unplug your device

      Ask FixBot

      Add Comment

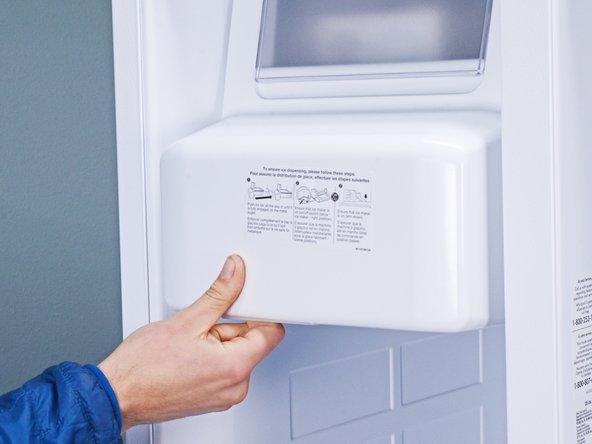
    1. WRS315SDHW Dispenser Solenoid Replacement, Open the doors: step 2, image 1 of 3 WRS315SDHW Dispenser Solenoid Replacement, Open the doors: step 2, image 2 of 3 WRS315SDHW Dispenser Solenoid Replacement, Open the doors: step 2, image 3 of 3
      • Depending on your repair, open one or both doors.

      Ask FixBot

      Add Comment

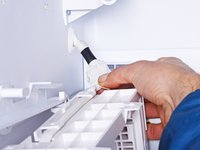
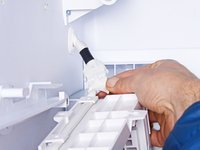
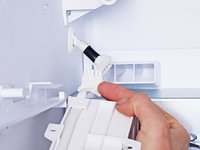
    1. WRS315SDHW Dispenser Solenoid Replacement, Remove the icemaker tray: step 3, image 1 of 2 WRS315SDHW Dispenser Solenoid Replacement, Remove the icemaker tray: step 3, image 2 of 2
      • Pull the icemaker tray completely out of its slot in the chassis.

      Ask FixBot

      Add Comment

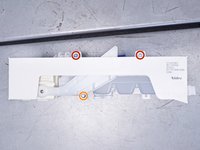
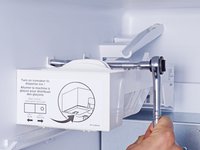
    2. WRS315SDHW Dispenser Solenoid Replacement, Unfasten the icemaker assembly: step 4, image 1 of 2 WRS315SDHW Dispenser Solenoid Replacement, Unfasten the icemaker assembly: step 4, image 2 of 2
      • Use a 1/4 inch socket wrench to remove the three screws securing the icemaker assembly (shown with the assembly removed):

      • Two 23.9 mm-long screws

      • One 16.7 mm-long screw

      Ask FixBot
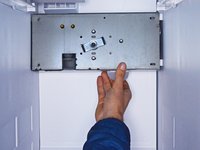
      Add Comment

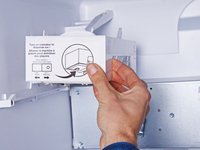
    3. WRS315SDHW Dispenser Solenoid Replacement, Reposition the icemaker assembly: step 5, image 1 of 3 WRS315SDHW Dispenser Solenoid Replacement, Reposition the icemaker assembly: step 5, image 2 of 3 WRS315SDHW Dispenser Solenoid Replacement, Reposition the icemaker assembly: step 5, image 3 of 3
      • Pull the icemaker assembly toward the right edge of the refrigerator to release it from its slot in the chassis.

      • Let the icemaker assembly hang to access its connector.

      Ask FixBot
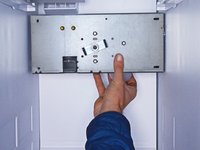
      Add Comment

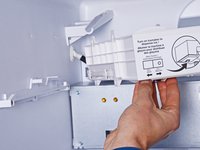
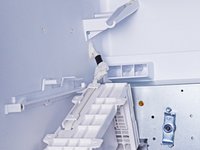
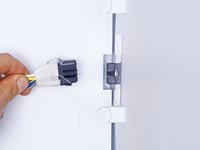
    4. WRS315SDHW Dispenser Solenoid Replacement, Disconnect the icemaker assembly: step 6, image 1 of 3 WRS315SDHW Dispenser Solenoid Replacement, Disconnect the icemaker assembly: step 6, image 2 of 3 WRS315SDHW Dispenser Solenoid Replacement, Disconnect the icemaker assembly: step 6, image 3 of 3
      • Disconnect the spade connector attached to the icemaker assembly.

      Ask FixBot
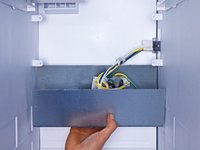
      Add Comment

    5. WRS315SDHW Dispenser Solenoid Replacement, Remove the icemaker assembly: step 7, image 1 of 1
      • Remove the icemaker assembly.

      Ask FixBot

      Add Comment

    1. WRS315SDHW Dispenser Solenoid Replacement, Unfasten the icemaker auger assembly: step 8, image 1 of 1
      • Use a 1/4 inch socket wrench to remove the four screws securing the icemaker auger assembly:

      • Two 24.1 mm-long screws

      • Two 16.5 mm-long screws

      Ask FixBot

      Add Comment

    2. WRS315SDHW Dispenser Solenoid Replacement, Reposition the icemaker auger assembly: step 9, image 1 of 3 WRS315SDHW Dispenser Solenoid Replacement, Reposition the icemaker auger assembly: step 9, image 2 of 3 WRS315SDHW Dispenser Solenoid Replacement, Reposition the icemaker auger assembly: step 9, image 3 of 3
      • Pull the icemaker auger assembly off of its slot in the chassis.

      • Let the assembly hang to access its connector.

      Ask FixBot

      Add Comment

    3. WRS315SDHW Dispenser Solenoid Replacement, Disconnect the icemaker auger assembly: step 10, image 1 of 3 WRS315SDHW Dispenser Solenoid Replacement, Disconnect the icemaker auger assembly: step 10, image 2 of 3 WRS315SDHW Dispenser Solenoid Replacement, Disconnect the icemaker auger assembly: step 10, image 3 of 3
      • Use a flathead screwdriver, or a similar tool, to compress the connector attached to the icemaker auger assembly.

      • Use your hands to disconnect the assembly connector.

      Ask FixBot
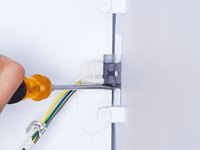
      Add Comment
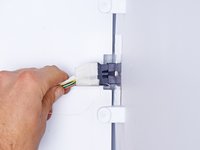
    4. WRS315SDHW Dispenser Solenoid Replacement, Remove the icemaker auger assembly: step 11, image 1 of 1
      • Remove the icemaker auger assembly.

      Ask FixBot

      Add Comment

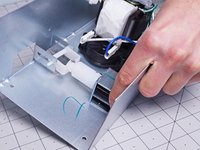
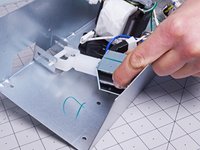
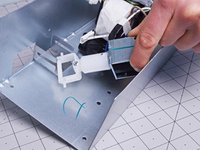
    1. WRS315SDHW Dispenser Solenoid Replacement, Remove the dispenser: step 12, image 1 of 3 WRS315SDHW Dispenser Solenoid Replacement, Remove the dispenser: step 12, image 2 of 3 WRS315SDHW Dispenser Solenoid Replacement, Remove the dispenser: step 12, image 3 of 3
      • Slide the dispenser head out of its slot in the icemaker auger assembly.

      Ask FixBot

      Add Comment

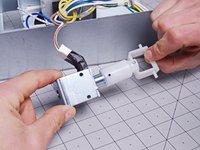
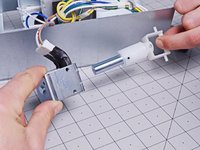
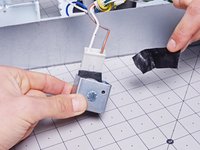
    2. WRS315SDHW Dispenser Solenoid Replacement: step 13, image 1 of 2 WRS315SDHW Dispenser Solenoid Replacement: step 13, image 2 of 2
      • Remove the dispenser head out of its metal solenoid cube.

      Ask FixBot

      Add Comment

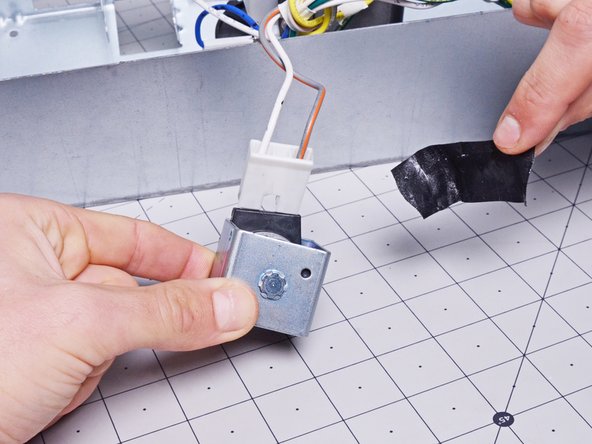
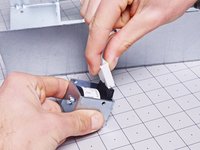
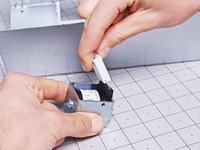
    3. WRS315SDHW Dispenser Solenoid Replacement, Remove the tape: step 14, image 1 of 3 WRS315SDHW Dispenser Solenoid Replacement, Remove the tape: step 14, image 2 of 3 WRS315SDHW Dispenser Solenoid Replacement, Remove the tape: step 14, image 3 of 3
      • Peel the tape off the solenoid connector.

      • Set the tape aside. You'll reuse it during reassembly.

      Ask FixBot

      Add Comment

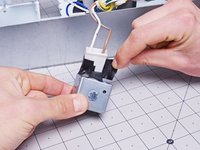
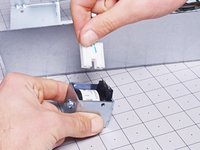
    4. WRS315SDHW Dispenser Solenoid Replacement, Disconnect the solenoid: step 15, image 1 of 3 WRS315SDHW Dispenser Solenoid Replacement, Disconnect the solenoid: step 15, image 2 of 3 WRS315SDHW Dispenser Solenoid Replacement, Disconnect the solenoid: step 15, image 3 of 3
      • Pull the solenoid spade connector straight out of the solenoid to disconnect it.

      Ask FixBot

      Add Comment

Conclusion

To reassemble your device, follow these instructions in reverse order.

Take your e-waste to an R2 or e-Stewards certified recycler.

Repair didn’t go as planned? Ask our Answers community for help.

Cancel: I did not complete this guide.

nicO

Member since: 04/14/15

15,990 Reputation

89 Guides authored

0 Guide Comments

Add Comment

View Statistics:

Past 24 Hours: 0

Past 7 Days: 4

Past 30 Days: 27

All Time: 397