Free Shipping on Domestic Orders $75+

WRS315SDHW Dispenser Assembly Replacement

Views: 1.8K

View statistics:

Past 24 Hours:
11
Past 7 Days:
62
Past 30 Days:
175
All Time:
1,850
Comments: 0

No one has left comments on this guide. Will you be first?

Go to guide comments
Completed: 1

1 person has marked this guide "completed." Will you be next?

Favorites: 0

No one has favorited (and subscribed to) this guide. Will you be the first?

Time Required: 30 - 45 minutes
Difficulty: Moderate
WRS315SDHW Dispenser Assembly Replacement

Introduction

Go to step 1 ↓

Use this guide to replace the dispenser assembly in your Whirlpool WRS315SDHW Refrigerator.

The dispenser assembly controls how your ice and water is dispensed out of your refrigerator. If your refrigerator is not dispensing properly, then the dispenser assembly might be broken.

Note: Some photos show the doors removed for clarity purposes. Removing them is not required and will not change the procedure.

What you need

    1. WRS315SDHW Dispenser Assembly Replacement, Safety precautions: step 1, image 1 of 1
      • Before you begin your repair, perform the following:

      • Turn off your main water supply

      • Unplug your device

      Ask FixBot

      Add Comment

    1. WRS315SDHW Dispenser Assembly Replacement, Unfasten the dispenser panels: step 2, image 1 of 2 WRS315SDHW Dispenser Assembly Replacement, Unfasten the dispenser panels: step 2, image 2 of 2
      • The dispenser panel screws are located under the dispenser as if you're looking up into the dispenser tube (where the ice cubes and water come out).

      • Use a 1/4 inch socket wrench to remove the two 15.6 mm-long screws securing the two dispenser panels.

      Ask FixBot
      Add Comment

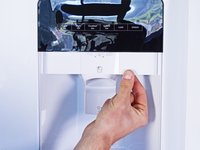
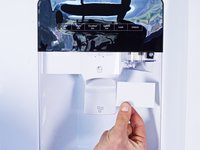
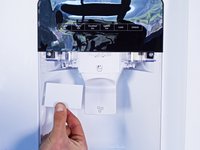
    2. WRS315SDHW Dispenser Assembly Replacement, Remove the dispenser panels: step 3, image 1 of 3 WRS315SDHW Dispenser Assembly Replacement, Remove the dispenser panels: step 3, image 2 of 3 WRS315SDHW Dispenser Assembly Replacement, Remove the dispenser panels: step 3, image 3 of 3
      • Pull the dispenser panels straight down to separate them from the chassis.

      • Remove the dispenser panels.

      Ask FixBot

      Add Comment

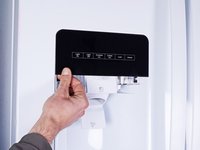
    3. WRS315SDHW Dispenser Assembly Replacement, Unfasten the control board: step 4, image 1 of 1
      • Use a 1/4 inch socket wrench to remove the two 15.6 mm-long screws securing the control board.

      Ask FixBot
      Add Comment

    4. WRS315SDHW Dispenser Assembly Replacement: step 5, image 1 of 3 WRS315SDHW Dispenser Assembly Replacement: step 5, image 2 of 3 WRS315SDHW Dispenser Assembly Replacement: step 5, image 3 of 3
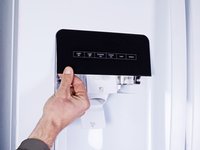
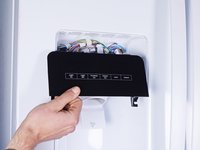
      • Tilt the bottom of the control board away from the chassis to release its clips.

      • Pull straight down to separate the control board enough to access its connectors.

      Ask FixBot
      Add Comment

    5. WRS315SDHW Dispenser Assembly Replacement, Disconnect the control board: step 6, image 1 of 3 WRS315SDHW Dispenser Assembly Replacement, Disconnect the control board: step 6, image 2 of 3 WRS315SDHW Dispenser Assembly Replacement, Disconnect the control board: step 6, image 3 of 3
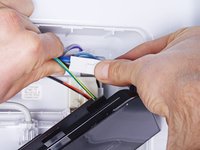
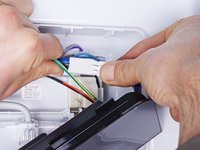
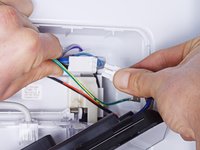
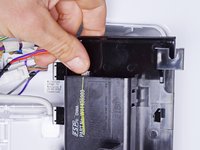
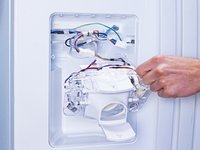
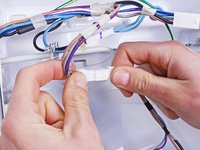
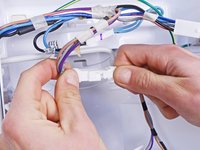
      • Disconnect the large connector attached to the right edge of the control board.

      Ask FixBot
      Add Comment

    6. WRS315SDHW Dispenser Assembly Replacement: step 7, image 1 of 2 WRS315SDHW Dispenser Assembly Replacement: step 7, image 2 of 2
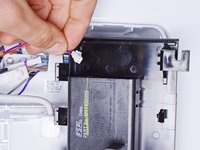
      • Disconnect the small connector attached to the left edge of the control board.

      Ask FixBot

      Add Comment

    7. WRS315SDHW Dispenser Assembly Replacement, Remove the control board: step 8, image 1 of 1
      • Remove the control board.

      Ask FixBot

      Add Comment

    1. WRS315SDHW Dispenser Assembly Replacement, Remove the plastic clip: step 9, image 1 of 3 WRS315SDHW Dispenser Assembly Replacement, Remove the plastic clip: step 9, image 2 of 3 WRS315SDHW Dispenser Assembly Replacement, Remove the plastic clip: step 9, image 3 of 3
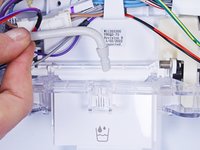
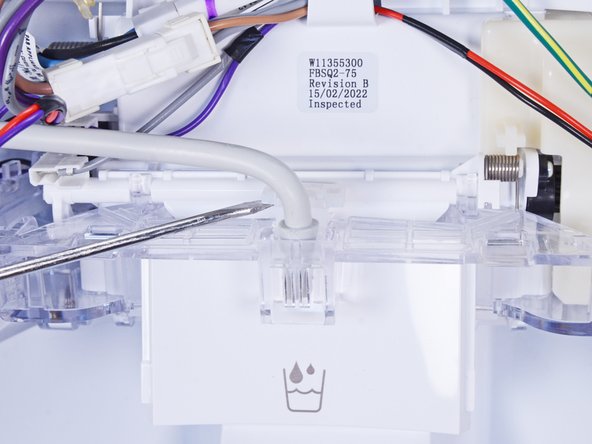
      • Use a flathead screwdriver, or a similar tool, to pry up the plastic clip securing the water hose.

      • Remove the plastic clip.

      Ask FixBot

      Add Comment

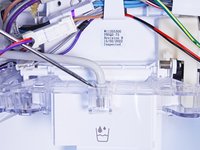
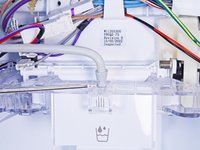
    2. WRS315SDHW Dispenser Assembly Replacement, Disconnect the water hose: step 10, image 1 of 3 WRS315SDHW Dispenser Assembly Replacement, Disconnect the water hose: step 10, image 2 of 3 WRS315SDHW Dispenser Assembly Replacement, Disconnect the water hose: step 10, image 3 of 3
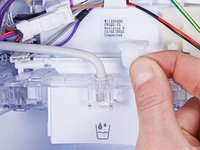
      • Use a flathead screwdriver, or a similar tool, to pry up the water hose enough to grip it with your fingers.

      • Pull the water hose straight up to disconnect it.

      Ask FixBot
      Add Comment
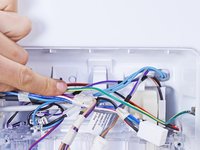
    3. WRS315SDHW Dispenser Assembly Replacement, Reposition the cables: step 11, image 1 of 2 WRS315SDHW Dispenser Assembly Replacement, Reposition the cables: step 11, image 2 of 2
      • Reposition the cables so they lay in front of the top plastic clip.

      Ask FixBot

      Add Comment

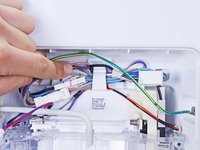
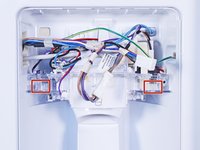
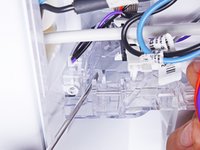
    4. WRS315SDHW Dispenser Assembly Replacement, Unclip the dispenser assembly: step 12, image 1 of 3 WRS315SDHW Dispenser Assembly Replacement, Unclip the dispenser assembly: step 12, image 2 of 3 WRS315SDHW Dispenser Assembly Replacement, Unclip the dispenser assembly: step 12, image 3 of 3
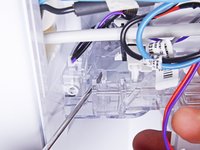
      • There are two plastic clips that secure the dispenser assembly in the chassis.

      • Use a flathead screwdriver, or a similar tool, to press the plastic clip toward the dispenser assembly.

      • Repeat for the other plastic clip to completely separate the dispenser assembly from the chassis.

      Ask FixBot

      Add Comment

    5. WRS315SDHW Dispenser Assembly Replacement, Reposition the dispenser assembly: step 13, image 1 of 3 WRS315SDHW Dispenser Assembly Replacement, Reposition the dispenser assembly: step 13, image 2 of 3 WRS315SDHW Dispenser Assembly Replacement, Reposition the dispenser assembly: step 13, image 3 of 3
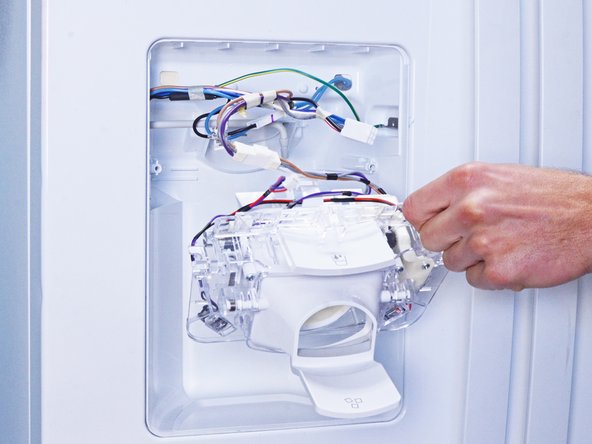
      • Pull the dispenser assembly away from the chassis enough to access its connectors.

      Ask FixBot

      Add Comment

    6. WRS315SDHW Dispenser Assembly Replacement, Disconnect the dispenser assembly: step 14, image 1 of 3 WRS315SDHW Dispenser Assembly Replacement, Disconnect the dispenser assembly: step 14, image 2 of 3 WRS315SDHW Dispenser Assembly Replacement, Disconnect the dispenser assembly: step 14, image 3 of 3
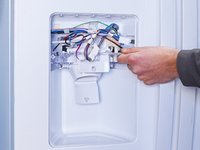
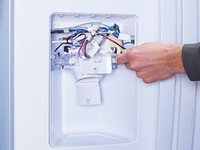
      • While performing this step, support the dispenser assembly so it doesn't fall.

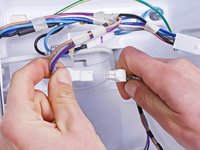
      • Disconnect the connector attached to the dispenser assembly.

      Ask FixBot

      Add Comment

    7. WRS315SDHW Dispenser Assembly Replacement, Remove the dispenser assembly: step 15, image 1 of 1
      • Remove the dispenser assembly.

      Ask FixBot

      Add Comment

Conclusion

To reassemble your device, follow these instructions in reverse order.

Take your e-waste to an R2 or e-Stewards certified recycler.

Repair didn’t go as planned? Ask our Answers community for help.

Cancel: I did not complete this guide.

One other person completed this guide.

nicO

Member since: 04/14/15

15,990 Reputation

88 Guides authored

0 Guide Comments

Add Comment

View Statistics:

Past 24 Hours: 11

Past 7 Days: 62

Past 30 Days: 175

All Time: 1,850