This translation was generated by a machine and has not been reviewed by a person yet. Speak this language? Review it.

W123 Door Cable Rubber Boot Replacement

Domi and one other contributor
Last updated on Sep 2, 2026
Views: 459
View statistics:
- Past 24 Hours:
- 0
- Past 7 Days:
- 25
- Past 30 Days:
- 99
- All Time:
- 459
Comments: 4
4 comments on steps.
Completed: 0 1
No one has marked this guide "completed." Will you be the first?
1 person has marked this guide "completed." It's you — great job!
Favorites: 0 1
No one has favorited (and subscribed to) this guide. Will you be the first?
1 person has favorited (and subscribed to) this guide — and that's you!
Featured Guide
This guide has been found to be exceptionally cool by the iFixit staff.
Community-Contributed Guide
An awesome member of our community made this guide. It was not created by iFixit staff.
Introduction
Go to step 1 ↓This guide describes the procedure for replacing the rubber boots through which the central locking and power window cables pass.
What you need


-
-
-
Begin by removing the door lock knob. It unscrews counter-clockwise.
 Ask FixBot
-
-
-
Remove the two screws that attach the chrome trim around the door latch. The chrome trim will come loose afterwards. Set aside.
-
-
-
Use a flat blade screwdriver to gently pry out the black plastic cover behind the door pull.
-
-
-
Remove the screw that holds the chrome plate behind the door pull.
-
On the driver's side door, with no upper section of the arm on the door panel, the chrome panel behind the door pull can simply be removed and set aside at this point.
-
-
-
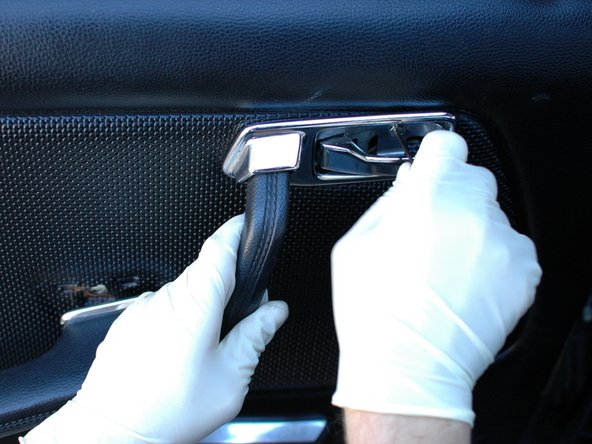
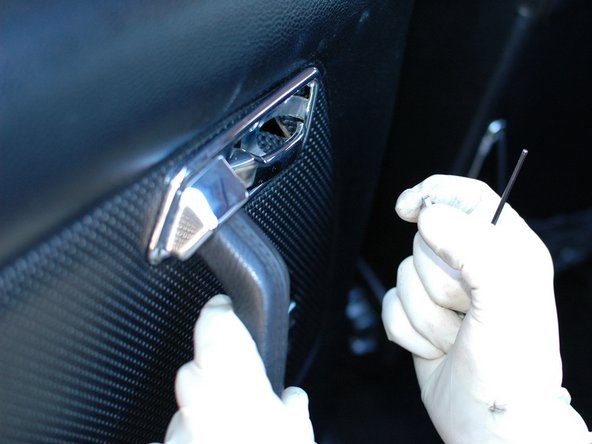
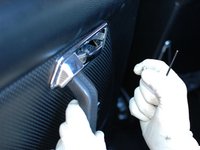
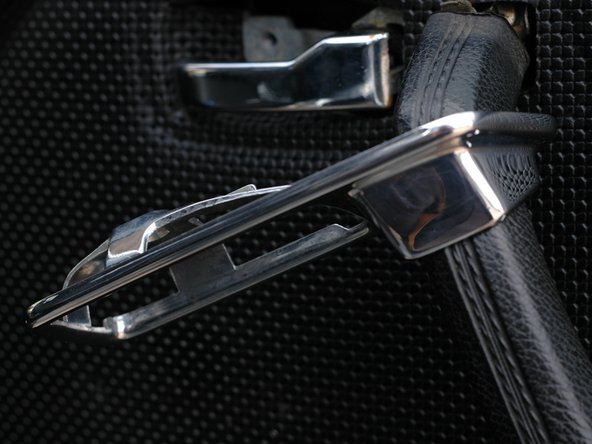
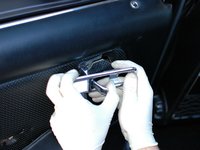
On the other three doors, the chrome panel is a part of the upper arm on the door panel. Pull the chrome panel out from behind the door pull. You will need to pull the door pull away from the door to get the chrome panel around it. It will move down the arm on the door panel.
-
-
-
Remove the large Phillips head screw at the very top of the arm on the panel.
-
-
-
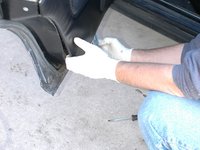
Under the arms on all four doors, there are two large Phillips screws. They are hidden out of sight up in holes like the one pictured. Making sure to properly seat the screwdriver in the head, as to not strip the screw, loosen these screws.
-
-
-
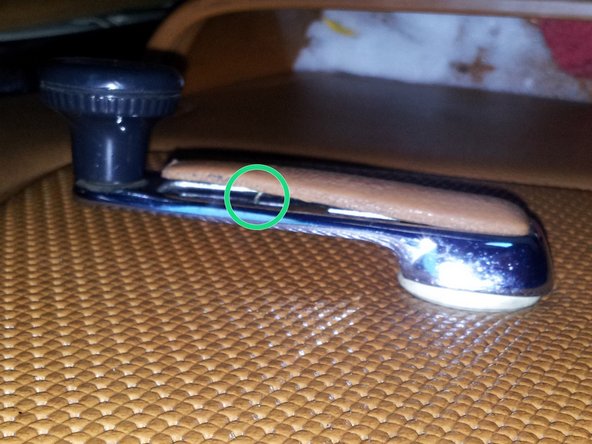
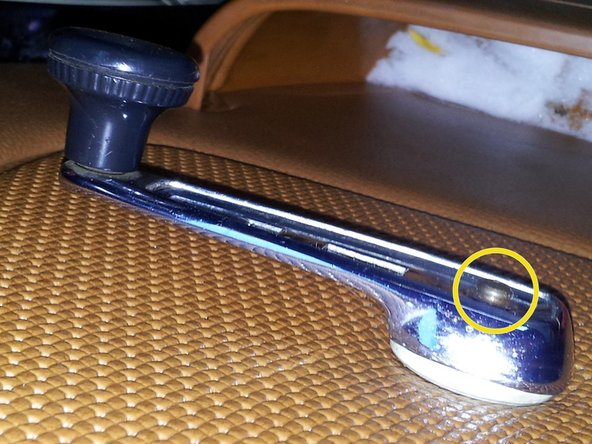
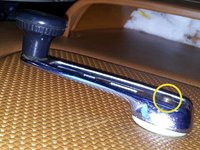
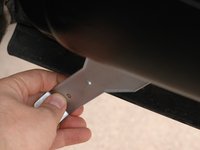
Use a finger to push the tab that holds the trim piece to the crank out until it clears the crank.
-
Pull trim toward the knob on the crank to release the trim.
-
The trim piece will release from the peg at the base of the crank. The crank will now slide off.
-
When reassembling the manual window crank, make sure the tapered end of the washer is facing away from the door.
-
-
-
Using a wide pry tool, like this trim removal tool, go around the edge of the panel between it and the metal part of the door. You will find it held in place by plastic clips. Gently pry each clip out all the way around.
-
On an older car like the W123, there will likely be some broken clips. Some times, panels are being held in place by only two or three clips.
-
-
-
On the rear doors, you will need to unplug the window switch from the plug and wire harness in the door before finally removing the panel.
-
-
-
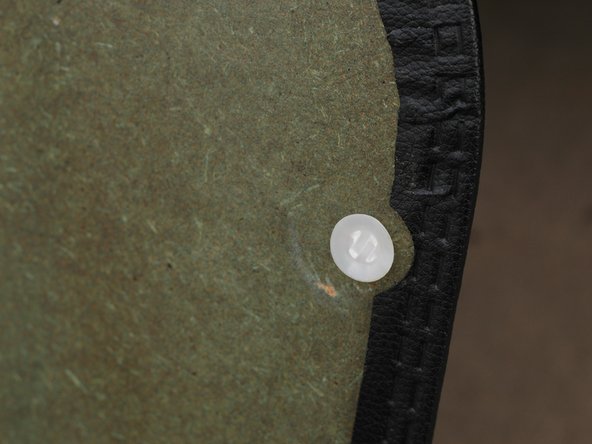
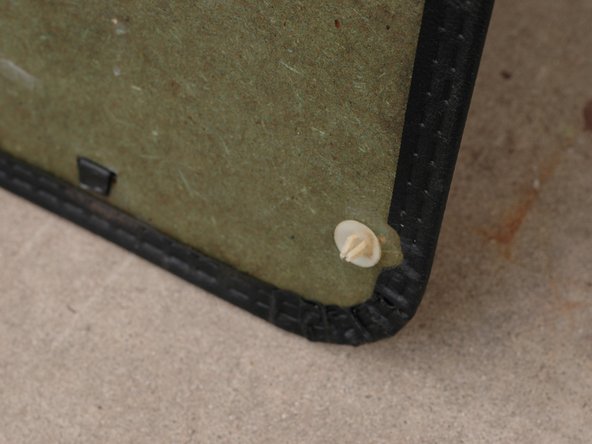
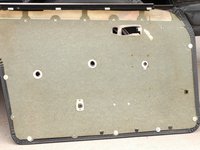
Pictured is the back of your door panel once removed. Notice the white plastic clips around the edge. Notice that many are missing. There should be several more on this door. Also, notice that some are broken.
-
Once the panel is removed, there should be a plastic vapor barrier between the panel and the door shell. This will need to be removed. If removed gently, it may be able to be reused. Otherwise, replace it with any thick plastic and 3M Spray Adhesive or contact cement. (Not pictured)
-
-
-
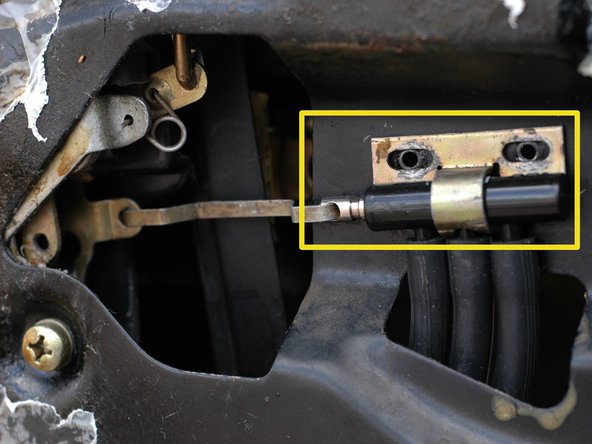
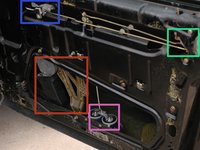
This is a list of the major components within the door (front passenger side shown):
-
Window regulator (note, the rear window regulators are designed differently and are not immediately visible)
-
Door lock vacuum actuator, early style (does not apply to driver's door, which is equipped with the master vacuum switch instead, see attached picture). On later W123's, the actuators are in similar locations but look different.
-
Door pull
-
Door latch and lock mechanisms
-
Master vacuum switch (driver's door). Note that on later models the master switch will be oriented vertically instead of horizontally.
-
-
-
-
-
-
You now have access to the cables; start by releasing them from the clip(s) holding them in place; simply tilt the small tab to loosen them.
-
-
-
Disconnect the three yellow cables from the central locking connector; NOTE THEIR POSITION CAREFULLY IN ORDER TO REINSTALL THEM CORRECTLY.
-
-
-
Unplug the battery, then disconnect the cables powering the power window motors. Note their locations carefully.
-
-
-
You can now pull the cables out of the door; start with the more flexible black cables; then remove the yellow ones, being careful not to bend them; get help if necessary.
-
-
-
Follow the steps in reverse order; the most difficult part is routing the cables back into the door without bending them. Take your time. Insert the sleeve on each side using a silicone lubricant and a non-sharp tool. Release the door check to have more room. In the photo: the sleeve reinstalled.
-
Check that the windows and the central locking system work correctly after reconnecting the battery, before reassembling the door panel.
-












To reassemble your device, follow these instructions in reverse order.

