What you need
-
-
Hold the on/off button for 3 seconds until the screen is black.
-
Remove batteries by placing thumb on battery plate cover sliding it down to expose batteries.
-
Turn camera upside down to allow the batteries to fall out.
 Ask FixBot
-
-
-
There are 5 (4.5mm in length) screws on the sides of the camera that need to be removed. Use a Phillips #000 screwdriver to remove all screws.
-
Remove 2 screws on the right side of the camera, and store them on a magnetic mat.
-
Remove 2 screws on the bottom of the camera, and store them on a magnetic mat.
-
Remove 1 screw on the left side of the camera, and store it on a magnetic mat.
-
-
-
-
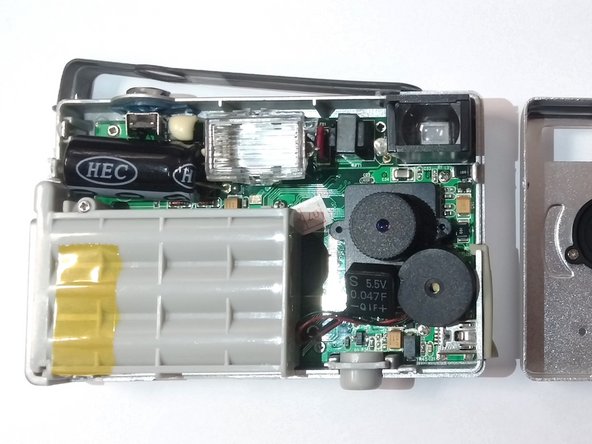
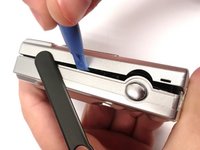
Using a prying tool or fingernail, gently separate the back plate from the front plate, exposing the inside of the camera.
-
-
Tool used on this step:Magnetic Project Mat$19.95
-
Using a Phillips #00 screwdriver, remove the 5 (3.5mm in length) screws shown to the left.
-
Remember to place small screws on magnetic mat or in a container.
-
-
-
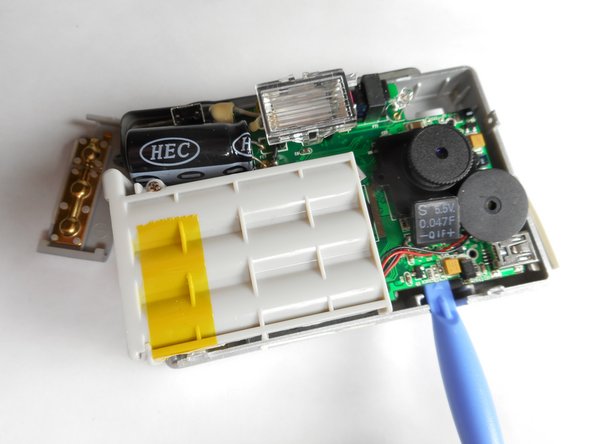
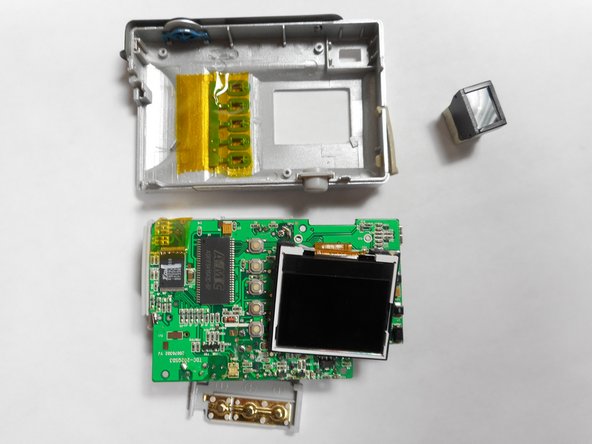
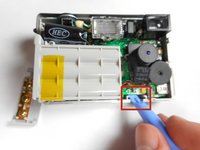
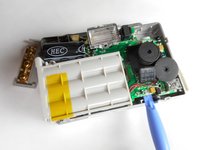
Using a pry tool or fingernail, gently pry the circuit board from the base.
-
Gently lift the lower right hand corner of the circuit board, separating it from the base.
-
-
Tool used on this step:Tweezers$4.99
-
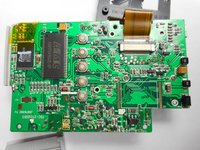
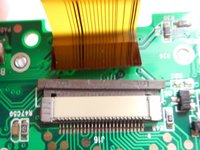
Locate LCD and gently bend it back to reveal ribbon cable connector.
-
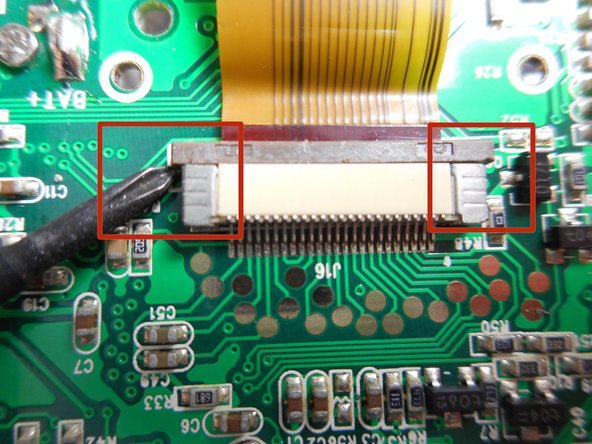
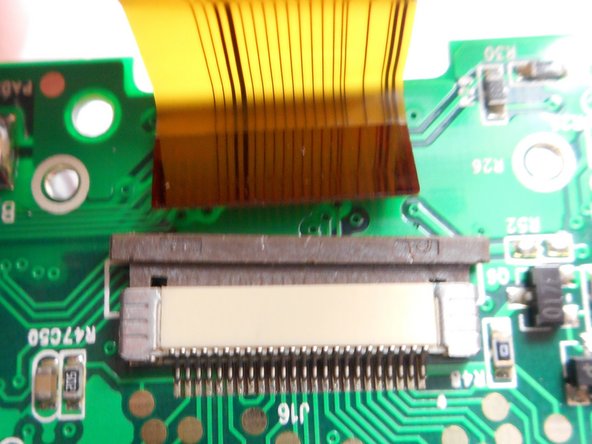
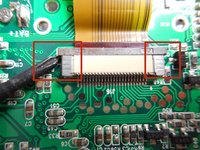
Using small screw driver or tweezers gently slide the edges of the ribbon lock towards the direction of the cable.
-
Once the lock is opened, use tweezers to slide the ribbon cable from the connector.
-
Replace LCD as needed and repeat steps in reverse to reassemble.
-






To reassemble your device, follow these instructions in reverse order.
Cancel: I did not complete this guide.
One other person completed this guide.

Team

Baylor, Team 8-15, Williams Fall 2014 Member of Baylor, Team 8-15, Williams Fall 2014
BU-WILLIAMS-F14S8G15
3 Members
5 Guides authored
