Free Shipping on Domestic Orders $75+

Vtech Innotab 3 Speaker Replacement

What you need

    1. Vtech Innotab 3 Speaker Replacement, Rear Panel: step 1, image 1 of 3 Vtech Innotab 3 Speaker Replacement, Rear Panel: step 1, image 2 of 3 Vtech Innotab 3 Speaker Replacement, Rear Panel: step 1, image 3 of 3
      • Slide the battery compartment door lock down.

      • While still holding the battery compartment lock down, slide the two battery doors outwards on either side of the device.

      • Carefully remove the batteries from the battery compartment.

      • The standard option for the InnoTab 3 is four AA batteries. Vtech also offers a rechargeable battery online, but both battery options are removed from the device the same way.

      Ask FixBot

      Add Comment

    2. Vtech Innotab 3 Speaker Replacement: step 2, image 1 of 1
      • Remove the six 7.6mm screws found in the battery compartment using a PH00 screwdriver.

      Ask FixBot

      Add Comment

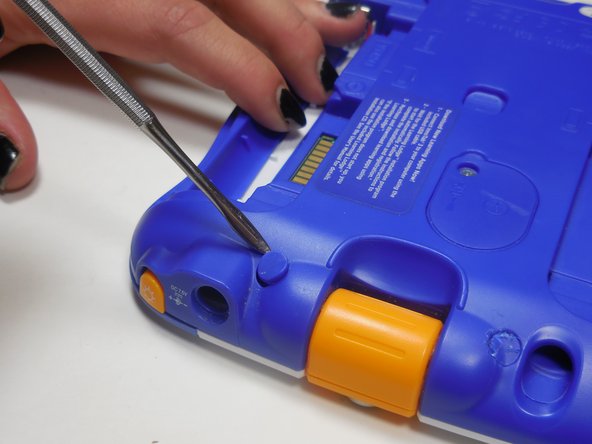
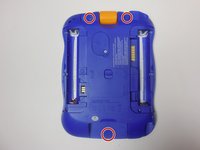
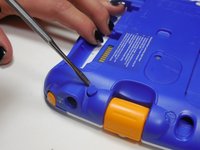
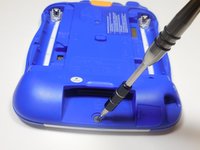
    3. Vtech Innotab 3 Speaker Replacement: step 3, image 1 of 3 Vtech Innotab 3 Speaker Replacement: step 3, image 2 of 3 Vtech Innotab 3 Speaker Replacement: step 3, image 3 of 3
      • There are three hidden screws on the back of the device, two at the top and one near the bottom.

      • Using a nylon or metal spudger, remove the three caps that hide the screws.

      • Remove the 5mm screw near the bottom and the two 7.6mm at the top using a PH00 screwdriver.

      Ask FixBot

      Add Comment

    4. Vtech Innotab 3 Speaker Replacement: step 4, image 1 of 1
      • Carefully separate the back panel from the front panel revealing the motherboard connected to the front panel.

      Ask FixBot

      Add Comment

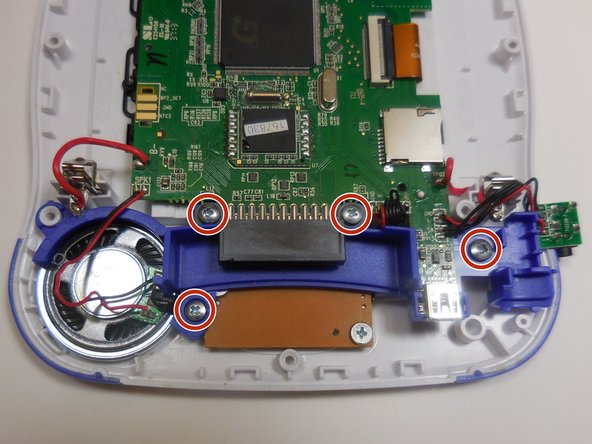
    1. Vtech Innotab 3 Speaker Replacement, Speaker: step 5, image 1 of 3 Vtech Innotab 3 Speaker Replacement, Speaker: step 5, image 2 of 3 Vtech Innotab 3 Speaker Replacement, Speaker: step 5, image 3 of 3
      • After you disassemble the device, put the back panel to the side and move your attention to the front piece.

      • Remove the four screws using a PH00 screwdriver.

      Ask FixBot

      Add Comment

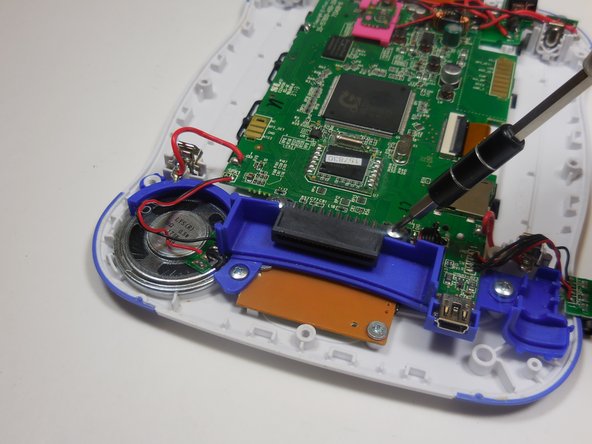
    2. Vtech Innotab 3 Speaker Replacement: step 6, image 1 of 2 Vtech Innotab 3 Speaker Replacement: step 6, image 2 of 2
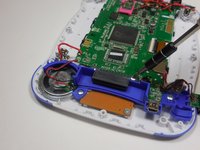
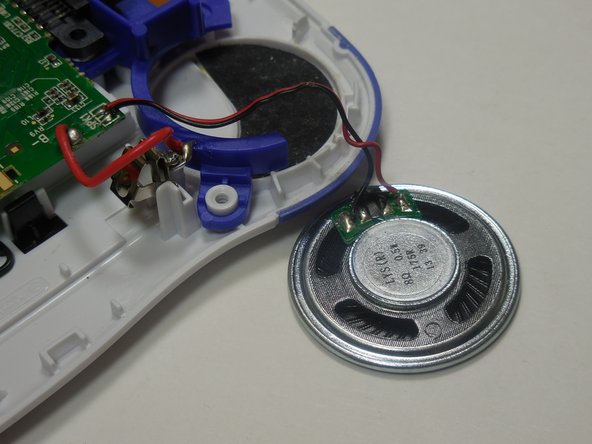
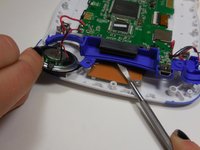
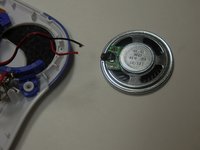
      • Using a nylon or metal spudger, lift the blue plastic piece upwards.

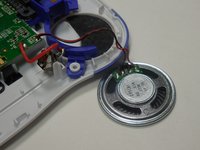
      • Keeping the plastic piece lifted, carefully pinch the edge of the speaker and remove it.

      • Be sure not to tug on the speaker too violently to prevent tearing a wiring from its solder.

      Ask FixBot

      Add Comment

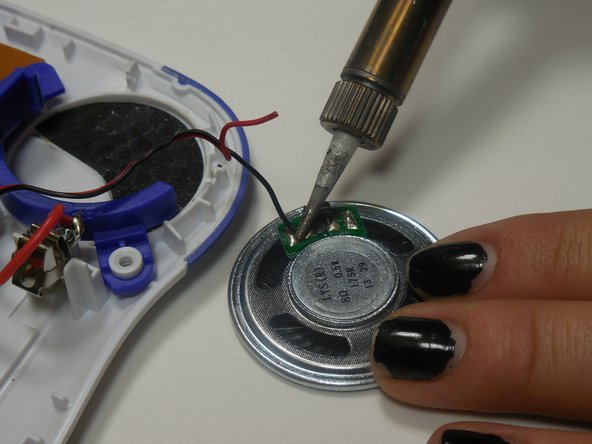
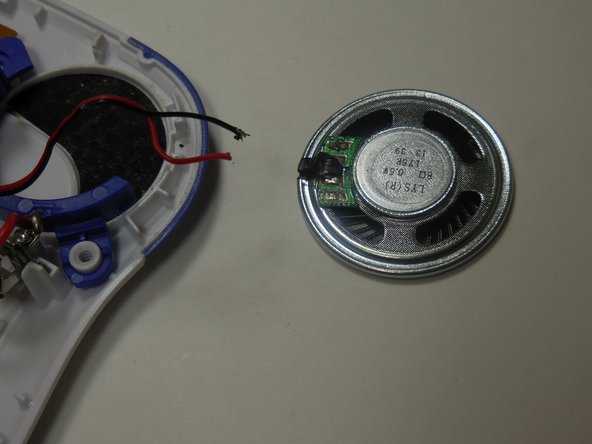
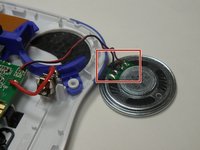
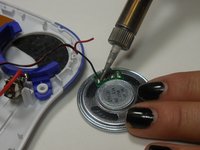
    3. Vtech Innotab 3 Speaker Replacement: step 7, image 1 of 3 Vtech Innotab 3 Speaker Replacement: step 7, image 2 of 3 Vtech Innotab 3 Speaker Replacement: step 7, image 3 of 3
      Ask FixBot

      Add Comment

Conclusion

To reassemble your device, follow these instructions in reverse order.

Cancel: I did not complete this guide.

Zach Diviney

Member since: 03/11/15

419 Reputation

4 Guides authored

Team

0 Guide Comments

Add Comment

View Statistics:

Past 24 Hours: 3

Past 7 Days: 6

Past 30 Days: 27

All Time: 924