
Vtech Innotab 3 Microphone Replacement

Zach Diviney and 3 other contributors
Last updated on May 7, 2024
Views: 808
View statistics:
- Past 24 Hours:
- 2
- Past 7 Days:
- 14
- Past 30 Days:
- 95
- All Time:
- 808
Comments: 0
No one has left comments on this guide. Will you be first?
Go to guide commentsCompleted: 0 1
No one has marked this guide "completed." Will you be the first?
1 person has marked this guide "completed." It's you — great job!
Favorites: 0 1
No one has favorited (and subscribed to) this guide. Will you be the first?
1 person has favorited (and subscribed to) this guide — and that's you!
Missing Details
Some of this guide's details are missing. Help users by adding tools, difficulty, or time.
Introduction
Go to step 1 ↓In order to replace the microphone grab yourself a PH00 screwdriver, a metal spudger, and a soldering kit.
- Before you begin disassembling the Vtech InnoTab 3, turn on your soldering iron. If working with others let them know that the soldering iron is on and to use caution.
What you need
Tools
-
-
Spudger4.9
-


-
-
-
Slide the battery compartment door lock down.
-
While still holding the battery compartment lock down, slide the two battery doors outwards on either side of the device.
-
Carefully remove the batteries from the battery compartment.
 Ask FixBot
-
-
-
Remove the six 7.6mm screws found in the battery compartment using a PH00 screwdriver.
-
-
-
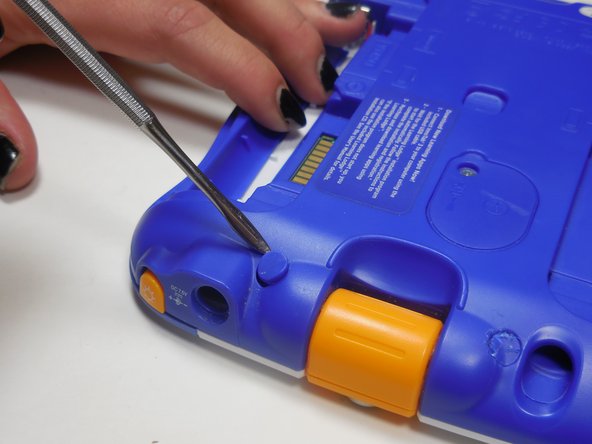
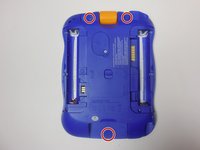
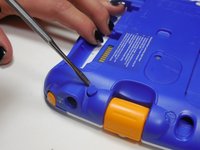
Using a nylon or metal spudger, remove the three caps that hide the screws.
-
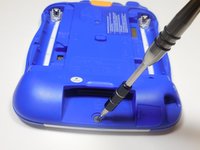
Remove the 5mm screw near the bottom and the two 7.6mm at the top using a PH00 screwdriver.
-
-
-
Carefully separate the back panel from the front panel revealing the motherboard connected to the front panel.
-
-
-
-
-
-
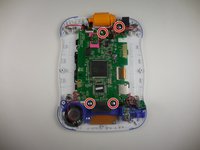
Remove the four 7.6 mm screws using a PH00 screwdriver.
-
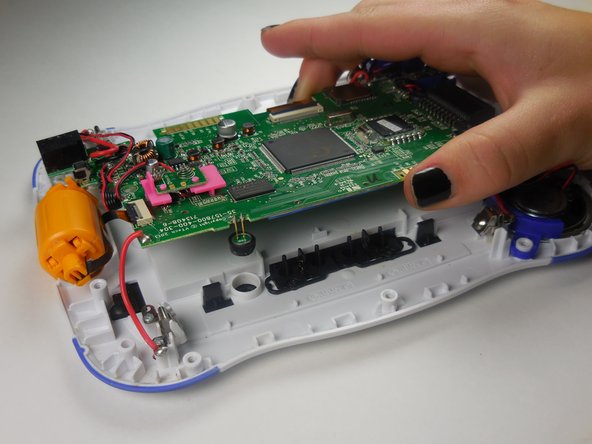
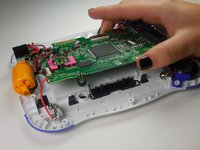
Lift up the circuit board from the device.
-
-
Tool used on this step:Tweezers$4.99
-
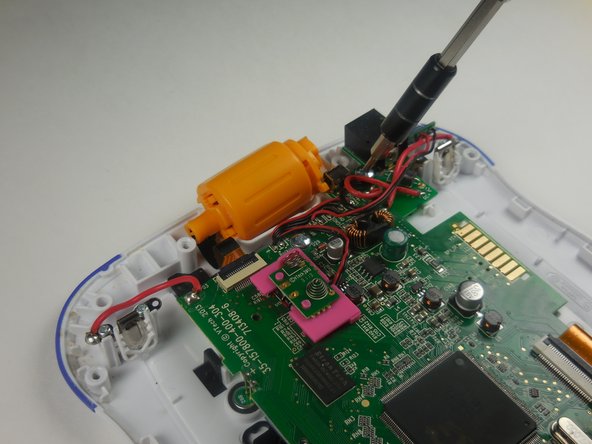
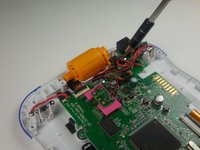
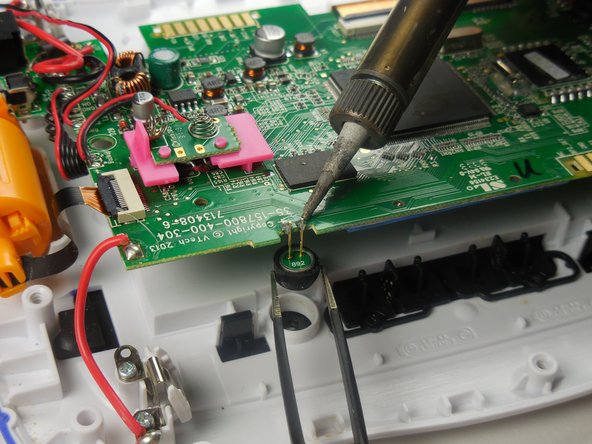
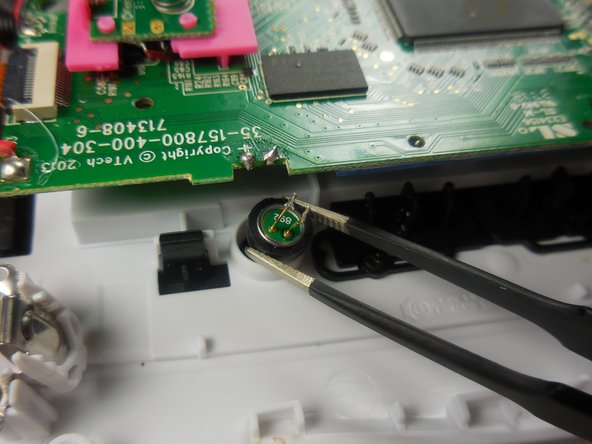
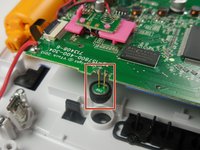
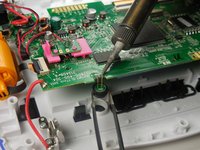
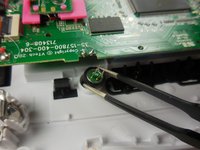
To replace the microphone, desolder the two connections that connect the speaker to the device.
-
This is a tricky step. Refer to this guide to learn how to solder: How To Solder and Desolder Connections
-
-







To reassemble your device, follow these instructions in reverse order.

Team

Colorado Springs, Team 5-4, Panko Spring 2015 Member of Colorado Springs, Team 5-4, Panko Spring 2015
UCCS-PANKO-S15S5G4
3 Members
60 Guides authored
