
Voluas VL001 Screen/Motherboard Assembly Replacement

Jade Thomson and 3 other contributors
Last updated on Aug 18, 2025
Views: 475
View statistics:
- Past 24 Hours:
- 1
- Past 7 Days:
- 10
- Past 30 Days:
- 52
- All Time:
- 475
Comments: 0
No one has left comments on this guide. Will you be first?
Go to guide commentsCompleted: 0 1
No one has marked this guide "completed." Will you be the first?
1 person has marked this guide "completed." It's you — great job!
Favorites: 0 1
No one has favorited (and subscribed to) this guide. Will you be the first?
1 person has favorited (and subscribed to) this guide — and that's you!
Featured Student Guide
This guide has been the hard work of our awesome students and is found to be exceptionally cool by the iFixit staff.
Introduction
Go to step 1 ↓If your Voluas VL001 pet feeder's display is not working or dispenses food at irregular times, you may have an issue with your screen/motherboard assembly. The display and motherboard are connected and are situated above the feeding chute.
Before you begin, power off the Voluas VL001 and unplug it from the power source. If it’s running on batteries, remove them first.
What you need
Tools


-
-
-
Remove the lid to the storage tank by using the latch and lifting off.
-
Grab the food storage tank on both sides. Depress the tabs that say "Push" on them and lift the tank off.
 Ask FixBot
-
-
-
-
-
Place your pet feeder upside down.
-
Squeeze the lock and remove the battery cover.
-
Remove the three 1.5V D alkaline batteries.
-
-
-
-
-
Insert a metal spudger under the adhesive part of each rubber foot.
-
Pry the foot off.
-
-
-
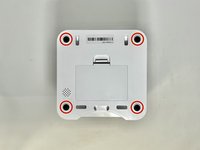
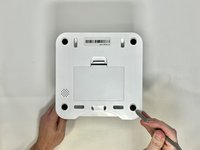
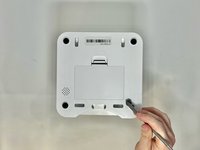
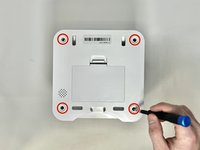
Remove four screws from the corners of the device using a Phillips #2 screwdriver.
-
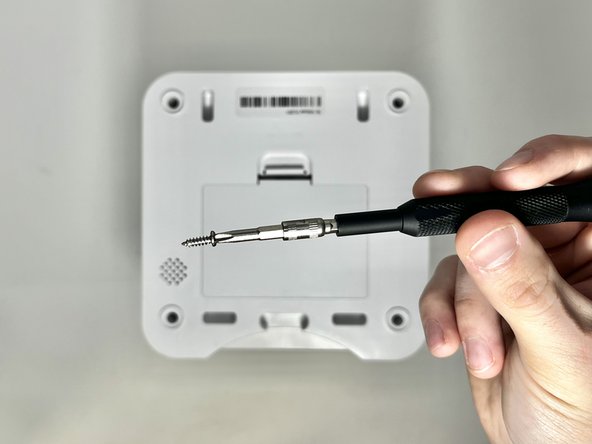
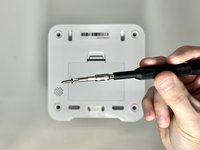
Using the magnetic tip of the screwdriver, carefully lift the screw out of the hole.
-
-
-
-
Turn the device over so it is oriented right-side up.
-
Lift the top part of the feeder off, exposing the mechanisms that run the feeder.
-
-
-
-
-
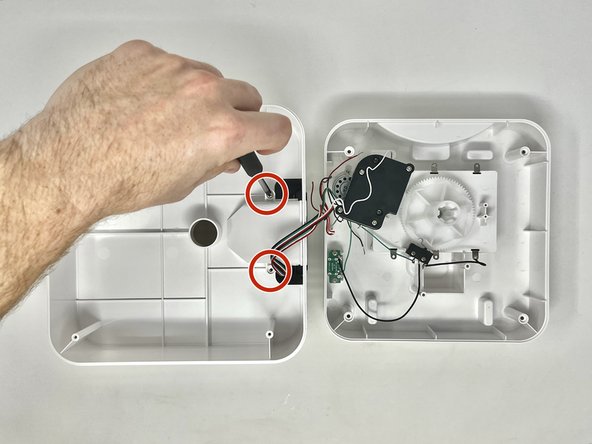
With the top part of the feeder sitting upside down, you can remove the chute.
-
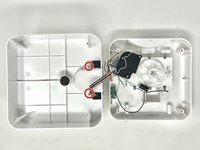
Using a Phillips #2 screwdriver, remove the two 11.1 mm screws on either side of the chute.
-
-
-
Grab the feeder chute on both sides and lift it off to remove it from the feeder.
-
-
-
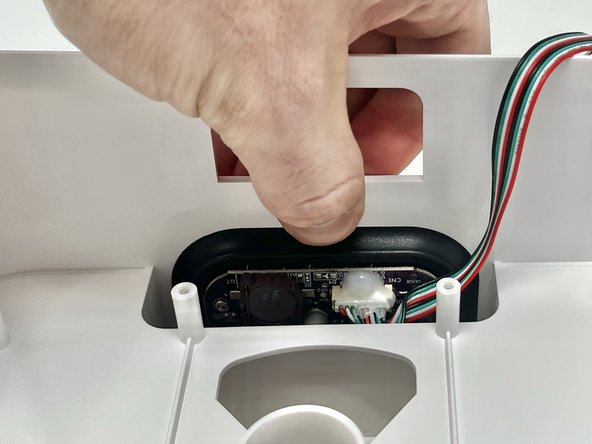
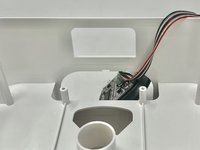
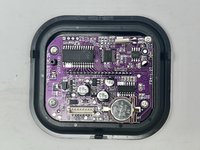
Using your finger, depress the tab that holds the assembly onto the device.
-
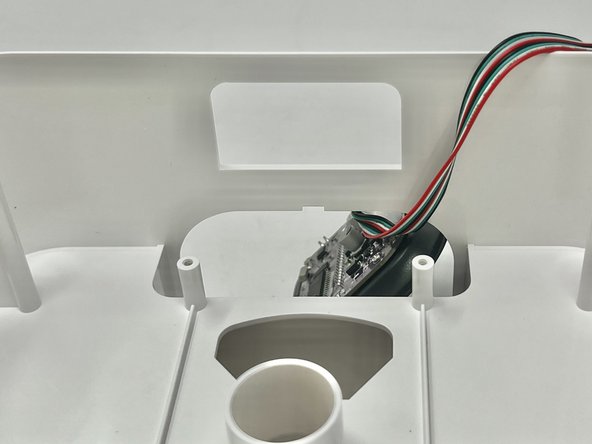
While pushing the tab down, push the screen out of the device.
-
-
-
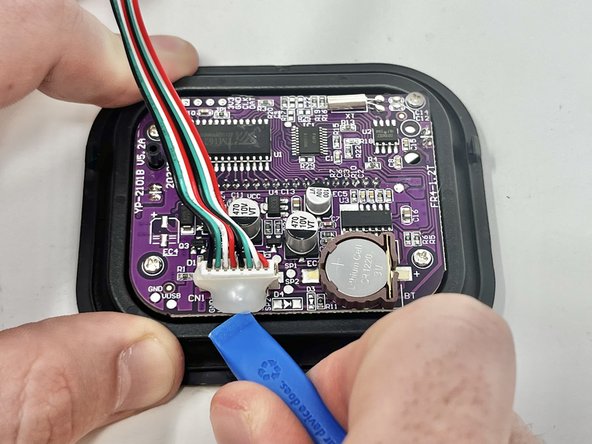
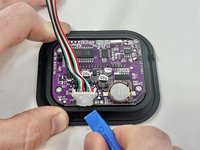
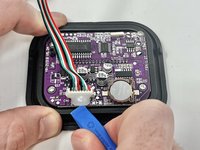
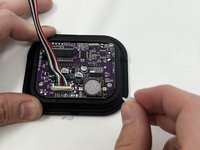
Using an opening tool, pry the dried silicone from around the connector.
-
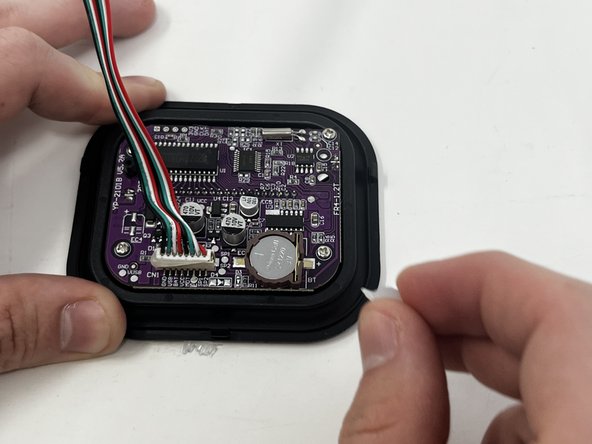
If needed, peel any remaining glue off with your fingers.
-
-
-
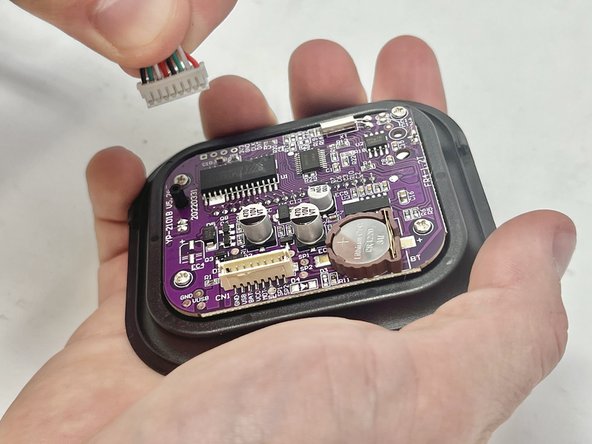
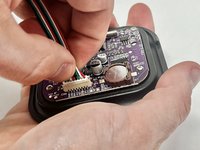
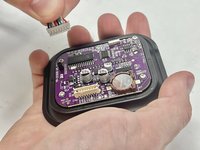
Firmly grab the connector, just above the plastic end, and pull firmly to remove.
-
-





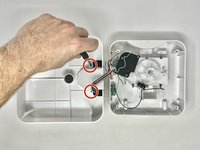

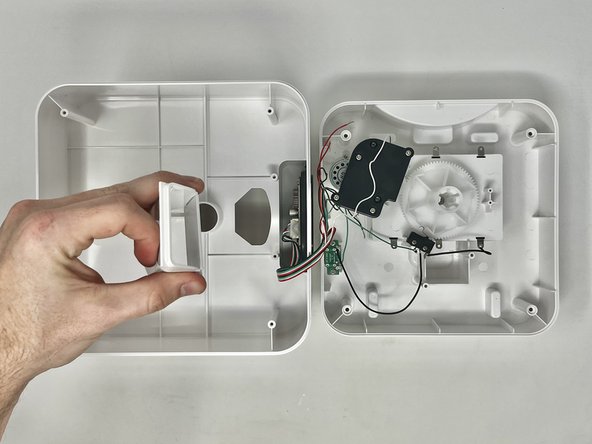
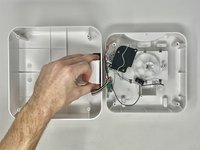
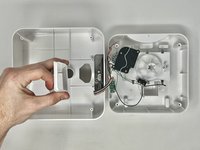



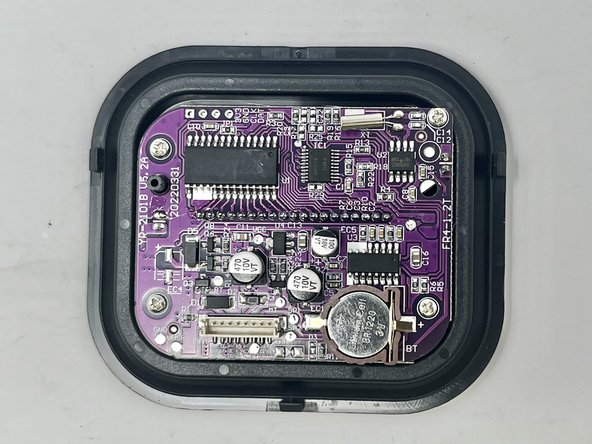
To reassemble your device, follow these instructions in reverse order.

Team

Utah Tech University, Team 1-3, McMurrin Spring 2024 Member of Utah Tech University, Team 1-3, McMurrin Spring 2024
UTAHTECH-MCMURRIN-S24S1G3
2 Members
120 Guides authored
