Free Shipping on Domestic Orders $75+

Vivitar XO 7 Camera Replacement

Views: 600

View statistics:

Past 24 Hours:
2
Past 7 Days:
15
Past 30 Days:
93
All Time:
600
Comments: 0

No one has left comments on this guide. Will you be first?

Go to guide comments
Completed: 0

No one has marked this guide "completed." Will you be the first?

Favorites: 0

No one has favorited (and subscribed to) this guide. Will you be the first?

Time Required: 5 - 8 minutes
Difficulty: Easy
Vivitar XO 7 Camera Replacement

Introduction

Go to step 1 ↓

If you are experiencing problems with your device's front or rear camera, this guide will help you to remove and replace the faulty part. Both cameras are connected and are removed simultaneously.

What you need

Tools

    1. Vivitar XO 7 Camera Replacement, Back Cover: step 1, image 1 of 1
      • Remove the two 3mm Phillips #00 screws on the bottom of the tablet.

      Ask FixBot

      Add Comment

    2. Vivitar XO 7 Camera Replacement: step 2, image 1 of 1
      • With the plastic opening tools, pry open the back cover.

      Ask FixBot

      Add Comment

    3. Vivitar XO 7 Camera Replacement: step 3, image 1 of 1
      • Remove the back cover from the tablet.

      Ask FixBot

      Add Comment

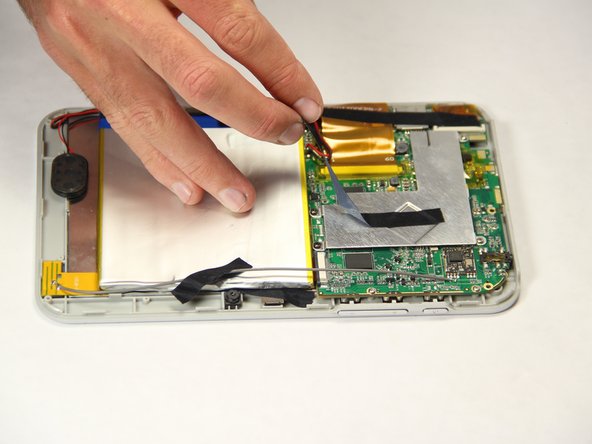
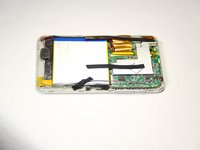
    1. Vivitar XO 7 Camera Replacement, Battery: step 4, image 1 of 2 Vivitar XO 7 Camera Replacement, Battery: step 4, image 2 of 2
      • Peel off the black pieces of tape from the internal components.

      Ask FixBot

      Add Comment

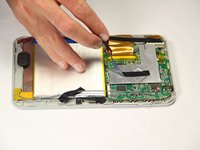
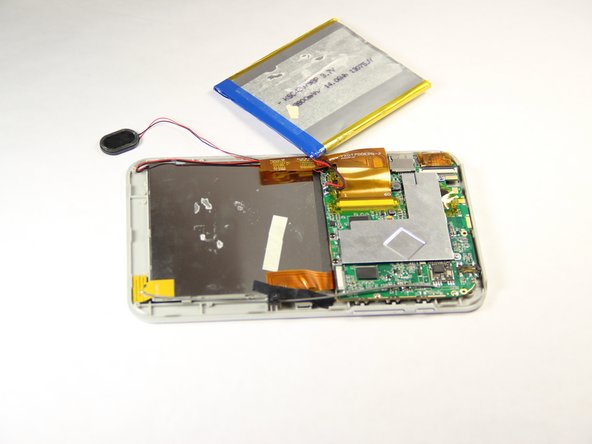
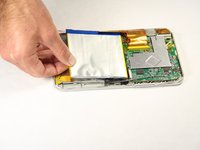
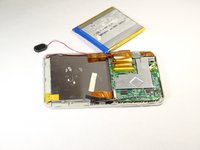
    2. Vivitar XO 7 Camera Replacement: step 5, image 1 of 2 Vivitar XO 7 Camera Replacement: step 5, image 2 of 2
      • Carefully remove the battery from the tablet.

      Ask FixBot

      Add Comment

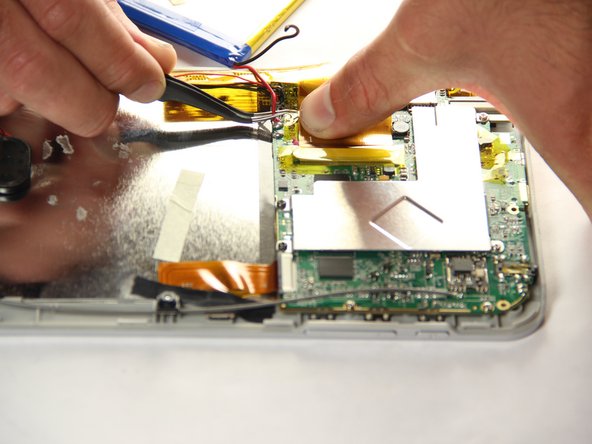
    3. Vivitar XO 7 Camera Replacement: step 6, image 1 of 2 Vivitar XO 7 Camera Replacement: step 6, image 2 of 2
      Tool used on this step:
      Tweezers
      $4.99
      Buy
      • With the tweezers, firmly grab the wire at the base and pull to disconnect the battery from the motherboard.

      Ask FixBot

      Add Comment

    1. Vivitar XO 7 Camera Replacement, Camera: step 7, image 1 of 1
      • Peel off black tape that is holding the camera in place.

      Ask FixBot

      Add Comment

    2. Vivitar XO 7 Camera Replacement: step 8, image 1 of 1
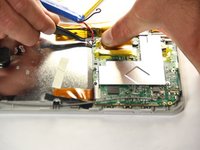
      • Carefully disconnect the ribbon cables from the motherboard.

      Ask FixBot

      Add Comment

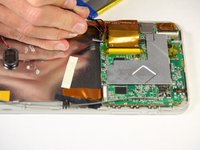
    3. Vivitar XO 7 Camera Replacement: step 9, image 1 of 2 Vivitar XO 7 Camera Replacement: step 9, image 2 of 2
      Tool used on this step:
      Tweezers
      $4.99
      Buy
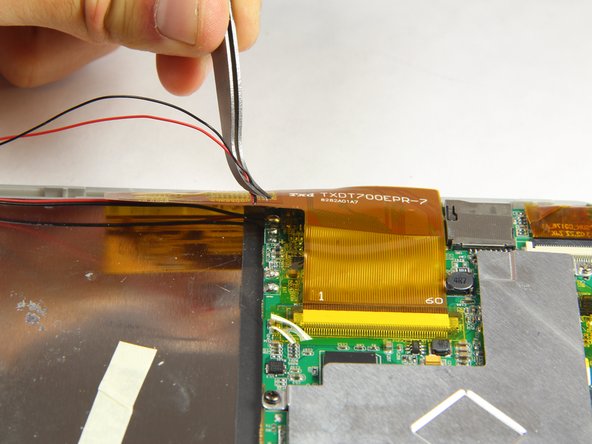
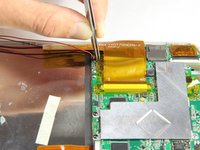
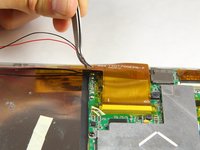
      • Using the tweezers, firmly grab wires and pull to disconnect them from the motherboard.

      Ask FixBot

      Add Comment

Conclusion

To reassemble your device, follow these instructions in reverse order.

Cancel: I did not complete this guide.

Braanah Craig

Member since: 01/20/15

386 Reputation

2 Guides authored

Team

USF Tampa, Team 11-1, Blackwell Winter 2015 Member of USF Tampa, Team 11-1, Blackwell Winter 2015

USFT-BLACKWELL-W15S11G1

4 Members

60 Guides authored

0 Guide Comments

Add Comment

View Statistics:

Past 24 Hours: 2

Past 7 Days: 15

Past 30 Days: 93

All Time: 600