Introduction
Use this guide to replace a worn or damaged Vitamix 5200 Drive Socket.
The drive socket is one of the most vital parts of the Vitamix blender. If it experiences too much damage the teeth will be unable to catch the blender blade which will result in an unusable blender.
Before using this guide be sure to confirm that the drive socket is indeed the source of the issue by checking the blender jar blade as well as the motor. Once it is clear that it's the drive socket that needs replacement, order your replacement part and follow these simple steps to restore your Vitamix blender.
Steps 4 and 7 will require the use of a 5/64ths Allen wrench. Generally, one will come packaged with your replacement drive socket.
Before beginning be sure to disconnect the blender from any external power source.
What you need
-
-
-
Unplug the motor from its external power source.
-
Remove the blender jar from the motor base.
 Ask FixBot
-
-
-
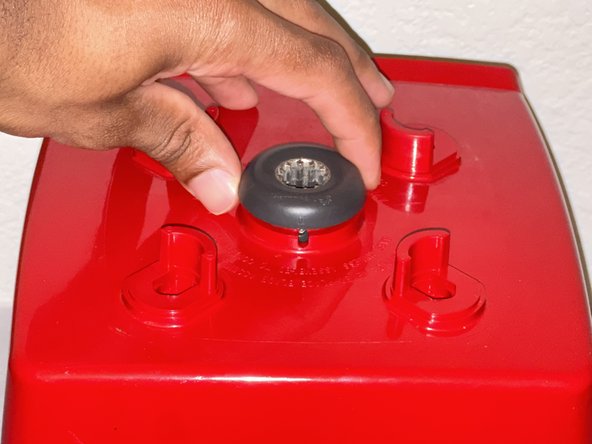
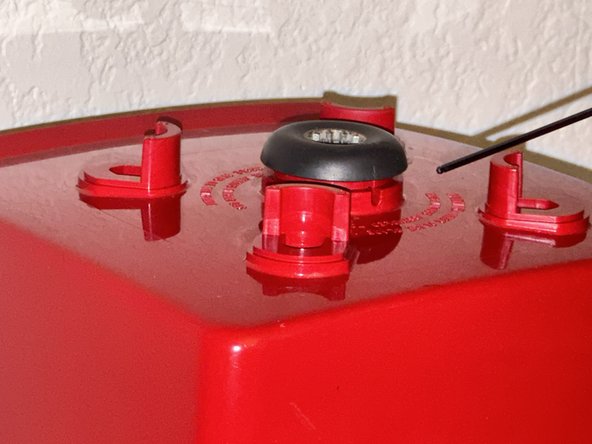
Align the Vitamix logo and arrow to the small hole at the base of the drive socket.
-
-
-
-
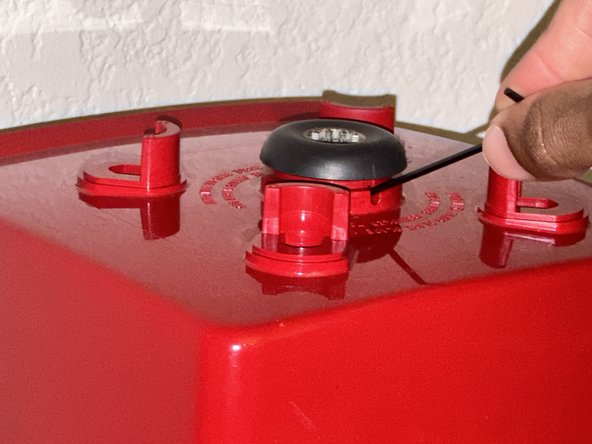
Using a 5/64th Allen wrench, place it at a 45-degree angle into the small hole and twist leftward to loosen the drive socket.
-
-
-
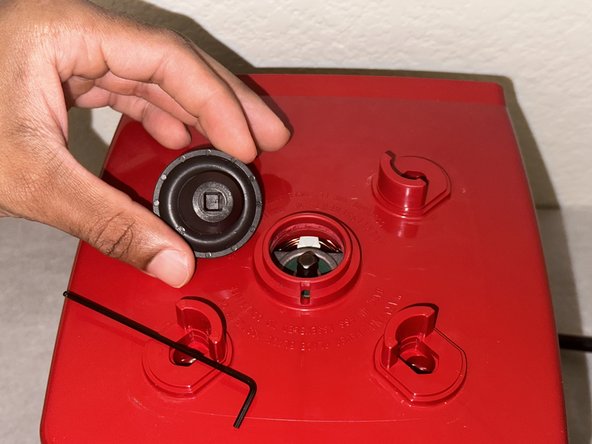
Place the new drive socket on the square nut.
-
Realign the logo and arrow with the small hole at the sockets base.
-
-








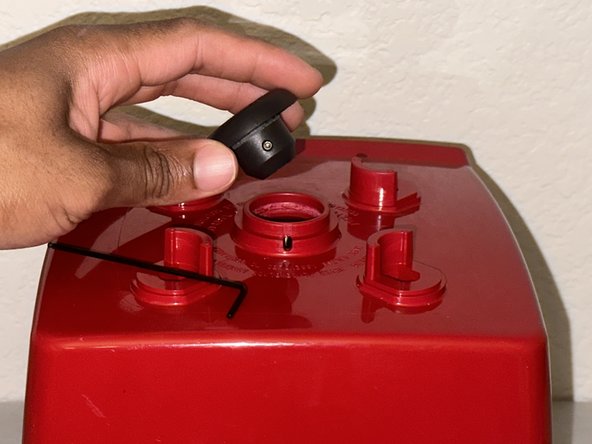
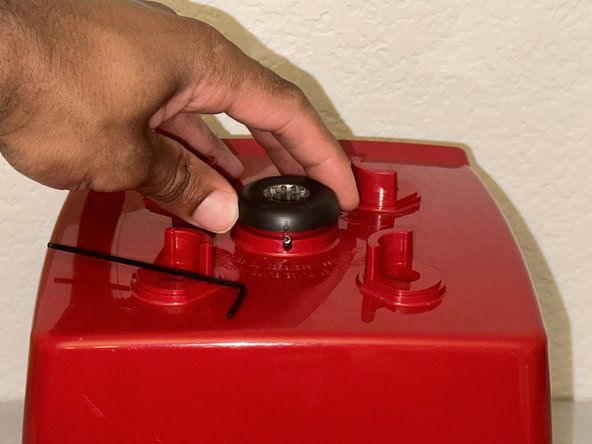


To reassemble your device, follow these instructions in reverse order.
Cancel: I did not complete this guide.
5 other people completed this guide.

Team

University of North Texas, Team 1-5, Martin Fall 2023 Member of University of North Texas, Team 1-5, Martin Fall 2023
UNT-MARTIN-F23S1G5
1 Member
12 Guides authored
4 Guide Comments
Excelente explicativo. Normalmente a estos equipos hay que observar que las dos llaves estén en buenas condiciones, sobre todo el pulsador, la mayoría de las veces es el problema principal que el equipo funcione mal. Saludos EXITOS
Très pratique
What should I do when the motor stocked. Not rolling but making a buzz sound.
You can use a 2mm hex key if you don't have a 5/64" hex key as they are almost exactly the same size. Note also that the angle for hex key insertion is not 45° - it's closer to 30° from the horizontal plane. If you have a ball-end hex key of either size it is easier to fit the hex key. Also, if you back out the cap screw too far and drop it on the floor and the dog swallows it, the replacement size is a #2-56 x 3/16" stainless steel cap screw.
