Free Shipping on Domestic Orders $75+

Visual Land Prestige 7L Front Facing Camera Replacement

What you need

  1. Visual Land Prestige 7L Front Facing Camera Replacement, Back Panel: step 1, image 1 of 2 Visual Land Prestige 7L Front Facing Camera Replacement, Back Panel: step 1, image 2 of 2
    • Remove the two 8mm Phillips Head screws located at the bottom of your device.

    Ask FixBot

    Add Comment

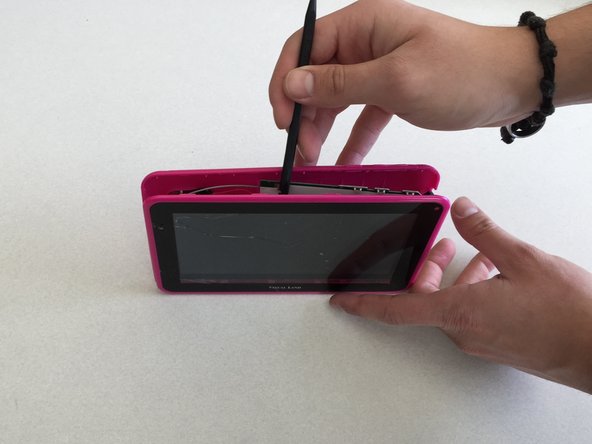
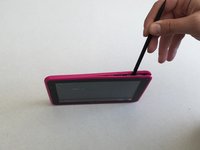
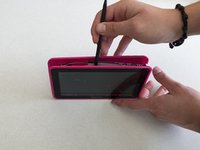
  2. Visual Land Prestige 7L Front Facing Camera Replacement: step 2, image 1 of 3 Visual Land Prestige 7L Front Facing Camera Replacement: step 2, image 2 of 3 Visual Land Prestige 7L Front Facing Camera Replacement: step 2, image 3 of 3
    • Insert the spudger between the two pieces of the case around the media ports and pry them apart.

    • We found the best way to get the spudger inside the case was to insert in into the SD card slot. Be sure to only insert the spudger a shallow amount and be careful not to damage any of the inside of the device.

    • Finish unsnapping each plastic piece holding the device together along the bottom.

    Ask FixBot

    Add Comment

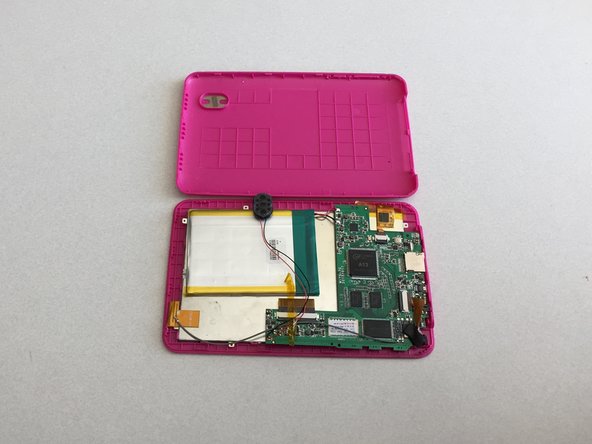
  3. Visual Land Prestige 7L Front Facing Camera Replacement: step 3, image 1 of 3 Visual Land Prestige 7L Front Facing Camera Replacement: step 3, image 2 of 3 Visual Land Prestige 7L Front Facing Camera Replacement: step 3, image 3 of 3
    • Move the spudger down the rest of the case, separating each side, and finally the top.

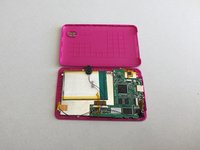
    • Pull the back off and place it to the side.

    • Without a back panel for protection, be sure place your device on the table screen-side down to avoid damaging the internal circuitry.

    Ask FixBot

    Add Comment

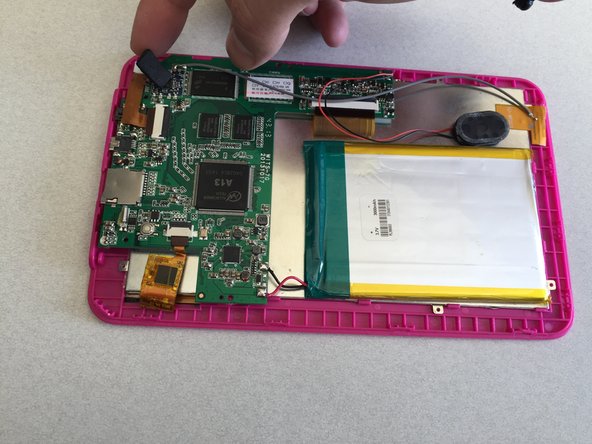
  4. Visual Land Prestige 7L Front Facing Camera Replacement, Front Facing Camera: step 4, image 1 of 2 Visual Land Prestige 7L Front Facing Camera Replacement, Front Facing Camera: step 4, image 2 of 2
    • Remove the adhesive padding.

    Ask FixBot

    Add Comment

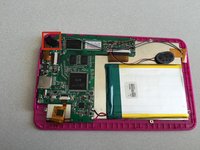
  5. Visual Land Prestige 7L Front Facing Camera Replacement: step 5, image 1 of 2 Visual Land Prestige 7L Front Facing Camera Replacement: step 5, image 2 of 2
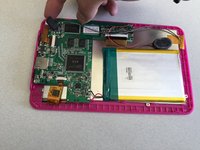
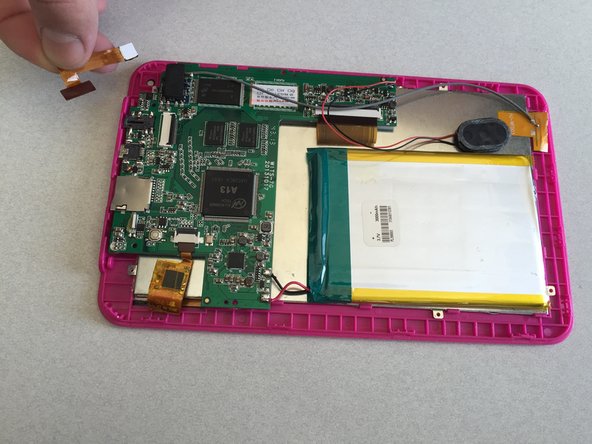
    • Unclip the connector that attaches the camera to the motherboard.

    • For more information on unclipping connectors see this How To Guide

    • Do not pull on the camera until you're sure that it's unclipped, the gold connection will rip.

    • Gently pop the camera out of the connector and off the case.

    Ask FixBot

    Add Comment

Conclusion

To reassemble your device, follow these instructions in reverse order.

Cancel: I did not complete this guide.

One other person completed this guide.

Greg Azzalina

Member since: 01/28/15

263 Reputation

1 Guide authored

Team

Penn State, Team 2-25, Kaschak Winter 2015 Member of Penn State, Team 2-25, Kaschak Winter 2015

PSU-KASCHAK-W15S2G25

4 Members

4 Guides authored

0 Guide Comments

Add Comment

View Statistics:

Past 24 Hours: 1

Past 7 Days: 3

Past 30 Days: 18

All Time: 471