Free Shipping on Domestic Orders $75+

Visual Land Prestige 7G Backlight Replacement

Views: 359

View statistics:

Past 24 Hours:
0
Past 7 Days:
13
Past 30 Days:
58
All Time:
359
Comments: 0

No one has left comments on this guide. Will you be first?

Go to guide comments
Completed: 0

No one has marked this guide "completed." Will you be the first?

Favorites: 0

No one has favorited (and subscribed to) this guide. Will you be the first?

Time Required: 35 - 55 minutes
Difficulty: Difficult
Visual Land Prestige 7G Backlight Replacement

Introduction

Go to step 1 ↓

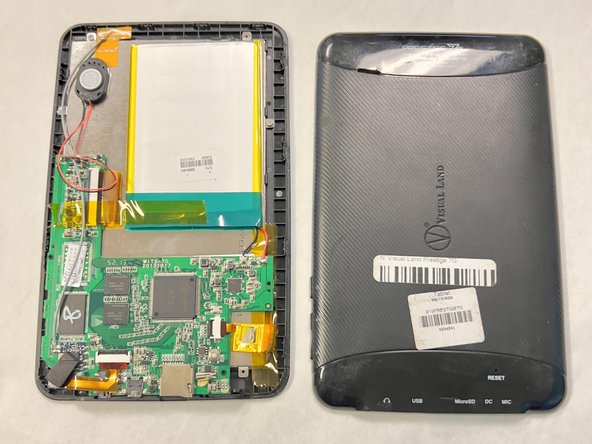
If your screen is permanently dark or black your backlight is likely malfunctioning. This guide will help you open your device and replace your backlight to restore screen clarity for your Visual Land Prestige 7G. For this guide, you will need a #000 Phillips head screwdriver, a Jimmy, and a metal spudger.

What you need

Tools

    1. Visual Land Prestige 7G Backlight Replacement, Backplate: step 1, image 1 of 2 Visual Land Prestige 7G Backlight Replacement, Backplate: step 1, image 2 of 2
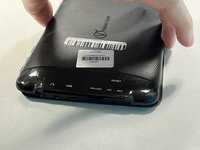
      • Lay your device face-down.

      • Use a Phillips #000 screwdriver to remove the two 4 mm screws next to the AUX port and microphone.

      Ask FixBot

      Add Comment

    2. Visual Land Prestige 7G Backlight Replacement: step 2, image 1 of 1
      • Pry open the back-plate using a Jimmy.

      • Do this by inserting the tool into the fine thin line between the back-plate and screen at each corner of the device.

      Ask FixBot

      Add Comment

    3. Visual Land Prestige 7G Backlight Replacement: step 3, image 1 of 2 Visual Land Prestige 7G Backlight Replacement: step 3, image 2 of 2
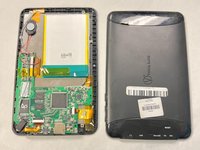
      • Lift off the backplate using your hand.

      • If the backplate is stuck, repeat the previous step to ensure all the edges are free.

      Ask FixBot

      Add Comment

    1. Visual Land Prestige 7G Backlight Replacement, Motherboard: step 4, image 1 of 3 Visual Land Prestige 7G Backlight Replacement, Motherboard: step 4, image 2 of 3 Visual Land Prestige 7G Backlight Replacement, Motherboard: step 4, image 3 of 3
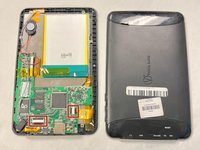
      • Lay the device on its back.

      • Flip up the black locking flap then remove the ribbon cables.

      Ask FixBot

      Add Comment

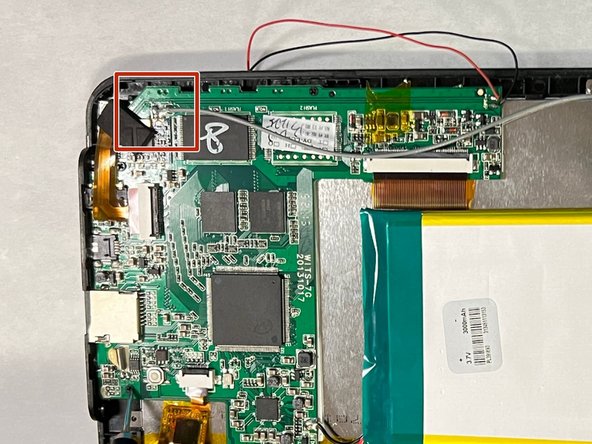
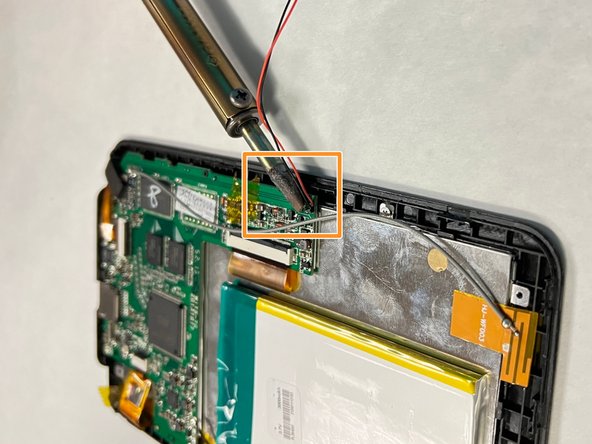
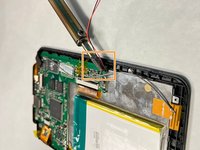
    2. Visual Land Prestige 7G Backlight Replacement: step 5, image 1 of 3 Visual Land Prestige 7G Backlight Replacement: step 5, image 2 of 3 Visual Land Prestige 7G Backlight Replacement: step 5, image 3 of 3
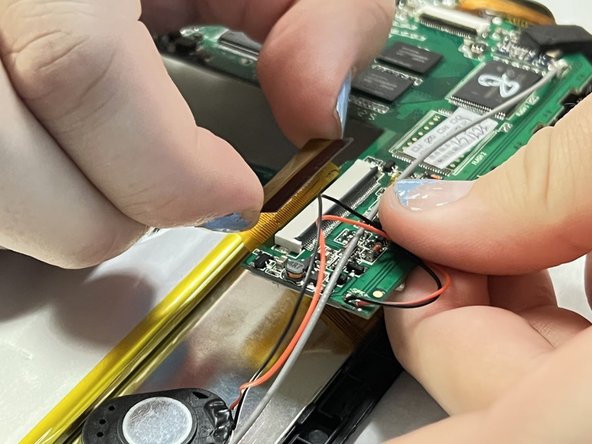
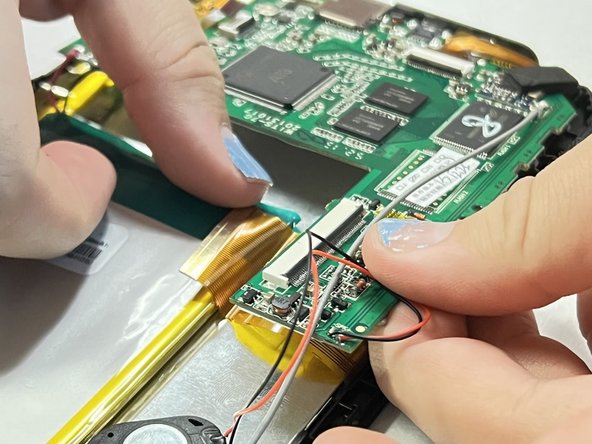
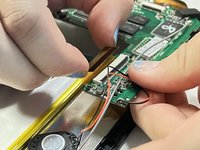
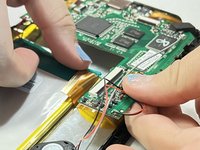
      • Connected to the motherboard there will be a red, black, and grey wire.

      • Use a soldering iron to melt the soldered contact points.

      • Disconnect the wires.

      • Lift the motherboard up and out of the chassis.

      • The high temperatures of a soldering gun and melted solder may create the potential for burns. Inhaling the fumes in an enclosed environment may also lead to irritation and desensitization of the eyes and respiratory tract.

      Ask FixBot

      Add Comment

    1. Visual Land Prestige 7G Backlight Replacement, Backlight: step 6, image 1 of 1
      • Remove the four screws with a Phillips #000 screwdriver.

      Ask FixBot

      Add Comment

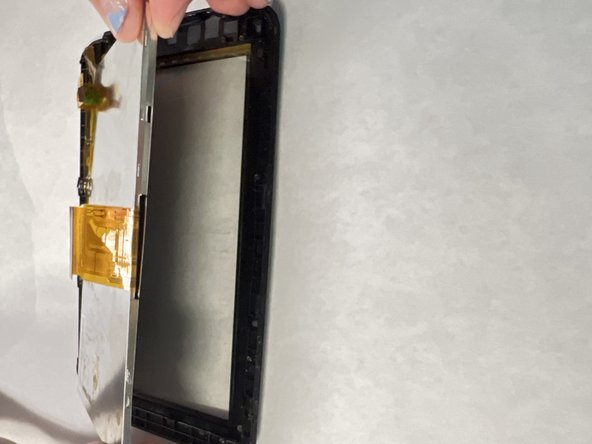
    2. Visual Land Prestige 7G Backlight Replacement: step 7, image 1 of 2 Visual Land Prestige 7G Backlight Replacement: step 7, image 2 of 2
      • Use an opening tool to lift the backplate out of the case.

      • Pay close attention to the black tabs holding it in, making sure not to break them.

      Ask FixBot

      Add Comment

Conclusion

To reassemble your device, follow these instructions in reverse order.

Cancel: I did not complete this guide.

0 Guide Comments

Add Comment

View Statistics:

Past 24 Hours: 0

Past 7 Days: 13

Past 30 Days: 58

All Time: 359