Free Shipping on Domestic Orders $75+

Vicks FilterFree Plus Touchpad Motherboard Replacement

What you need

  1. Vicks FilterFree Plus Touchpad Motherboard Replacement, Tank Cap: step 1, image 1 of 1
    • Ensure the device is clear of water before disassembling.

    • Orient the device so the nozzle is facing the ceiling.

    • Twist off the primary water holding cap.

    Ask FixBot

    Add Comment

  2. Vicks FilterFree Plus Touchpad Motherboard Replacement: step 2, image 1 of 2 Vicks FilterFree Plus Touchpad Motherboard Replacement: step 2, image 2 of 2
    • Place the device upside down so that the tank cap is facing you.

    • Use your hands to twist the tank cap and remove it from the device.

    Ask FixBot

    Add Comment

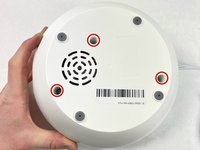
  3. Vicks FilterFree Plus Touchpad Motherboard Replacement, Touchpad Motherboard: step 3, image 1 of 2 Vicks FilterFree Plus Touchpad Motherboard Replacement, Touchpad Motherboard: step 3, image 2 of 2
    • Remove the three screws from the base of the device using a T20 Torx screwdriver.

    • Remove the base of the humidifier to access the components.

    Ask FixBot

    Add Comment

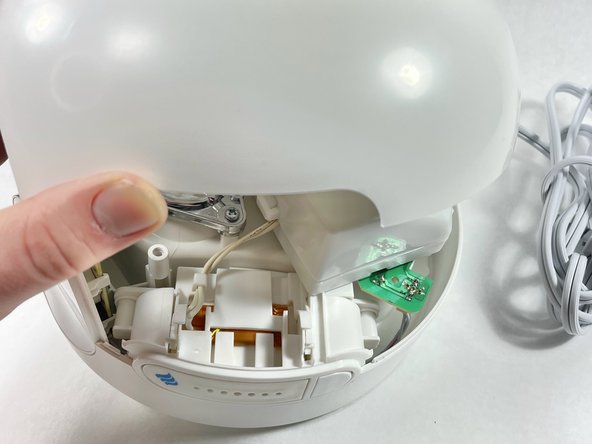
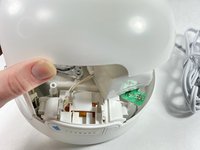
  4. Vicks FilterFree Plus Touchpad Motherboard Replacement: step 4, image 1 of 2 Vicks FilterFree Plus Touchpad Motherboard Replacement: step 4, image 2 of 2
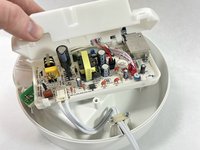
    • Gently remove the inner shield for the primary board to access the wiring for the humidifier.

    Ask FixBot

    Add Comment

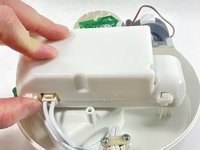
  5. Vicks FilterFree Plus Touchpad Motherboard Replacement: step 5, image 1 of 2 Vicks FilterFree Plus Touchpad Motherboard Replacement: step 5, image 2 of 2
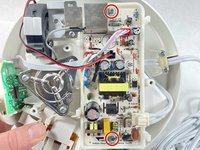
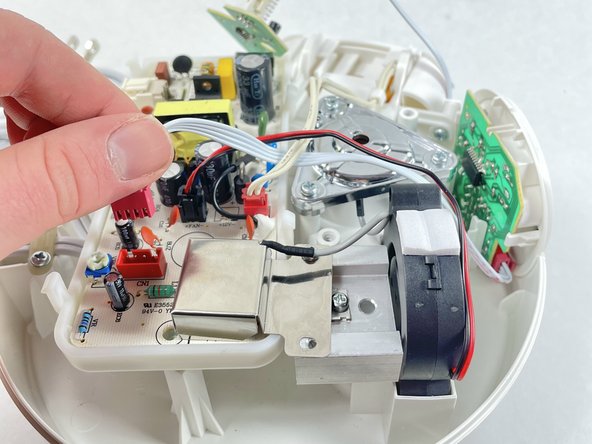
    • When both wires are followed, one connects to the central hub and the other connects to another smaller circuit board. In order to get to the smaller circuit board, the central one needs to be unscrewed.

    • Remove both screws using a Phillips #1 screwdriver.

    • Lift up the central circuit board.

    Ask FixBot

    Add Comment

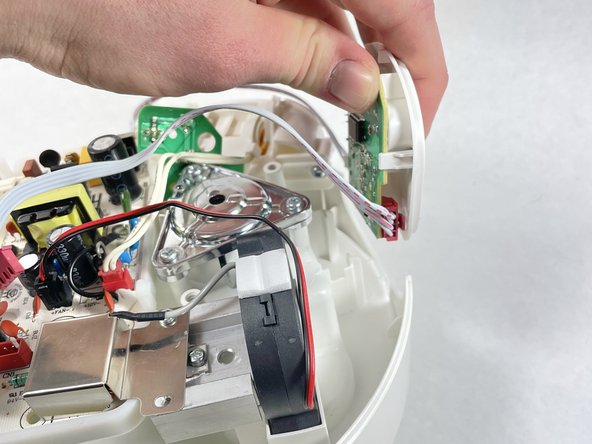
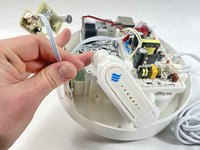
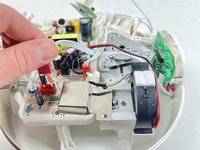
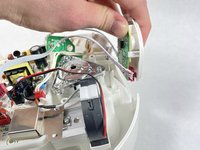
  6. Vicks FilterFree Plus Touchpad Motherboard Replacement: step 6, image 1 of 3 Vicks FilterFree Plus Touchpad Motherboard Replacement: step 6, image 2 of 3 Vicks FilterFree Plus Touchpad Motherboard Replacement: step 6, image 3 of 3
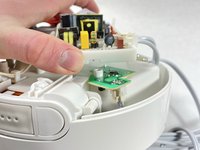
    • Once the central circuit board is lifted, the smaller one can be taken from its holster.

    • After the smaller board is taken out, the wire connecting from the main board to the touchpad motherboard can now be unclipped.

    • Remove the smaller circuit board and the touchpad motherboard.

    Ask FixBot

    Add Comment

Conclusion

To reassemble your device, follow these instructions in reverse order.

Cancel: I did not complete this guide.

NathanBatista021

Member since: 03/16/23

497 Reputation

4 Guides authored

Team

0 Guide Comments

Add Comment

View Statistics:

Past 24 Hours: 0

Past 7 Days: 9

Past 30 Days: 31

All Time: 414