Free Shipping on Domestic Orders $75+

Verizon M1424WR Capacitor Replacement

What you need

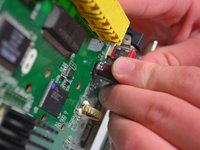
  1. Verizon M1424WR Capacitor Replacement, Motherboard: step 1, image 1 of 1
    • Flip the device so that the bottom is facing up.

    Ask FixBot
    Add Comment

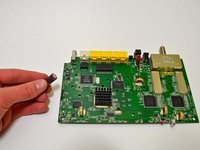
  2. Verizon M1424WR Capacitor Replacement: step 2, image 1 of 3 Verizon M1424WR Capacitor Replacement: step 2, image 2 of 3 Verizon M1424WR Capacitor Replacement: step 2, image 3 of 3
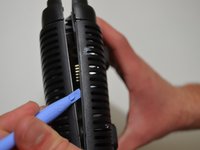
    • Warning: The design and location of the plastic clips holding this shroud make it extremely difficult to release. Take your time and use a second pry tool if necessary.

    • Insert the plastic-opening tool under the silver labeled casing.

    • Carefully pry at different intervals around the silver labeled casing to separate the silver casing from the top and bottom casing.

    Ask FixBot
    Add Comment

  3. Verizon M1424WR Capacitor Replacement: step 3, image 1 of 2 Verizon M1424WR Capacitor Replacement: step 3, image 2 of 2
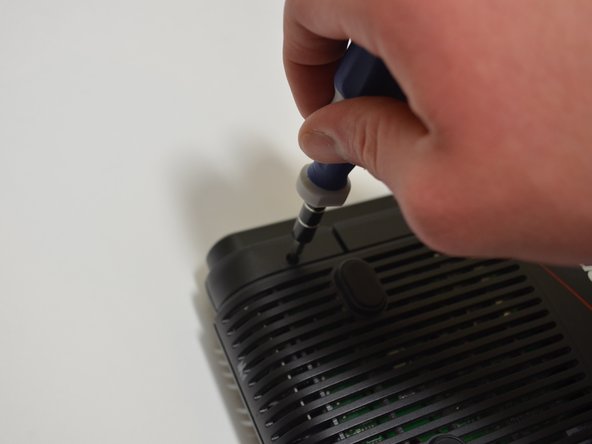
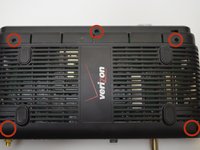
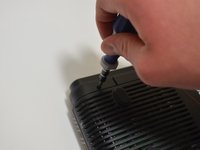
    • Unscrew the five 10-mm screws on the bottom of the router using a Phillips #0 screwdriver.

    Ask FixBot

    Add Comment

  4. Verizon M1424WR Capacitor Replacement: step 4, image 1 of 2 Verizon M1424WR Capacitor Replacement: step 4, image 2 of 2
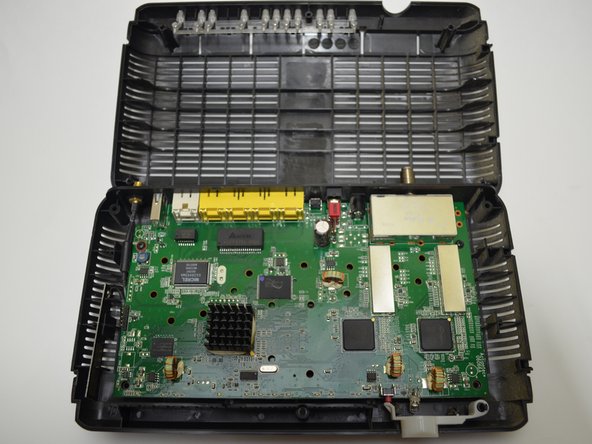
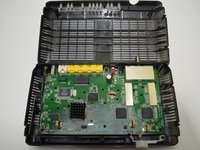
    • Use a plastic-opening tool and pry the top casing from the bottom casing to expose the circuit board in the bottom half of the device.

    Ask FixBot

    Add Comment

  5. Verizon M1424WR Capacitor Replacement: step 5, image 1 of 3 Verizon M1424WR Capacitor Replacement: step 5, image 2 of 3 Verizon M1424WR Capacitor Replacement: step 5, image 3 of 3
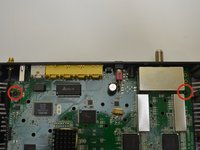
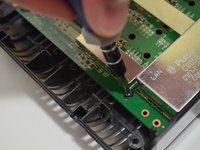
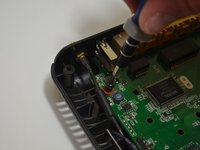
    • Locate the two 10-mm screws on either side of the circuit board.

    • Unscrew the two 10-mm screws using a Phillips #0 screwdriver.

    • Keep track of the red rubber washer you remove from underneath one of the screws.

    Ask FixBot

    Add Comment

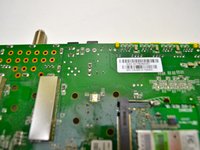
  6. Verizon M1424WR Capacitor Replacement: step 6, image 1 of 1
    • Lift the front of the circuit board up from the bottom casing.

    Ask FixBot
    Add Comment

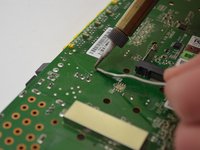
  7. Verizon M1424WR Capacitor Replacement: step 7, image 1 of 1
    • Pull the circuit board towards you until it is separate from the bottom casing.

    Ask FixBot
    Add Comment

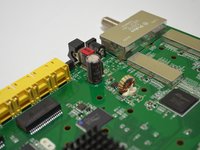
  8. Verizon M1424WR Capacitor Replacement, Capacitor: step 8, image 1 of 1
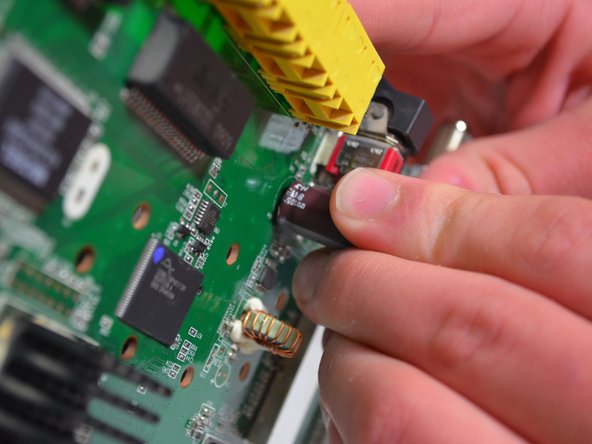
    • Locate the capacitor.

    Ask FixBot
    Add Comment

  9. Verizon M1424WR Capacitor Replacement: step 9, image 1 of 1
    • Flip the circuit board over.

    • Locate the two prongs on the flip side that are attached to the capacitor on the top side.

    Ask FixBot

    Add Comment

  10. Verizon M1424WR Capacitor Replacement: step 10, image 1 of 3 Verizon M1424WR Capacitor Replacement: step 10, image 2 of 3 Verizon M1424WR Capacitor Replacement: step 10, image 3 of 3
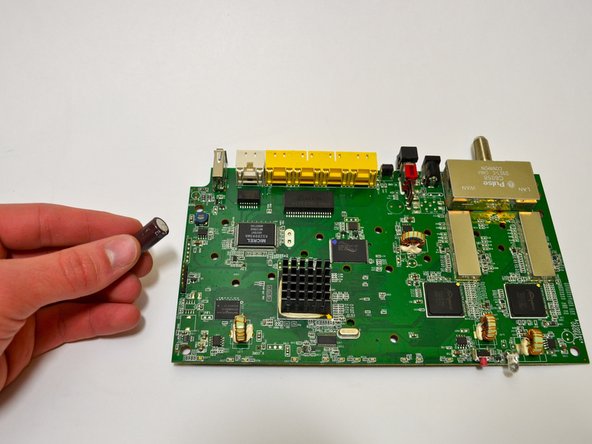
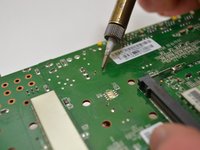
    • Touch the hot soldering iron to each prong in order to melt the solder around them.

    • Flip the circuit board and pull out the capacitor from its place while the solder is still hot.

    • For help with soldering techniques, click here.

    Ask FixBot

    Add Comment

  11. Verizon M1424WR Capacitor Replacement, Reassembly: step 11, image 1 of 3 Verizon M1424WR Capacitor Replacement, Reassembly: step 11, image 2 of 3 Verizon M1424WR Capacitor Replacement, Reassembly: step 11, image 3 of 3
    • Insert the new capacitor through the circuit board so that the prongs are exposed on the flip side.

    • Heat the prongs up with the soldering iron and touch a soldering wire to the hot prongs to attach the capacitor to the board.

    Ask FixBot

    Add Comment

Conclusion

To reassemble your device, follow Steps 1-7 in reverse order.

Cancel: I did not complete this guide.

0 Guide Comments

Add Comment

View Statistics:

Past 24 Hours: 3

Past 7 Days: 5

Past 30 Days: 48

All Time: 913