Free Shipping on Domestic Orders $75+

VTech Baby's Learning Laptop Mouse Replacement

Views: 1.9K

View statistics:

Past 24 Hours:
1
Past 7 Days:
23
Past 30 Days:
106
All Time:
1,900
Comments: 1

1 comment on steps.

Completed: 1

1 person has marked this guide "completed." Will you be next?

Favorites: 0

No one has favorited (and subscribed to) this guide. Will you be the first?

Time Required: 10 minutes
Difficulty: Moderate
VTech Baby's Learning Laptop Mouse Replacement

Introduction

Go to step 1 ↓

If the mouse has become unresponsive or does not center itself, the springs inside may have come loose or be broken altogether. Follow this guide to replace the mouse and its components.

What you need

Tools

    1. VTech Baby's Learning Laptop Mouse Replacement, Battery and Rear Panel: step 1, image 1 of 1
      • To remove the battery door, loosen the screw shown using a Phillips #2 screwdriver.

      • A coin can also be used to loosen the screw.

      Ask FixBot

      Add Comment

    2. VTech Baby's Learning Laptop Mouse Replacement: step 2, image 1 of 1
      • Remove the battery door.

      • Take out the batteries.

      Ask FixBot

      Add Comment

    3. VTech Baby's Learning Laptop Mouse Replacement: step 3, image 1 of 1
      • Remove the rear panel screws using a Phillips #2 screwdriver.

      • Two 21.6mm (Long)

      • One 9.8mm (Short)

      • Five 13.8mm (Medium)

      Ask FixBot

      Add Comment

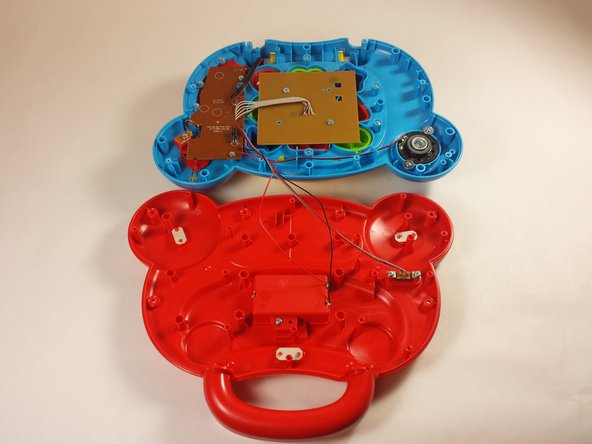
    4. VTech Baby's Learning Laptop Mouse Replacement: step 4, image 1 of 2 VTech Baby's Learning Laptop Mouse Replacement: step 4, image 2 of 2
      • Gently pull up on the rear panel.

      • Be careful not to pull on the wire connections.

      • Rest the laptop open on the table.

      Ask FixBot

      Add Comment

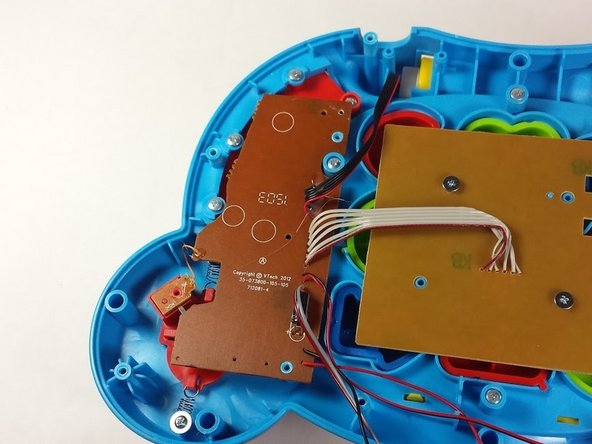
    1. VTech Baby's Learning Laptop Mouse Replacement, Mouse: step 5, image 1 of 2 VTech Baby's Learning Laptop Mouse Replacement, Mouse: step 5, image 2 of 2
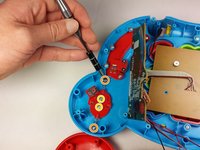
      • Using a Phillips #0 screwdriver, remove the three 7.3mm screws.

      Ask FixBot

      Add Comment

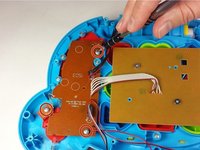
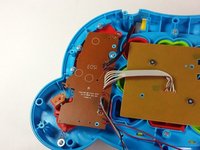
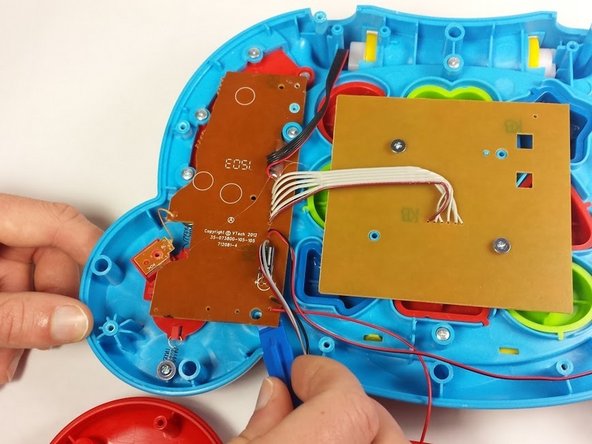
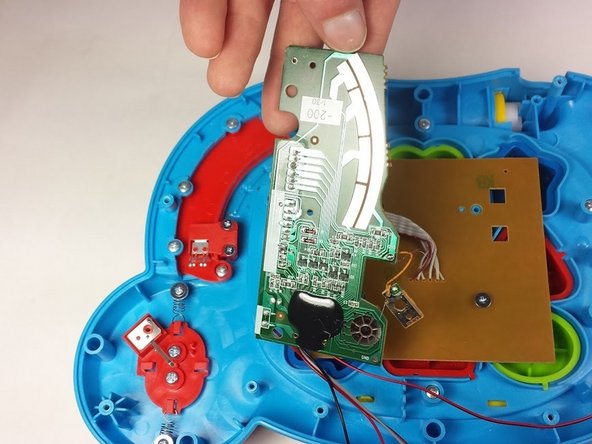
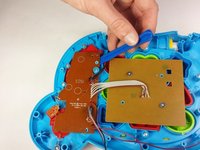
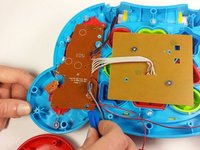
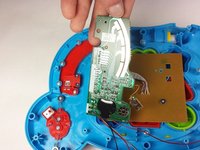
    2. VTech Baby's Learning Laptop Mouse Replacement: step 6, image 1 of 3 VTech Baby's Learning Laptop Mouse Replacement: step 6, image 2 of 3 VTech Baby's Learning Laptop Mouse Replacement: step 6, image 3 of 3
      • Once the screws have been removed from the board, use a plastic opening tool to gently pry up the board and expose the mode switch assembly underneath.

      • Lay the board down gently and out of the way.

      • Take care not to damage any of the wires or the board itself.

      Ask FixBot

      Add Comment

    3. VTech Baby's Learning Laptop Mouse Replacement: step 7, image 1 of 3 VTech Baby's Learning Laptop Mouse Replacement: step 7, image 2 of 3 VTech Baby's Learning Laptop Mouse Replacement: step 7, image 3 of 3
      • Locate and remove the following screws:

      • Two 11.0mm Phillips #2.

      • Two 7.3mm Phillips #0.

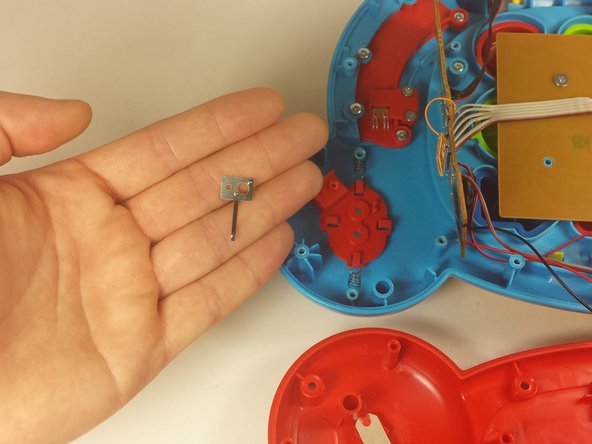
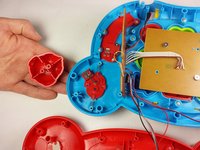
      • Remove the top of the mouse which will separate from the under side once the screws are removed.

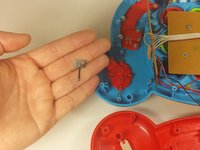
      • The metal connection near the yellow screws on the top left of the mouse assembly falls out very easily. Make sure to replace the metal connection with the prong pointing up. Otherwise, the mouse will not work correctly.

      Ask FixBot

      Add Comment

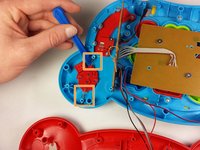
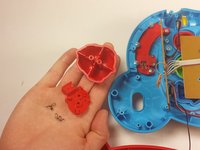
    4. VTech Baby's Learning Laptop Mouse Replacement: step 8, image 1 of 2 VTech Baby's Learning Laptop Mouse Replacement: step 8, image 2 of 2
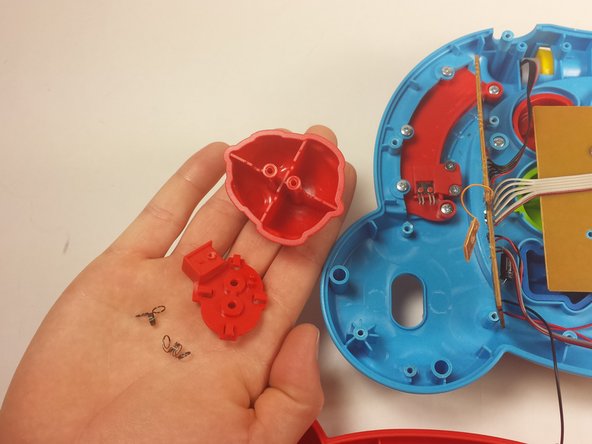
      • Lift the springs up from the screw pegs with a plastic opening tool.

      • Remove the final part of the mouse.

      • Before reassembly, see the note on the previous step.

      Ask FixBot

      Add Comment

Conclusion

To reassemble your device, follow these instructions in reverse order.

Cancel: I did not complete this guide.

One other person completed this guide.

Justin Schanze

Member since: 09/03/15

266 Reputation

1 Guide authored

Team

USF Tampa, Team 12-2, Blackwell Fall 2015 Member of USF Tampa, Team 12-2, Blackwell Fall 2015

USFT-BLACKWELL-F15S12G2

4 Members

84 Guides authored

0 Guide Comments

Add Comment

View Statistics:

Past 24 Hours: 1

Past 7 Days: 23

Past 30 Days: 106

All Time: 1,900