
VTech Baby's Learning Laptop LEDs Replacement

Christopher Kourmoulakis and 2 other contributors
Last updated on Nov 30, 2015
Views: 1.7K
View statistics:
- Past 24 Hours:
- 3
- Past 7 Days:
- 19
- Past 30 Days:
- 105
- All Time:
- 1,741
Comments: 0
No one has left comments on this guide. Will you be first?
Go to guide commentsCompleted: 0 1
No one has marked this guide "completed." Will you be the first?
1 person has marked this guide "completed." It's you — great job!
Favorites: 0 1
No one has favorited (and subscribed to) this guide. Will you be the first?
1 person has favorited (and subscribed to) this guide — and that's you!
Introduction
Go to step 1 ↓Do any of the lights on your device appear to be dimly lit or not come on at all? Replacing the LEDs may solve your problem.
What you need
Tools


-
-
-
To remove the battery door, loosen the screw shown using a Phillips #2 screwdriver.
 Ask FixBot
-
-
-
Using a Phillips #0 screwdriver, unscrew the six 7.3mm screws holding the screen together.
-
-
-
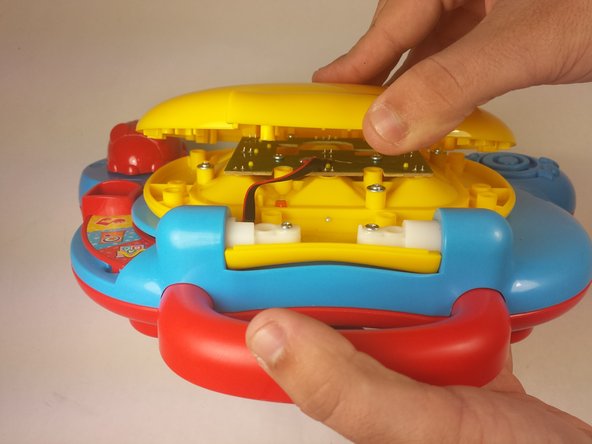
With the lid closed, position the device such that the handle is pointing towards you.
-
Using your fingers, gently pry open the cover from the hinge.
-
-
-
-
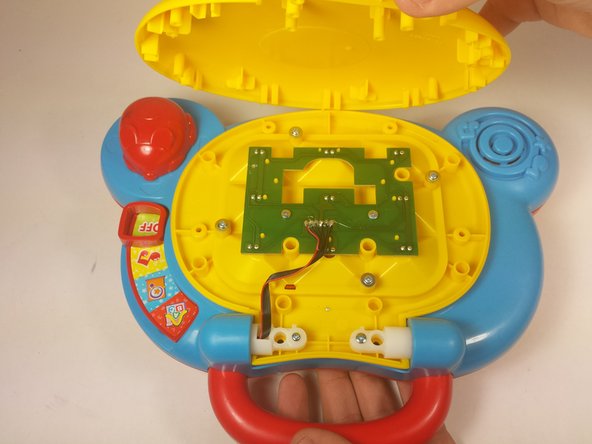
Pickup the array by the opening in the center of the board.
-
Remove the faulty LEDs by desoldering each from the board. You may refer to this soldering guide if necessary.
-
-









To reassemble your device, follow these instructions in reverse order.

Team

USF Tampa, Team 12-2, Blackwell Fall 2015 Member of USF Tampa, Team 12-2, Blackwell Fall 2015
USFT-BLACKWELL-F15S12G2
4 Members
84 Guides authored
