
VENSTAR Taco Disassembly

Michael Thompson and 5 other contributors
Last updated on Nov 3, 2022
Views: 881
View statistics:
- Past 24 Hours:
- 4
- Past 7 Days:
- 16
- Past 30 Days:
- 85
- All Time:
- 881
Comments: 0
No one has left comments on this guide. Will you be first?
Go to guide commentsCompleted: 0 1
No one has marked this guide "completed." Will you be the first?
1 person has marked this guide "completed." It's you — great job!
Favorites: 0 1
No one has favorited (and subscribed to) this guide. Will you be the first?
1 person has favorited (and subscribed to) this guide — and that's you!
Introduction
Go to step 1 ↓There is no visible way to open this device. Knowing this, assembly and disassembly must be done carefully in order to maintain the integrity of the device.
What you need
Tools


-
-
-
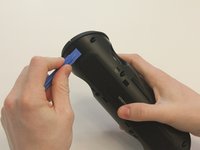
Starting with the Taco on its side, use the plastic opening tool to pop off the outer casing near the base.
 Ask FixBot
-
-
-
Repeat the previous step on the opposite side to remove the other outer casing.
-
-
Tool used on this step:Phillips #0 Screwdriver$5.49
-
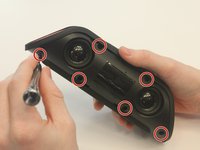
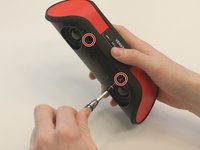
Using a Phillips PH0 3 mm-bit screwdriver, remove the six screws on the inner layer of the Taco.
-
-
-
From the same side you just unscrewed, use a plastic opening tool to unwedge the inner cover on both sides of the base.
-
-
-
-
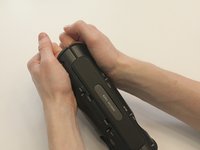
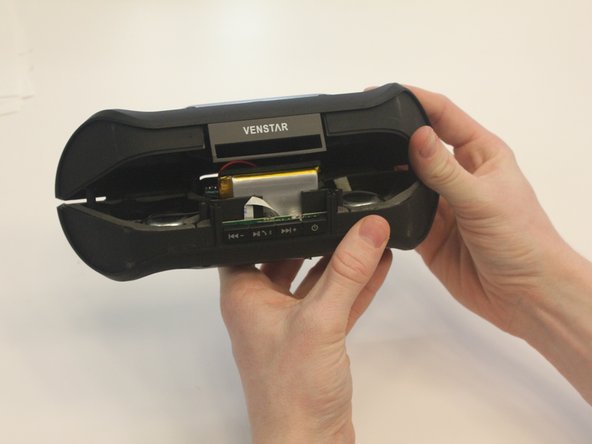
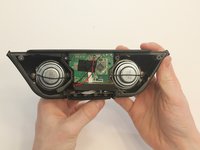
Slide off the inner cover. It pulls apart and is held on by a small amount of glue.
-
-





To reassemble your device, follow these instructions in reverse order.

Team

University of Kentucky Louisville, Team 1-3, Matravers Spring 2016 Member of University of Kentucky Louisville, Team 1-3, Matravers Spring 2016
LOUISVILLE-MATRAVERS-S16S1G3
4 Members
60 Guides authored
