Free Shipping on Domestic Orders $75+

Upper Ice Maker Assembly Replacement

Views: 487

View statistics:

Past 24 Hours:
2
Past 7 Days:
13
Past 30 Days:
76
All Time:
487
Comments: 0

No one has left comments on this guide. Will you be first?

Go to guide comments
Completed: 0

No one has marked this guide "completed." Will you be the first?

Favorites: 0

No one has favorited (and subscribed to) this guide. Will you be the first?

Time Required: 20 - 30 minutes
Difficulty: Easy
Upper Ice Maker Assembly Replacement

Introduction

Go to step 1 ↓

Use this guide to replace the upper ice maker assembly in an LG refrigerator model LFX25973.

The upper ice maker provides the ice and the feed mechanism for the through-the-door ice and water dispenser. The assembly includes the upper ice maker, a backing plate, and the ice auger motor which is incorporated into the backing plate.

When it fails, the dispenser will not be able to dispense cubes or crushed ice.

What you need

Tools

    1. Upper Ice Maker Assembly Replacement, Unplug your refrigerator: step 1, image 1 of 1
      • Unplug your refrigerator before you begin your repair.

      • If you are testing or repairing the following items, you may also need to shut off and disconnect the water supply:

      • Condenser Fan Motor

      • Compressor Motor and Thermal Overload Device

      • Water Supply Valve Assembly

      Ask FixBot

      Add Comment

    1. Upper Ice Maker Assembly Replacement, Open the doors: step 2, image 1 of 3 Upper Ice Maker Assembly Replacement, Open the doors: step 2, image 2 of 3 Upper Ice Maker Assembly Replacement, Open the doors: step 2, image 3 of 3
      • Open both refrigerator doors fully.

      Ask FixBot

      Add Comment

    1. Upper Ice Maker Assembly Replacement, Open the ice maker door: step 3, image 1 of 3 Upper Ice Maker Assembly Replacement, Open the ice maker door: step 3, image 2 of 3 Upper Ice Maker Assembly Replacement, Open the ice maker door: step 3, image 3 of 3
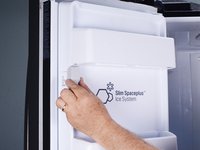
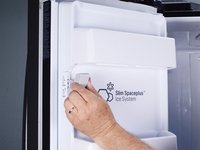
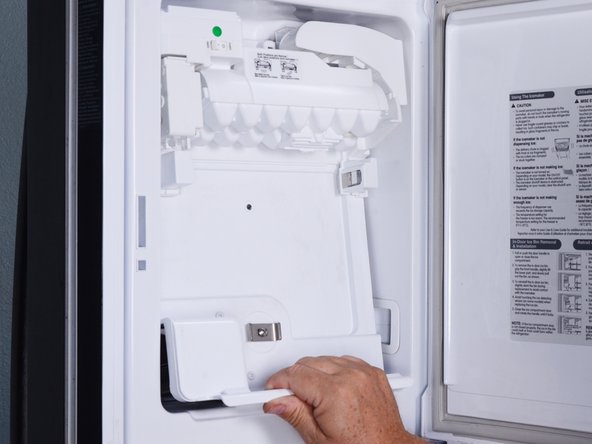
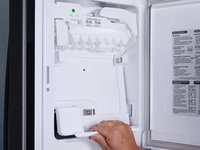
      • Pull down the latch handle to release the ice maker door.

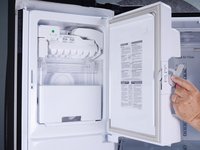
      • Swing open the ice maker door.

      Ask FixBot

      Add Comment

    2. Upper Ice Maker Assembly Replacement, Remove the ice bucket: step 4, image 1 of 3 Upper Ice Maker Assembly Replacement, Remove the ice bucket: step 4, image 2 of 3 Upper Ice Maker Assembly Replacement, Remove the ice bucket: step 4, image 3 of 3
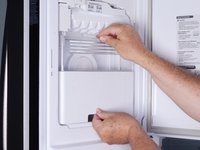
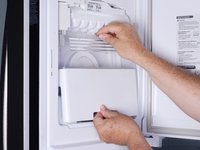
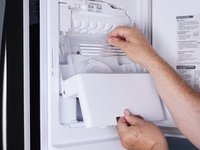
      • Using two hands, lift up the ice bucket slightly to release it.

      • Pull the bottom edge of the ice bucket toward you slightly and remove it.

      Ask FixBot

      Add Comment

    3. Upper Ice Maker Assembly Replacement, Reassembly notes: step 5, image 1 of 3 Upper Ice Maker Assembly Replacement, Reassembly notes: step 5, image 2 of 3 Upper Ice Maker Assembly Replacement, Reassembly notes: step 5, image 3 of 3
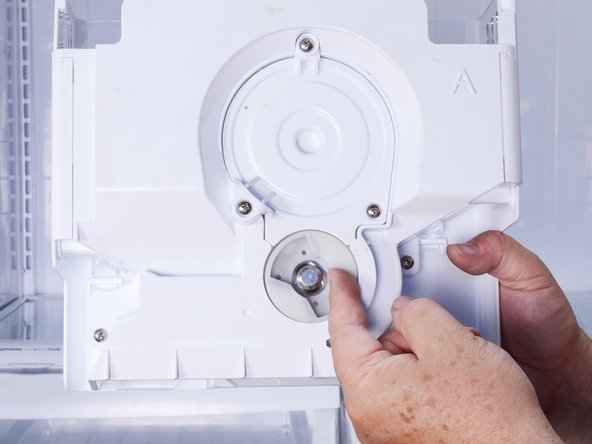
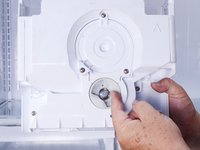
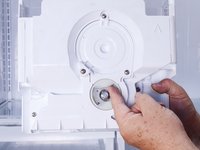
      • The drive hub notches and drive blade wings must line up before installing the ice bucket.

      • Rotate the ice bucket hub, located on the rear of the ice bucket, with your hand so that the notches will align with the auger motor drive blades.

      Ask FixBot

      Add Comment

    1. Upper Ice Maker Assembly Replacement, Remove the ice maker assembly screws: step 6, image 1 of 2 Upper Ice Maker Assembly Replacement, Remove the ice maker assembly screws: step 6, image 2 of 2
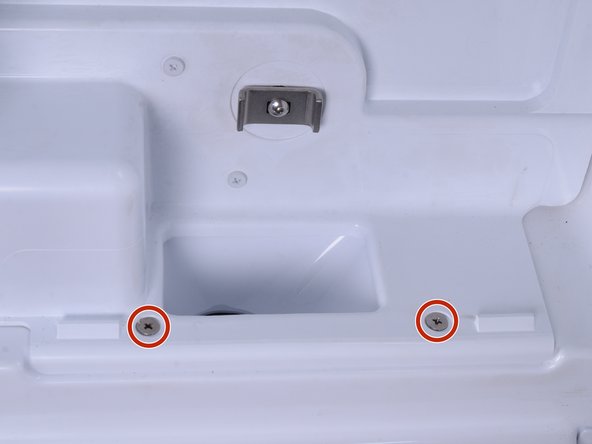
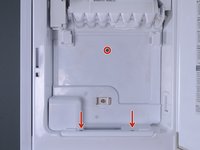
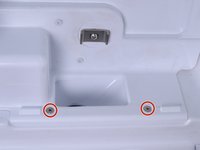
      • Use a #2 Philips driver to remove the three 15 mm‑long screws that secure the ice maker assembly to the refrigerator door.

      Ask FixBot

      Add Comment

    2. Upper Ice Maker Assembly Replacement, Reposition the ice maker assembly: step 7, image 1 of 3 Upper Ice Maker Assembly Replacement, Reposition the ice maker assembly: step 7, image 2 of 3 Upper Ice Maker Assembly Replacement, Reposition the ice maker assembly: step 7, image 3 of 3
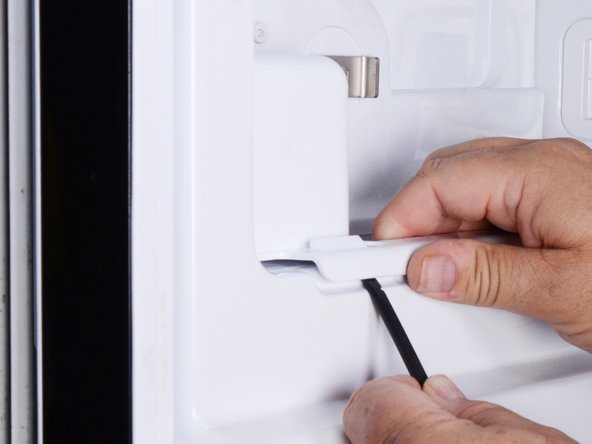
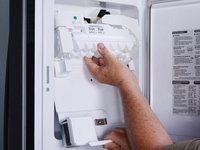
      • Use a spudger to lift the bottom edge of the ice maker assembly. This action will release the assembly from the refrigerator door.

      • Pull the bottom edge of the ice maker assembly toward you to free it from the door.

      Ask FixBot

      Add Comment

    3. Upper Ice Maker Assembly Replacement: step 8, image 1 of 3 Upper Ice Maker Assembly Replacement: step 8, image 2 of 3 Upper Ice Maker Assembly Replacement: step 8, image 3 of 3
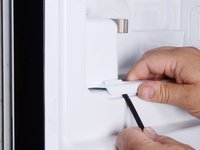
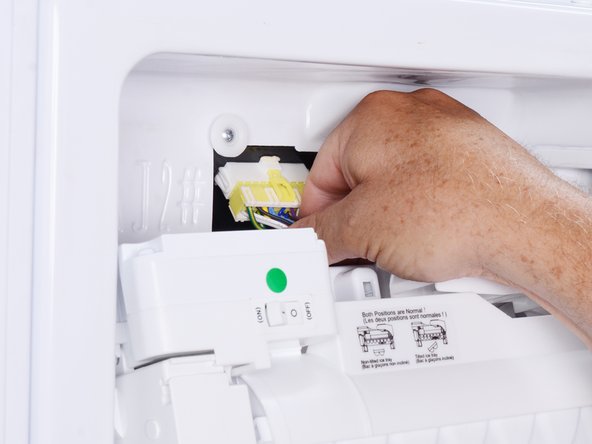
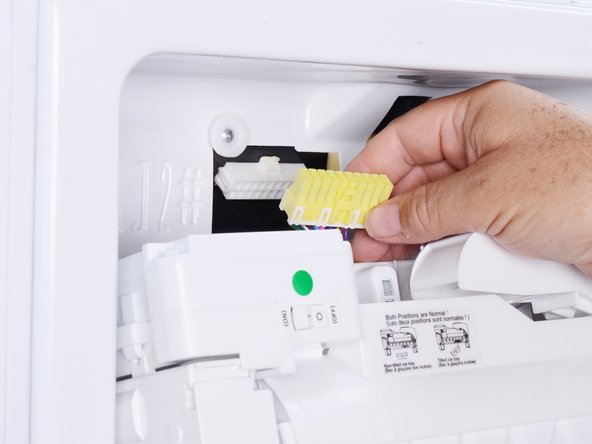
      • Lower the ice maker assembly until you can access the connector located at the top of the assembly.

      • Squeeze the connector at the top of the ice maker assembly to release it.

      • Pull the connector straight down to disconnect it.

      Ask FixBot

      Add Comment

    4. Upper Ice Maker Assembly Replacement, Remove the ice maker assembly: step 9, image 1 of 1
      • Remove the ice maker assembly.

      Ask FixBot

      Add Comment

Conclusion

To reassemble your device, follow these instructions in reverse order.

Take your e-waste to an R2 or e-Stewards certified recycler.

Repair didn’t go as planned? Try some basic troubleshooting, or ask our  Answers community for help.

Cancel: I did not complete this guide.

Bill Gilbert

Member since: 06/30/22

40,642 Reputation

261 Guides authored

0 Guide Comments

Add Comment

View Statistics:

Past 24 Hours: 2

Past 7 Days: 13

Past 30 Days: 76

All Time: 487