Free Shipping on Domestic Orders $75+

Uniden TCX905 Home Button Replacement

What you need

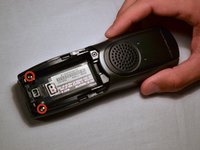
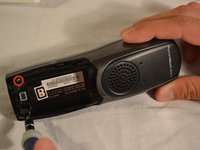
  1. Uniden TCX905 Home Button Replacement, Battery Cover: step 1, image 1 of 2 Uniden TCX905 Home Button Replacement, Battery Cover: step 1, image 2 of 2
    • Starting from the top of the cover, slide down and away from the phone with your thumb

    • Lift battery cover off of batter and place it to the side

    Ask FixBot

    Add Comment

  2. Uniden TCX905 Home Button Replacement, Battery Pack: step 2, image 1 of 2 Uniden TCX905 Home Button Replacement, Battery Pack: step 2, image 2 of 2
    • Once battery cover is removed, place your thumb and index fingers on the the wires near the receptacle

    • Gently pull straight up on the wires until a click is heard which signifies the battery is completely disconnected

    • Place battery pack to the side

    Ask FixBot

    Add Comment

  3. Uniden TCX905 Home Button Replacement, Back Shell: step 3, image 1 of 2 Uniden TCX905 Home Button Replacement, Back Shell: step 3, image 2 of 2
    • Remove the two 11mm screws inside the battery storage compartment using Phillips #1 screwdriver (located near the very bottom of the phone)

    Ask FixBot

    Add Comment

  4. Uniden TCX905 Home Button Replacement: step 4, image 1 of 3 Uniden TCX905 Home Button Replacement: step 4, image 2 of 3 Uniden TCX905 Home Button Replacement: step 4, image 3 of 3
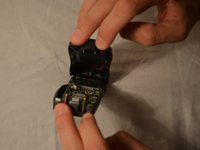
    • Gently open phone casing along the seam at the bottom of the phone using index and middle fingers of both hands

    Ask FixBot

    Add Comment

  5. Uniden TCX905 Home Button Replacement: step 5, image 1 of 3 Uniden TCX905 Home Button Replacement: step 5, image 2 of 3 Uniden TCX905 Home Button Replacement: step 5, image 3 of 3
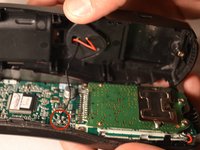
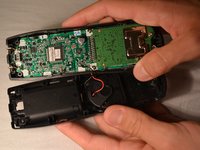
    • Ensure that wired connection between circuit board and back shell is not strained

    • Fold the back shell underneath the front shell and circuit board

    Ask FixBot

    Add Comment

  6. Uniden TCX905 Home Button Replacement, Circuit Board: step 6, image 1 of 2 Uniden TCX905 Home Button Replacement, Circuit Board: step 6, image 2 of 2
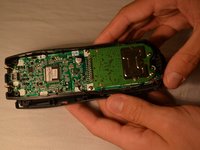
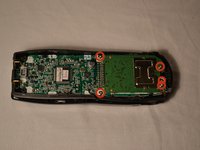
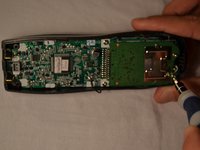
    • Carefully remove the middle two 7mm screws, the outer top 9mm screws, and the top middle 7 mm screw that hold the logic board to the front shell of the phone casing using the Phillips #1 screwdriver

    Ask FixBot

    Add Comment

  7. Uniden TCX905 Home Button Replacement: step 7, image 1 of 3 Uniden TCX905 Home Button Replacement: step 7, image 2 of 3 Uniden TCX905 Home Button Replacement: step 7, image 3 of 3
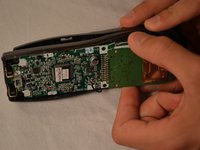
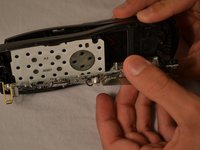
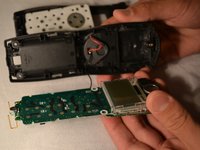
    • Using index finger and thumb, carefully remove the circuit board from the front shell of phone

    Ask FixBot

    Add Comment

  8. Uniden TCX905 Home Button Replacement, Home Button: step 8, image 1 of 3 Uniden TCX905 Home Button Replacement, Home Button: step 8, image 2 of 3 Uniden TCX905 Home Button Replacement, Home Button: step 8, image 3 of 3
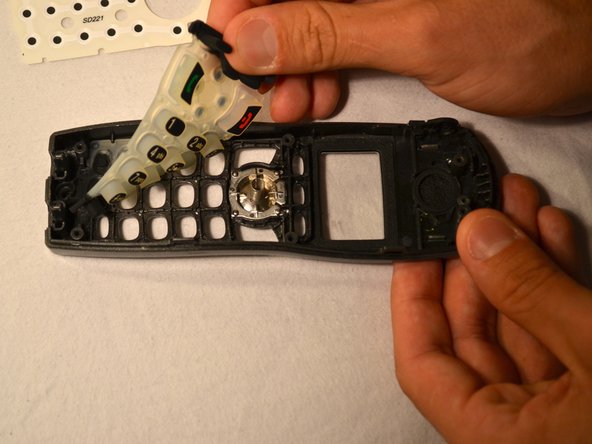
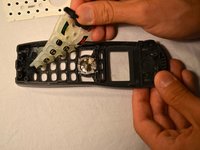
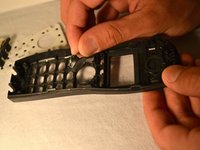
    • Remove the white plastic sheet covering the silicon button pad

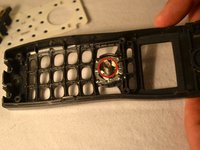
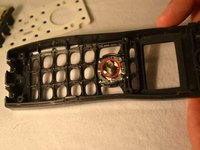
    • Remove the silicon button pad to access the home button and spring

    • Note: Be mindful that the spring is small and sensitive and can be lost easily if not cautious

    Ask FixBot

    Add Comment

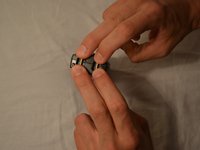
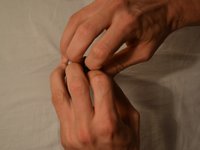
  9. Uniden TCX905 Home Button Replacement: step 9, image 1 of 2 Uniden TCX905 Home Button Replacement: step 9, image 2 of 2
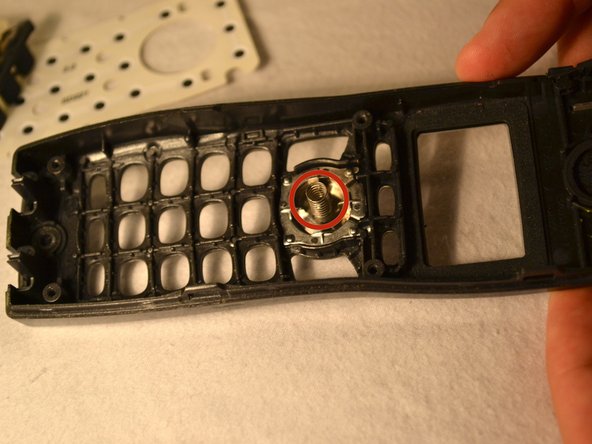
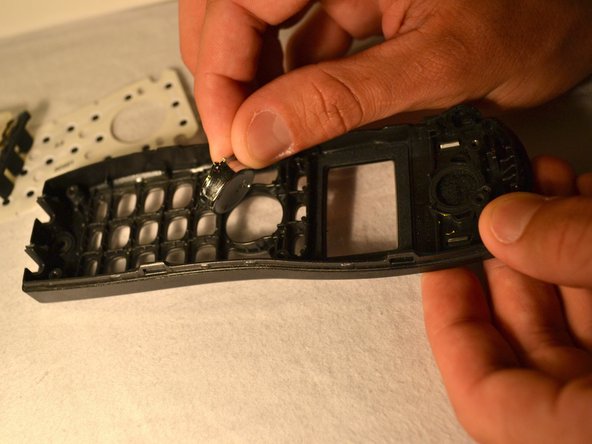
    • Once the silicon button pad is removed, remove the spring from home button

    • Finally, remove the home button from its setting in the front shell of the phone

    Ask FixBot

    Add Comment

Conclusion

To reassemble your device, follow these instructions in reverse order.

Cancel: I did not complete this guide.

Gary Pence

Member since: 03/26/14

807 Reputation

8 Guides authored

Team

Clemson, Team 1-1, Benson Spring 2014 Member of Clemson, Team 1-1, Benson Spring 2014

CLEM-BENSON-S14S1G1

3 Members

24 Guides authored

0 Guide Comments

Add Comment

View Statistics:

Past 24 Hours: 0

Past 7 Days: 5

Past 30 Days: 33

All Time: 914