
Uniden TCX905 Button Keypad Cleaning Guide

Gary Pence and 3 other contributors
Last updated on Jul 15, 2014
Views: 1.4K
View statistics:
- Past 24 Hours:
- 3
- Past 7 Days:
- 19
- Past 30 Days:
- 99
- All Time:
- 1,446
Comments: 0
No one has left comments on this guide. Will you be first?
Go to guide commentsCompleted: 0 1
No one has marked this guide "completed." Will you be the first?
1 person has marked this guide "completed." It's you — great job!
Favorites: 0 1
No one has favorited (and subscribed to) this guide. Will you be the first?
1 person has favorited (and subscribed to) this guide — and that's you!
Needs Better Images
Better photos will improve this guide. Help out by taking, editing, or uploading new ones!
Introduction
Go to step 1 ↓If problems occur with the button keypad, this guide will show the user how to thoroughly clean them.
What you need


-
-
-
Starting from the top of the cover, slide down and away from the phone with your thumb
-
Lift battery cover off of batter and place it to the side
 Ask FixBot
-
-
-
-
-
Once battery cover is removed, place your thumb and index fingers on the the wires near the receptacle
-
Gently pull straight up on the wires until a click is heard which signifies the battery is completely disconnected
-
Place battery pack to the side
-
-
-
-
-
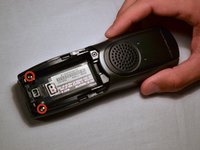
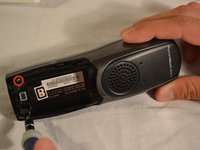
Remove the two 11mm screws inside the battery storage compartment using Phillips #1 screwdriver (located near the very bottom of the phone)
-
-
-
Gently open phone casing along the seam at the bottom of the phone using index and middle fingers of both hands
-
-
-
Ensure that wired connection between circuit board and back shell is not strained
-
Fold the back shell underneath the front shell and circuit board
-
-
-
-
-
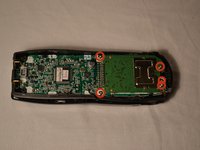
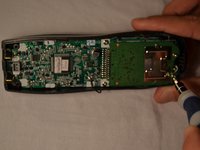
Carefully remove the middle two 7mm screws, the outer top 9mm screws, and the top middle 7 mm screw that hold the logic board to the front shell of the phone casing using the Phillips #1 screwdriver
-
-
-
-
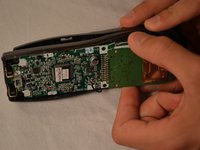
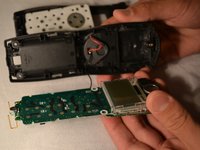
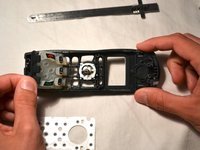
Using index finger and thumb, carefully remove the circuit board from the front shell of phone
-
-
-
-
-
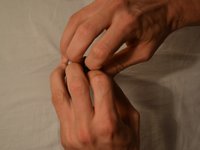
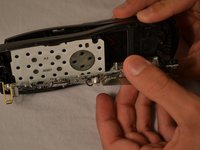
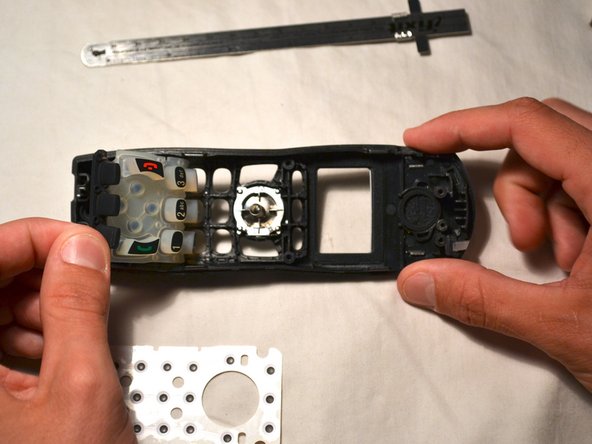
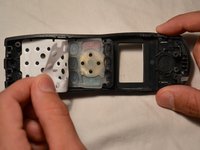
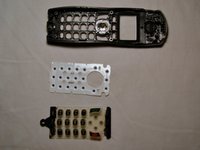
Remove the white plastic sheet covering the button pad with your fingers
-
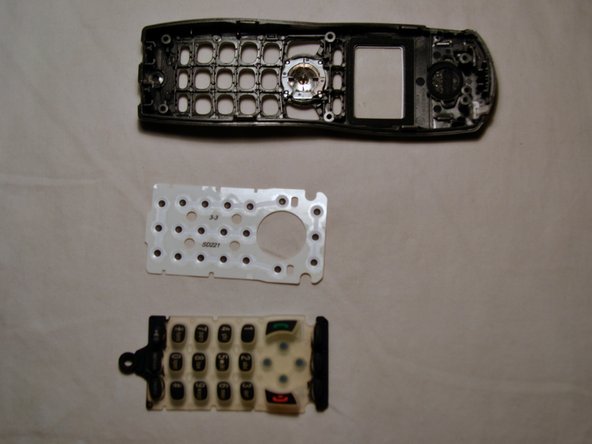
Gently remove the silicon button pad
-
-
-
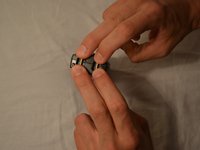
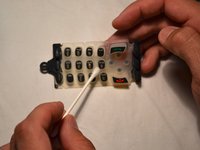
Wet one end of the cotton swab with water and clean button pad as needed
-
Repeat process with multiple cotton swabs if needed
-
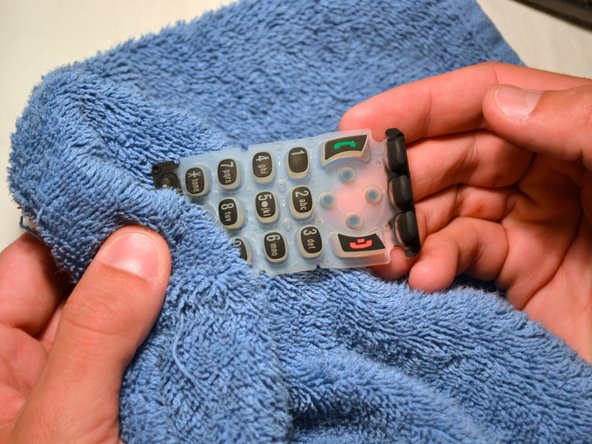
Dry the button pad with a clean, soft rag before replacing
-
-




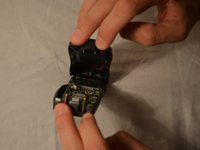


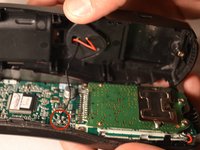
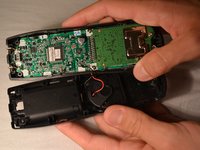
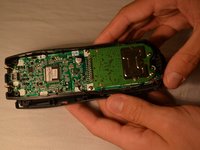






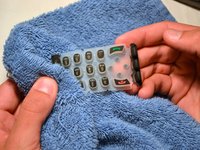
To reassemble your device, follow these instructions in reverse order.

Team

Clemson, Team 1-1, Benson Spring 2014 Member of Clemson, Team 1-1, Benson Spring 2014
CLEM-BENSON-S14S1G1
3 Members
96 Guides authored
