What you need
-
-
-
Uniden EXP371 900 MHz Cordless Phone.
-
900 MHz Extended Range with One Touch RocketDial/Find Handset Locator and is Desk or Wall Mountable.
 Ask FixBot
-
-
-
Remove the battery by first pressing down on the rear of the cover and pushing the cover towards the bottom of the phone.
-
Next remove the battery by pulling on the connector.
-
-
-
-
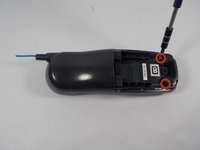
Next remove the two screws at the bottom of the phone with a PH1 philips screwdriver.
-
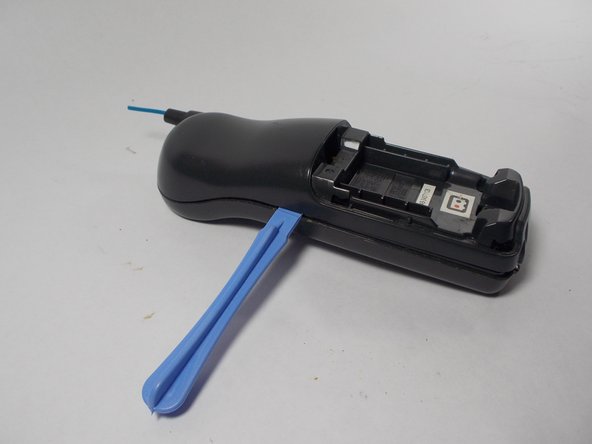
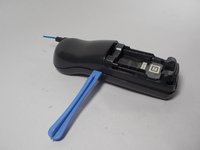
Now remove the top portion of the case from the bottom. This may be difficult to do with your bare hands. The use of a plastic opening tool may come in handy.
-
-
-
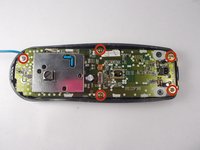
Your next step is to remove the five screws holding down the motherboard. Use the PH1 philips screwdriver.
-
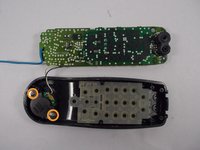
Once you have removed the five screws you may lift the motherboard off of the front case.
-
At this point you may also remove the dial pad. It simply lifts off.
-
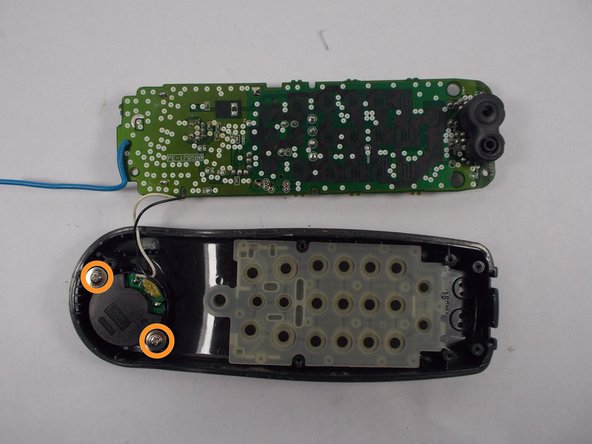
You may also remove the speaker if needed by unscrewing the two screws using the PH1 philips screwdriver.
-
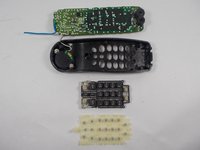
The whole phone is now disassembled at this point.
-
-
-
-
Tool used on this step:Tweezers$4.99
-
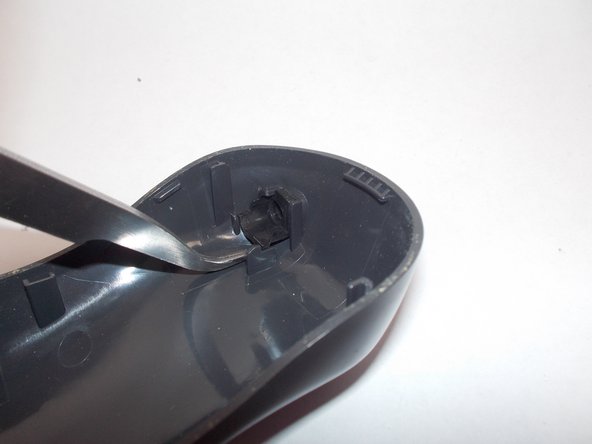
After following the teardown guide. Take the bottom case and locate the antenna at the top of the phone.
-
Lift the bottom of the the antenna with the aid of a tool (these tweezers work well) and push the antenna inside the phone to remove it.
-
To reassemble the phone, follow the steps in the reverse order.
-
-



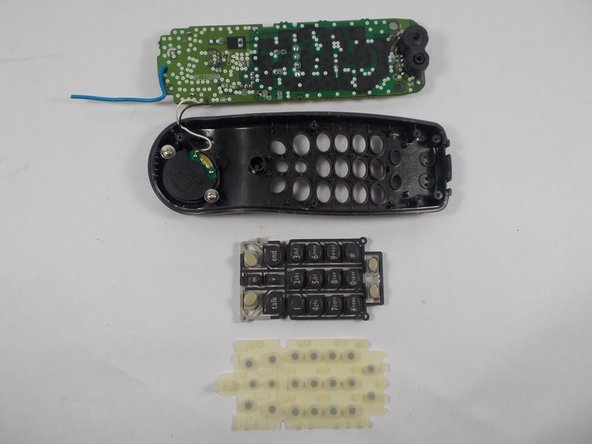


To reassemble your device, follow these instructions in reverse order.

Team

UMass Dartmouth, Team 2-1, Duarte Fall 2014 Member of UMass Dartmouth, Team 2-1, Duarte Fall 2014
UMASSD-DUARTE-F14S2G1
4 Members
60 Guides authored
