Free Shipping on Domestic Orders $75+

Unbranded UB-15MS10 Back Camera Replacement

Archived Guide
This guide is retained solely for historical purposes. Use the updated version of the guide to perform your repair.

What you need

  1. Unbranded UB-15MS10 Back Camera Replacement, Back Panel: step 1, image 1 of 1
    • Remove the cover over the Micro SD outlet by using a plastic opening tool to pry open and push out the cover panel.

    Ask FixBot

    Add Comment

  2. Unbranded UB-15MS10 Back Camera Replacement: step 2, image 1 of 1
    • Remove the two 4-mm #0 screws from the inside of the Micro SD compartment.

    Ask FixBot

    Add Comment

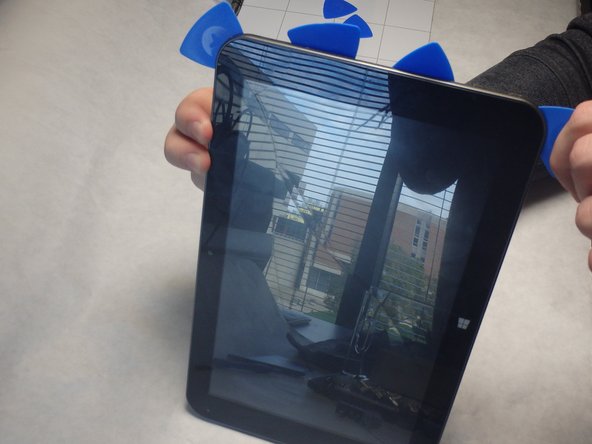
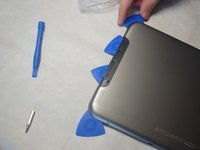
  3. Unbranded UB-15MS10 Back Camera Replacement: step 3, image 1 of 2 Unbranded UB-15MS10 Back Camera Replacement: step 3, image 2 of 2
    • Insert blue guitar picks in the crease between the top and bottom panels starting on the same end as the Micro SD slot.

    • Inserting the picks directly under the Micro SD compartment was the easiest place to get started. It still requires some force.

    Ask FixBot

    Add Comment

  4. Unbranded UB-15MS10 Back Camera Replacement: step 4, image 1 of 1
    • Insert the black spudger between the guitar picks in order to pry open gaps between the blue guitar picks.

    • As the gaps open, slide the guitar picks along the sides to separate the panels.

    Ask FixBot

    Add Comment

  5. Unbranded UB-15MS10 Back Camera Replacement: step 5, image 1 of 1
    • Pry all four sides apart using the blue guitar picks and the black spudger until they can easily be pried apart by hand.

    Ask FixBot

    Add Comment

  6. Unbranded UB-15MS10 Back Camera Replacement, Back Camera: step 6, image 1 of 1
    • Remove the small piece of black tape.

    Ask FixBot

    Add Comment

  7. Unbranded UB-15MS10 Back Camera Replacement: step 7, image 1 of 1
    • Remove the black 4-mm #0 screw.

    Ask FixBot

    Add Comment

  8. Unbranded UB-15MS10 Back Camera Replacement: step 8, image 1 of 1
    • To finish removing the camera, disconnect the camera ribbon from the white ZIF connector on the motherboard.

    • There are two very small prongs on the side which need to be pushed towards the center of the connector to remove it.

    Ask FixBot

    Add Comment

Conclusion

To reassemble your device, follow these instructions in reverse order.

Cancel: I did not complete this guide.

4 other people completed this guide.

Jordan Turk

Member since: 09/21/15

331 Reputation

2 Guides authored

Team

IUPUI, Team 2-1, Baechle Fall 2015 Member of IUPUI, Team 2-1, Baechle Fall 2015

IUPUI-BAECHLE-F15S2G1

3 Members

3 Guides authored

0 Guide Comments

Add Comment

View Statistics:

Past 24 Hours: 0

Past 7 Days: 3

Past 30 Days: 11

All Time: 885