
Two-Hole Button Replacement

Hannah Radtke and 2 other contributors
Last updated on Dec 22, 2023
Views: 1.1K
View statistics:
- Past 24 Hours:
- 8
- Past 7 Days:
- 38
- Past 30 Days:
- 188
- All Time:
- 1,051
Comments: 0
No one has left comments on this guide. Will you be first?
Go to guide commentsCompleted: 0 1
No one has marked this guide "completed." Will you be the first?
1 person has marked this guide "completed." It's you — great job!
Favorites: 0 1
No one has favorited (and subscribed to) this guide. Will you be the first?
1 person has favorited (and subscribed to) this guide — and that's you!
Introduction
Go to step 1 ↓This guide will show you how to resew a two-hole button back on a jacket/clothing item. It is an important skill to be able to resew a two-hole button back onto clothing to increase the longevity of the item. This is a more sustainable option, rather than buying a new jacket or sweater. This sewing skill can also be used with other fixes as well, so we made sure our guide was easy to follow for anyone looking to fix their clothes!
What you need
Parts
Tools


-
-
-
Choose a thread that will match the rest of the buttons on the jacket/button.
 Ask FixBot
-
-
-
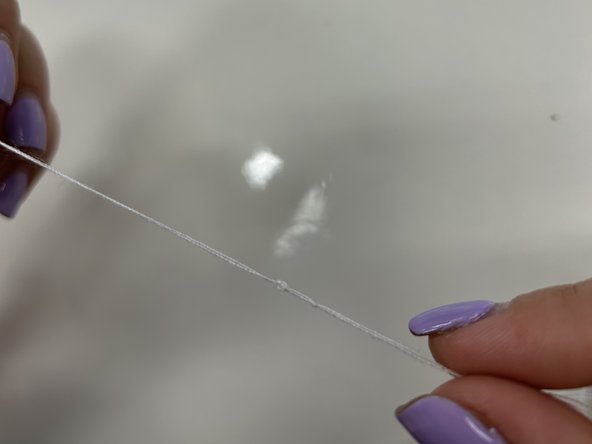
Tie a knot at the end of the thread so that it will not come back through the buttonhole.
-
-
-
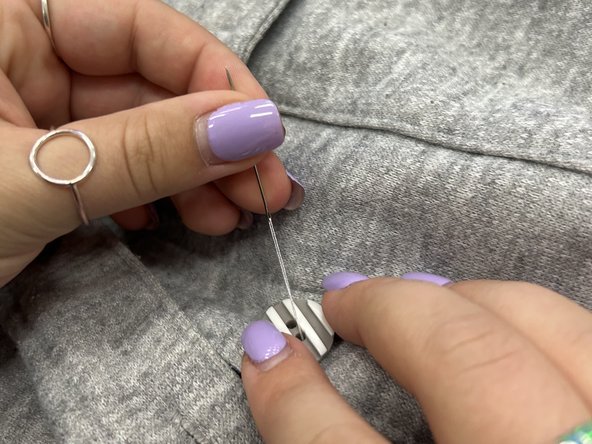
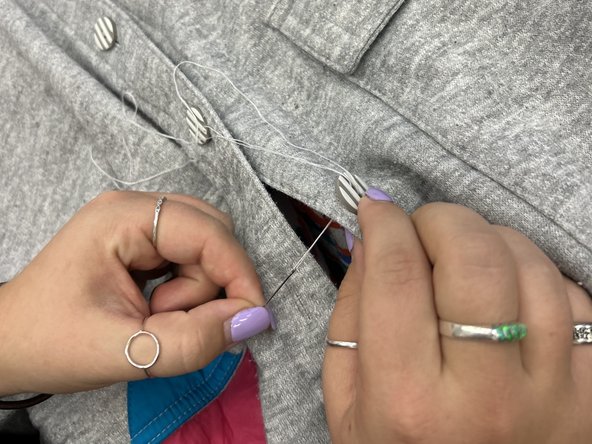
Take the threaded needle and push it through the fabric and one of the buttonholes on the bottom side and pull it through.
-
-
-
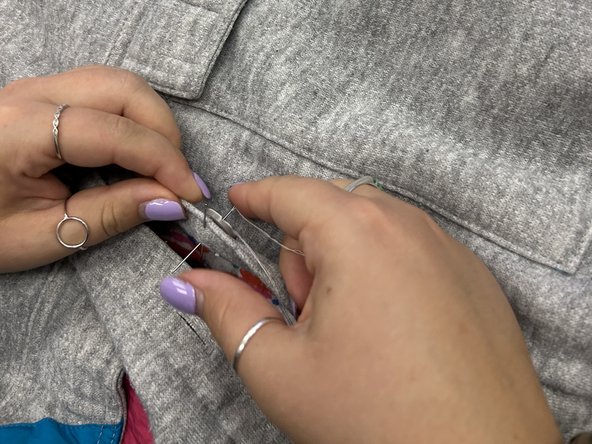
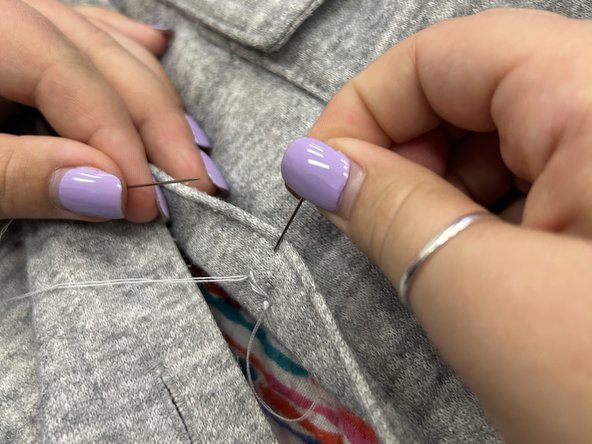
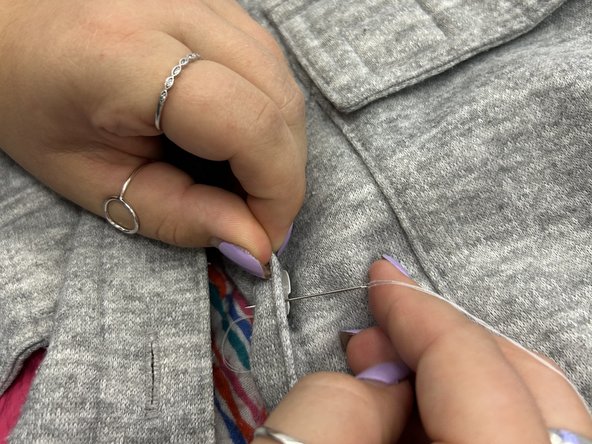
Place a straight pin on the backside of the button to keep the button from being sewn on too tight.
-
-
-
-
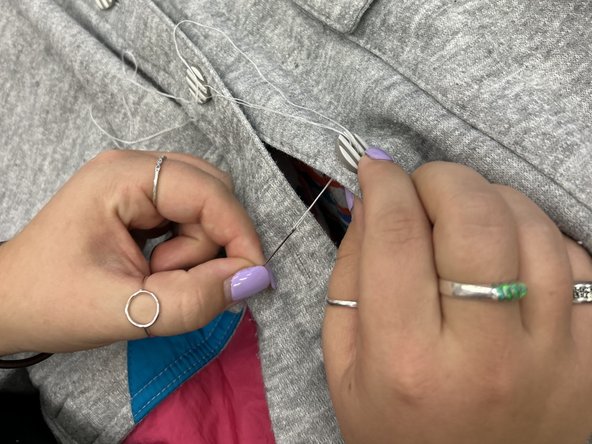
Once the button is secure, push the needle through the fabric but not the button and remove the pin.
-
-
-
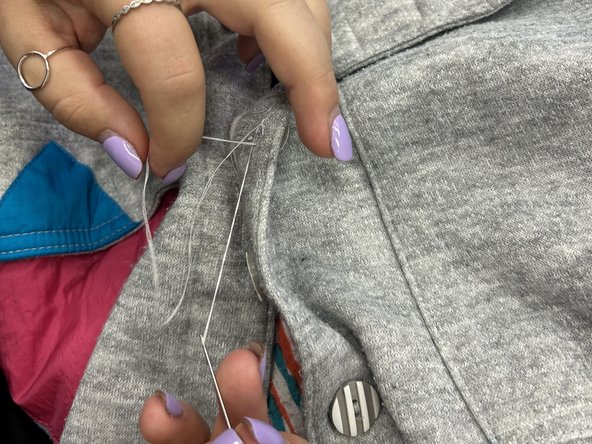
Once the pin is removed, wrap the thread around the button 6-7 times and push the needle through the fabric on the underside of the button.
-
-














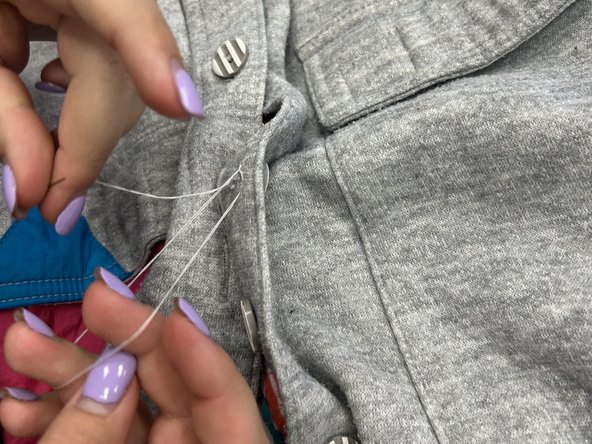

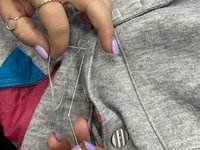
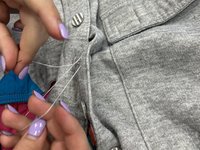

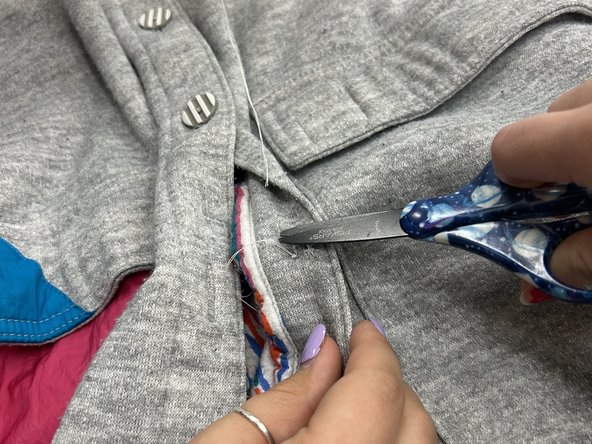



Test out your fix by closing the jacket/clothing item with your resewn button!

Team

University of Wisconsin Eau Claire, Team 1-4, Cameron Fall 2023 Member of University of Wisconsin Eau Claire, Team 1-4, Cameron Fall 2023
UWEC-CAMERON-F23S1G4
3 Members
12 Guides authored
