
Turtle Beach REACT-R Bumpers Replacement

Dodi Imam and 2 other contributors
Last updated on Jul 2, 2024
Views: 925
View statistics:
- Past 24 Hours:
- 1
- Past 7 Days:
- 18
- Past 30 Days:
- 78
- All Time:
- 925
Comments: 0
No one has left comments on this guide. Will you be first?
Go to guide commentsCompleted: 0 1
No one has marked this guide "completed." Will you be the first?
1 person has marked this guide "completed." It's you — great job!
Favorites: 0 1
No one has favorited (and subscribed to) this guide. Will you be the first?
1 person has favorited (and subscribed to) this guide — and that's you!
Introduction
Go to step 1 ↓This guide is designed to help you replace the shoulder buttons on your REACT-R, which is critical for performing specific actions in many games. If your shoulder buttons are sticky, unresponsive, or have stopped working altogether, a replacement might be necessary to restore optimal functionality.
Follow these step-by-step instructions to replace the shoulder buttons and ensure your controller performs like new again. You'll need a Phillips #00 screwdriver for this task.
What you need
Tools

-
-
-
Place the controller face down.
-
Use a Phillips #00 screwdriver to remove the seven 9.2 mm Phillips screws that secure the rear case.
-
Use both hands to lift the backplate away from the controller.
 Ask FixBot
-
-
-
-
-
Use a Phillips #00 to remove the four 9.2 mm screws that secure the motherboard.
-
Gently lift the motherboard up and out of the chassis.
-
-
-
-
-
-
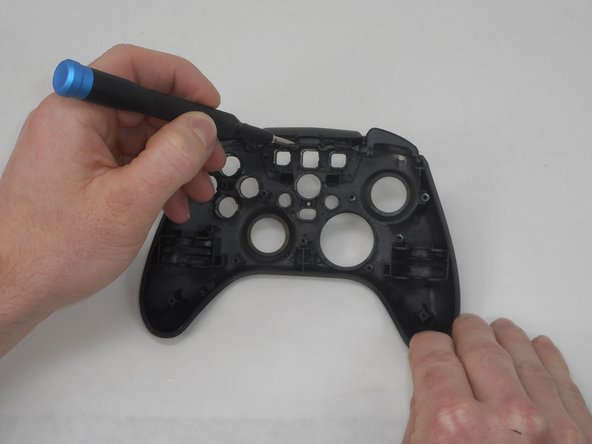
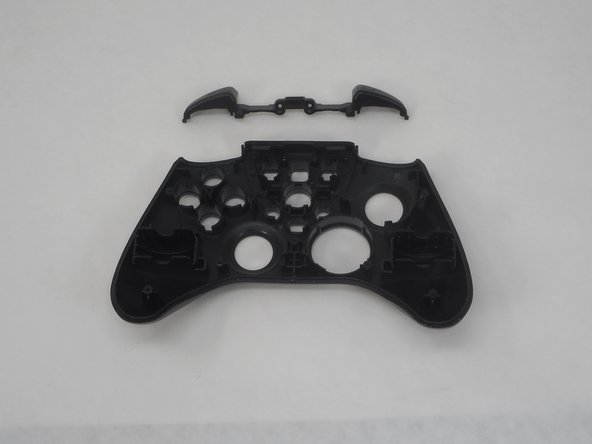
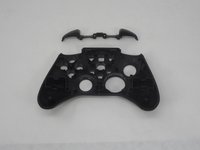
Use a Phillips screwdriver to remove the two 9.2 mm screws that secure the right and left bumpers to the face plate.
-
Gently remove each bumper from the faceplate.
-
-


To reassemble your device, follow these instructions in reverse order.

Team

University of Memphis, Team 1-5, Sneed Spring 2024 Member of University of Memphis, Team 1-5, Sneed Spring 2024
UM-SNEED-S24S1G5
4 Members
72 Guides authored
