
Tungsten T3 Battery Replacement

Whitney and 7 other contributors
Last updated on Jun 15, 2021
Views: 9K
View statistics:
- Past 24 Hours:
- 4
- Past 7 Days:
- 35
- Past 30 Days:
- 151
- All Time:
- 9,031
Comments: 3
2 comments on steps, 1 guide comment.
Go to guide commentsCompleted: 11 12
11 people have marked this guide "completed." Will you be next?
12 people have marked this guide "completed." Including you — great job!
Favorites: 6 7
6 people have favorited (and subscribed to) this guide. Will you be next?
7 people have favorited (and subscribed to) this guide — including you!
Needs Better Images
Better photos will improve this guide. Help out by taking, editing, or uploading new ones!
Step Trimmer
This guide has unnecessary steps. Trim them to be more concise!
Better Introduction
Improve this guide by completing or revising its introduction.
Introduction
Go to step 1 ↓This guide will take you step by step through the process of replacing the battery in the Palm Tungsten T3.
What you need


-
-
-
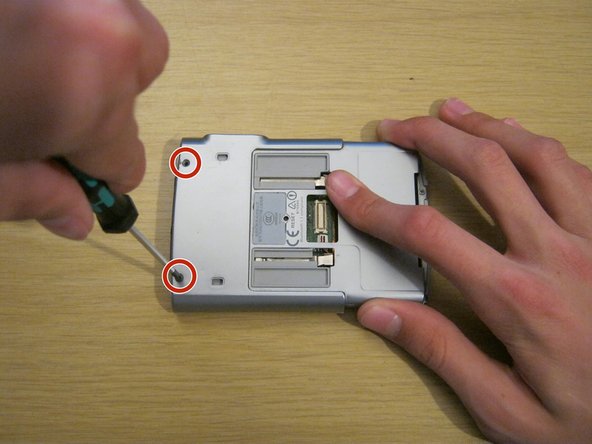
Remove the two Phillips #00 screws on either side of the device, on the sliding panel.
 Ask FixBot
-
-
-
Slide out the function panel.
-
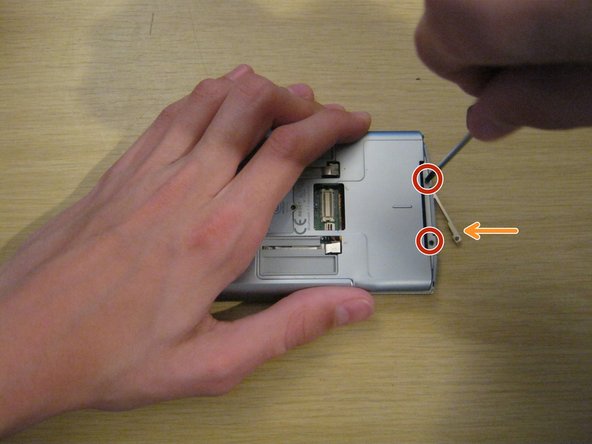
Insert a paper clip into the two marked small holes on the back and push downwards while pulling the function panel gently.
-
-
-
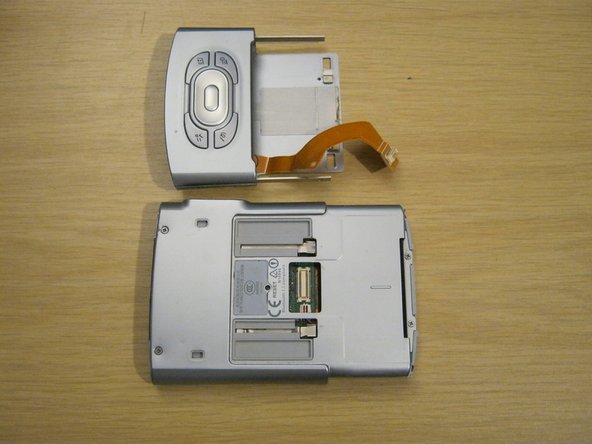
Gently remove the function panel from the device.
-
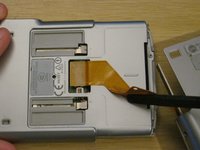
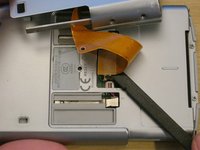
Carefully remove the connector and set the panel aside.
-
-
-
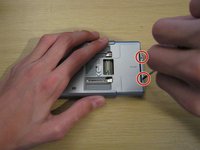
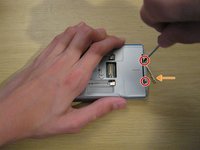
Remove the two small Phillips #00 screws at the other end of the device.
-
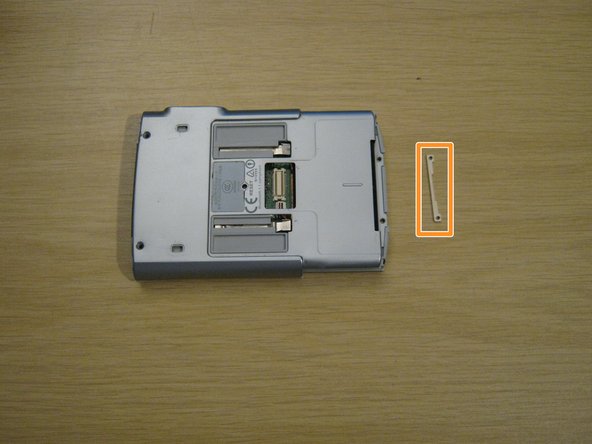
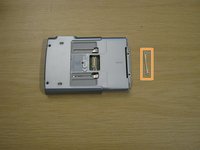
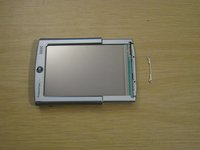
A small metal part will fall out of the device from the other side. Keep hold of this - you won't be able to put these screws back in without it.
-
-
-
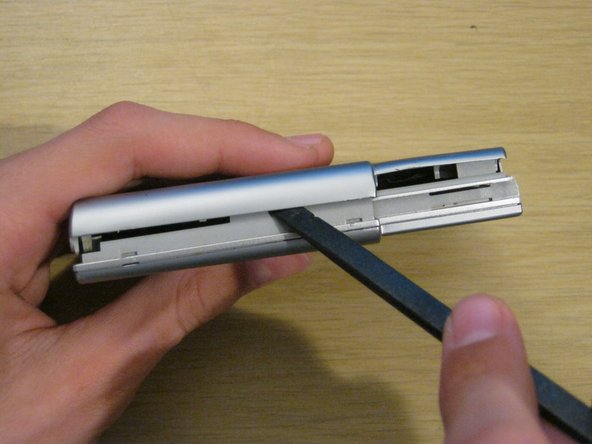
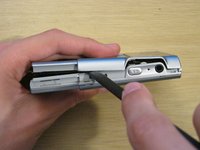
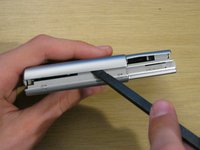
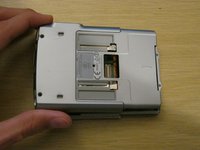
Using a spudger, gently separate the back casing from the rest of the device.
-
-
-
-
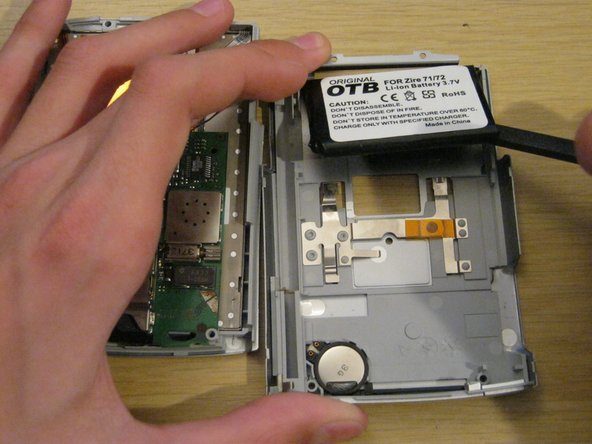
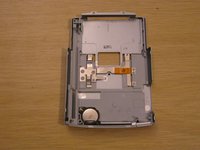
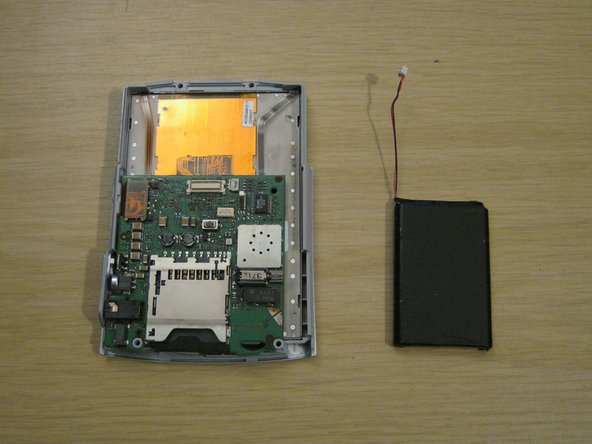
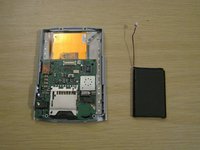
Lay the two halves side by side.
-
The battery is usually held to the case by a small amount of adhesive. Carefully peel it up with a spudger.
-
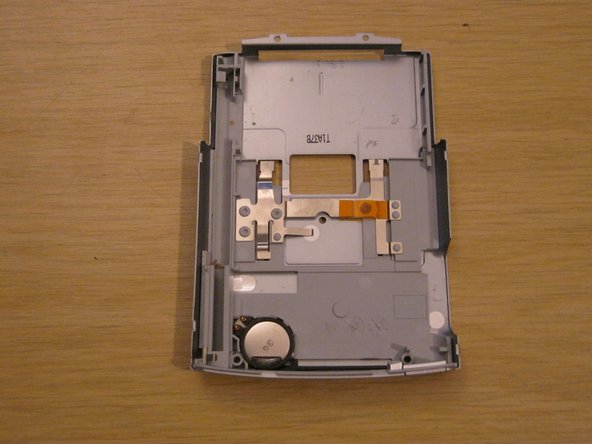
Lay the back case aside.
-
-
-
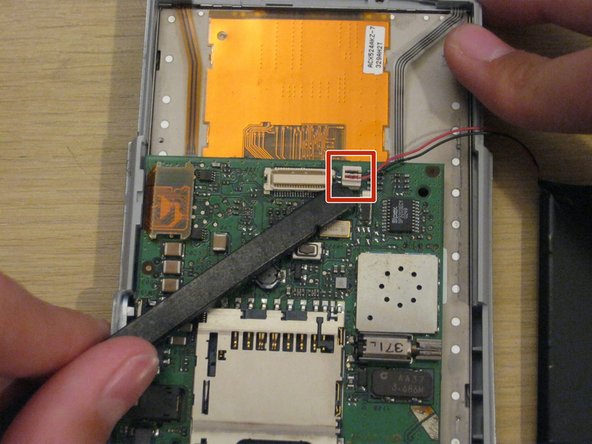
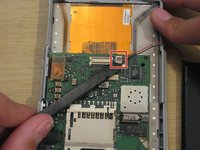
Gently disconnect the battery connector from the front panel. It's small and the pins are delicate, so be careful not to bend it.
-
-










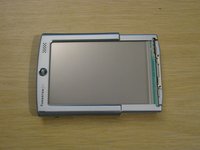
To reassemble your device, follow these instructions in reverse order.
Cancel: I did not complete this guide.
11 other people completed this guide.

Team

University of Maine, Team 1-14, Diaz Fall 2011 Member of University of Maine, Team 1-14, Diaz Fall 2011
UMAINE-DIAZ-F11S1G14
2 Members
36 Guides authored
1 Guide Comment
The only thing I would add is before replacing the battery, be sure to backup your device since disconnecting the battery will do a total reset.
