Free Shipping on Domestic Orders $75+

Trio STEALTH-9 Motherboard Replacement

What you need

  1. Trio STEALTH-9 Motherboard Replacement, Back Cover: step 1, image 1 of 1
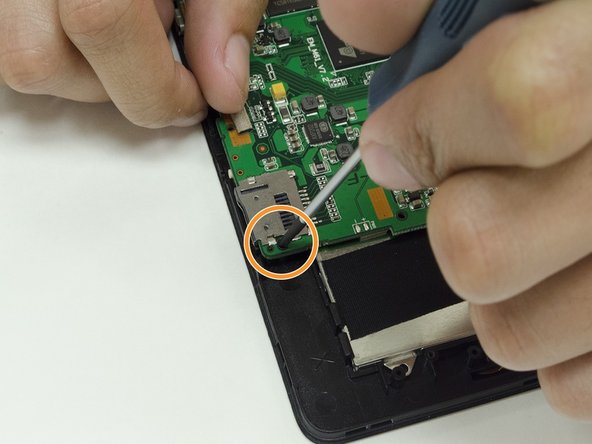
    • Remove the two Phillips #00 screws on the side of the tablet.

    Ask FixBot
    Add Comment

  2. Trio STEALTH-9 Motherboard Replacement: step 2, image 1 of 1
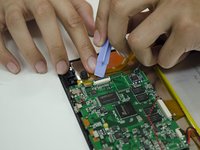
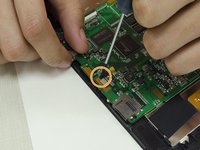
    • Take one of the plastic opening tools and wedge it in the middle of the tablet, starting on the USB Port side.

    • Holding the tool in place, take one of the 6 plastic opening picks and slide it across the opening you made with the opening tool.

    Ask FixBot
    Add Comment

  3. Trio STEALTH-9 Motherboard Replacement: step 3, image 1 of 1
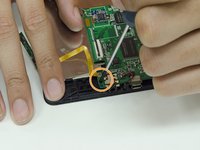
    • Continue going around the tablet sides with the plastic pick, being sure that you are maintaining the openings you made with either your hand or the opening tool.

    • You will notice some popping as you go around with the pick. Don't worry, this is completely normal.

    Ask FixBot
    Add Comment

  4. Trio STEALTH-9 Motherboard Replacement: step 4, image 1 of 1
    • Remove the back cover of the tablet to reveal the internals.

    • To replace, pinch each of the ends together until all four sides are closed.

    Ask FixBot
    Add Comment

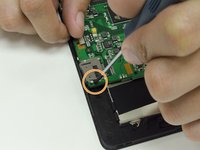
  5. Trio STEALTH-9 Motherboard Replacement, Battery: step 5, image 1 of 1
    • With the cover removed, slowly pull the electrical tape away as shown.

    Ask FixBot

    Add Comment

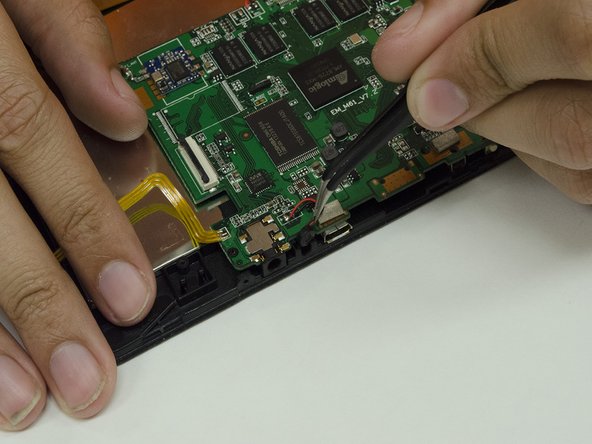
  6. Trio STEALTH-9 Motherboard Replacement: step 6, image 1 of 1
    • Slowly pull the Battery away from the tablet frame.

    Ask FixBot
    Add Comment

  7. Trio STEALTH-9 Motherboard Replacement: step 7, image 1 of 1
    • Prepare your Soldering Iron and Removal Tools.

    • Contact the iron with each of the battery leads, and pull the lead away from the board.

    • Remove any excess solder as needed.

    Ask FixBot

    Add Comment

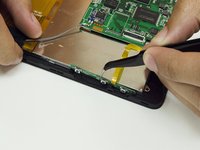
  8. Trio STEALTH-9 Motherboard Replacement: step 8, image 1 of 1
    • To replace your battery, you must reinsert the Battery leads into the Motherboard, being sure that the Red wire goes into the + (positive) terminal and the Black wire goes into the - (negative) terminal.

    • Apply heat and solder to each lead individually.

    • Remove any excess solder if flooding occurs.

    Ask FixBot
    Add Comment

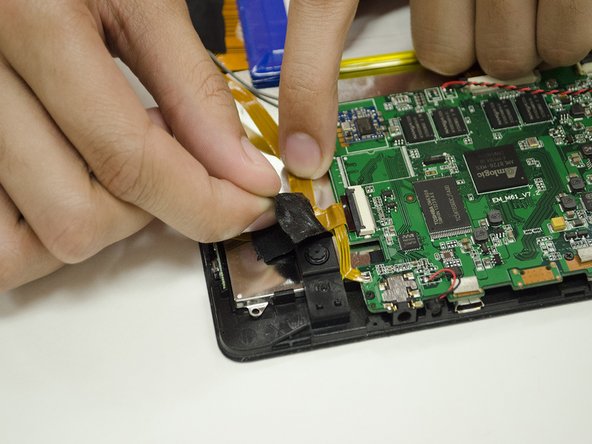
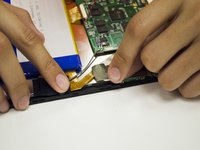
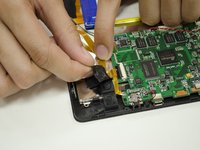
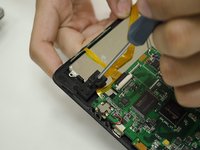
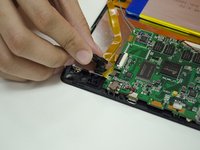
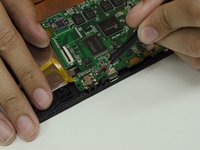
  9. Trio STEALTH-9 Motherboard Replacement, Camera: step 9, image 1 of 2 Trio STEALTH-9 Motherboard Replacement, Camera: step 9, image 2 of 2
    • Slowly remove the two pieces of electrical tape holding down the Camera ribbon cable.

    Ask FixBot
    Add Comment

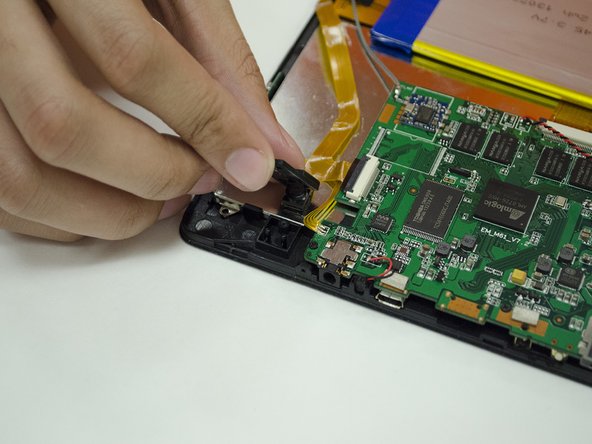
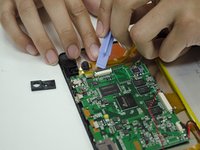
  10. Trio STEALTH-9 Motherboard Replacement: step 10, image 1 of 2 Trio STEALTH-9 Motherboard Replacement: step 10, image 2 of 2
    • Remove the #00 Screw holding down the Camera mount, then remove the Camera mount.

    Ask FixBot

    Add Comment
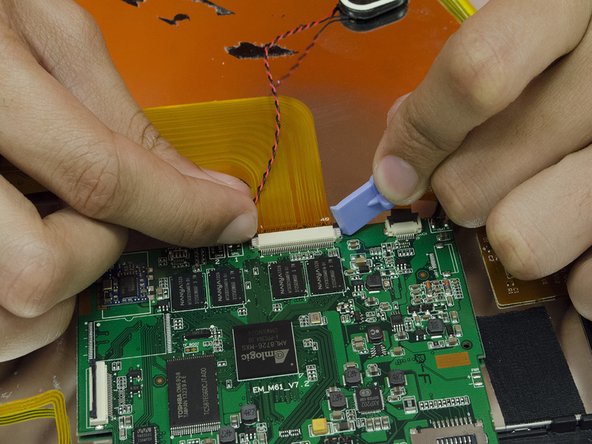
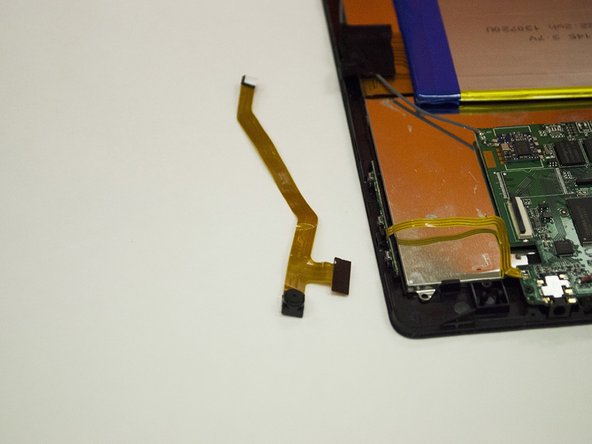
  11. Trio STEALTH-9 Motherboard Replacement: step 11, image 1 of 2 Trio STEALTH-9 Motherboard Replacement: step 11, image 2 of 2
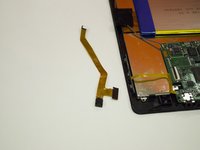
    • Detach the Camera's ribbon cable from the Motherboard using your fingernail or a plastic opening tool.

    • Remove the camera from the frame and replace as needed.

    Ask FixBot

    Add Comment

  12. Trio STEALTH-9 Motherboard Replacement, Speaker: step 12, image 1 of 1
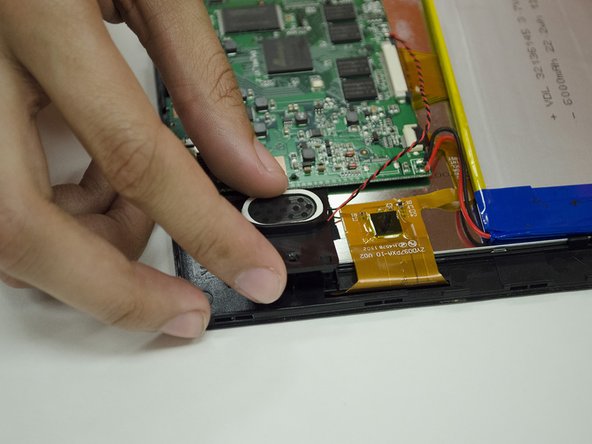
    • Slowly remove the electrical tape holding down the Speaker wires.

    Ask FixBot

    Add Comment

  13. Trio STEALTH-9 Motherboard Replacement: step 13, image 1 of 2 Trio STEALTH-9 Motherboard Replacement: step 13, image 2 of 2
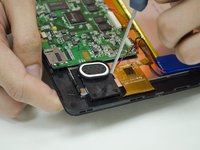
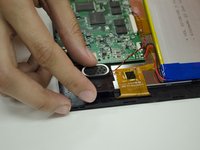
    • Remove the #00 screw on the Speaker mount and remove the Speaker mount.

    Ask FixBot

    Add Comment

  14. Trio STEALTH-9 Motherboard Replacement: step 14, image 1 of 1
    • Prepare your Soldering tools. Desolder the Speaker leads from the Motherboard.

    • Remove any excess solder as necessary, and apply new solder when replacing a Speaker.

    Ask FixBot

    Add Comment

  15. Trio STEALTH-9 Motherboard Replacement, Motherboard: step 15, image 1 of 1
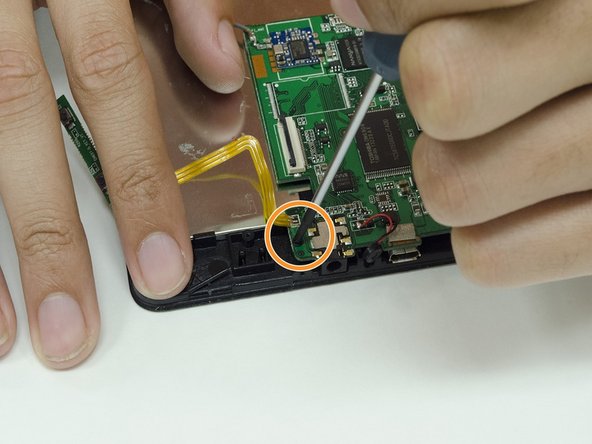
    • Prepare your Desoldering Tools. Remove the grey wire attached to the Motherboard.

    • Remove any excess solder as needed.

    Ask FixBot

    Add Comment

  16. Trio STEALTH-9 Motherboard Replacement: step 16, image 1 of 3 Trio STEALTH-9 Motherboard Replacement: step 16, image 2 of 3 Trio STEALTH-9 Motherboard Replacement: step 16, image 3 of 3
    • Remove the three #00 Screws holding down the Motherboard.

    Ask FixBot

    Add Comment

  17. Trio STEALTH-9 Motherboard Replacement: step 17, image 1 of 2 Trio STEALTH-9 Motherboard Replacement: step 17, image 2 of 2
    Tool used on this step:
    Tweezers
    $4.99
    Buy
    • Use a pair of Tweezers to carefully pull the side buttons away from the frame.

    • Use the same Tweezers to carefully pull the microphone away from the front of the frame.

    Ask FixBot

    Add Comment

  18. Trio STEALTH-9 Motherboard Replacement: step 18, image 1 of 3 Trio STEALTH-9 Motherboard Replacement: step 18, image 2 of 3 Trio STEALTH-9 Motherboard Replacement: step 18, image 3 of 3
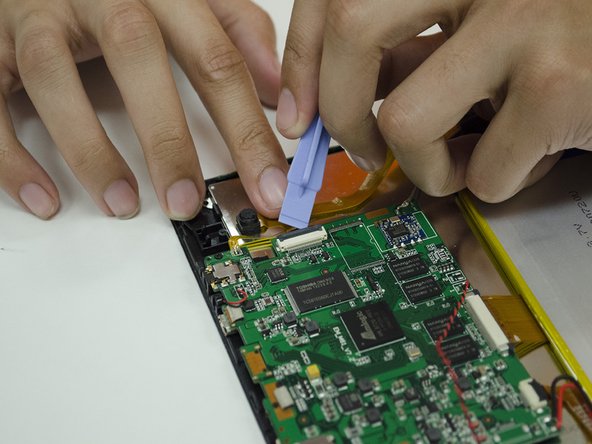
    • Use your fingernails or a plastic opening tool to remove any remaining ribbon cables from the Motherboard.

    Ask FixBot

    Add Comment

  19. Trio STEALTH-9 Motherboard Replacement: step 19, image 1 of 1
    • With the cables removed, lift the Motherboard off of the frame.

    • Repair or replace the Motherboard as needed.

    Ask FixBot

    Add Comment

Conclusion

To reassemble your device, follow these instructions in reverse order while being careful with the electronics on your repaired/replaced Motherboard.

Cancel: I did not complete this guide.

2 other people completed this guide.

Mei Liang

Member since: 01/29/15

228 Reputation

2 Guides authored

Team

Clemson, Team 15-5, Shirley Winter 2015 Member of Clemson, Team 15-5, Shirley Winter 2015

CLEM-SHIRLEY-W15S15G5

4 Members

4 Guides authored

0 Guide Comments

Add Comment

View Statistics:

Past 24 Hours: 0

Past 7 Days: 4

Past 30 Days: 29

All Time: 971