Trim a Webbing Belt

Zach Mueller and 2 other contributors
Last updated on Jan 5, 2026
Views: 3.3K
View statistics:
- Past 24 Hours:
- 7
- Past 7 Days:
- 59
- Past 30 Days:
- 219
- All Time:
- 3,301
Comments: 0
No one has left comments on this guide. Will you be first?
Go to guide commentsCompleted: 0 1
No one has marked this guide "completed." Will you be the first?
1 person has marked this guide "completed." It's you — great job!
Favorites: 0 1
No one has favorited (and subscribed to) this guide. Will you be the first?
1 person has favorited (and subscribed to) this guide — and that's you!
Patagonia
Patagonia and iFixit are celebrating the stories we wear by collaborating to provide guides for Patagonia's most popular apparel repairs.
Introduction
Go to step 1 ↓If a Patagonia webbing belt is too long or starting to fray, it can be easily fixed. This guide will demonstrate how to trim the belt and seal the edge using a hot knife or scissors and a lighter.
Before beginning, make sure to read through the entire guide and gather the necessary tools and materials. The hot knife method is recommended for professional repair technicians with access to this equipment and alternative instructions for completing the repair without a hot knife are provided in Step 6.
Let’s get fixing!
What you need
Tools


-
-
-
Turn on the hot knife to allow it time to heat up.
-
Alert those working nearby that the hot knife is on.
 Ask FixBot
-
-
-
Put on and fasten the belt into a pair of pants in the same manner it will be worn.
-
Use chalk or a heat-erasable pen to mark the new end of the belt.
-
Remove the belt for cutting.
-
-
-
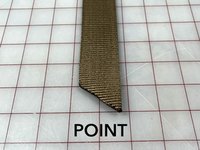
45 Degree or Point - This tip design is the easiest to feed through a buckle, but has the highest likelihood of fraying in the future.
-
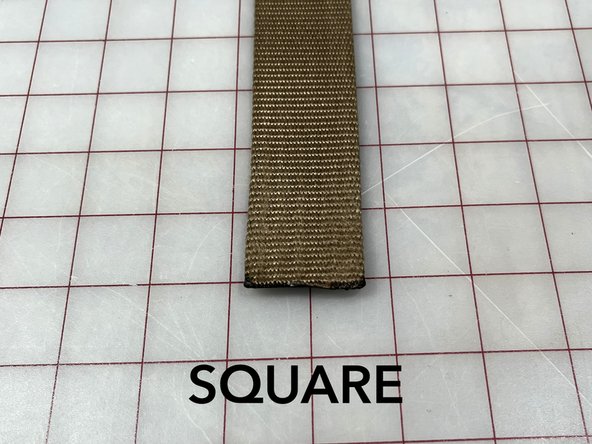
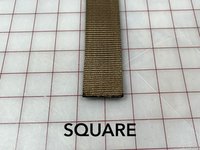
Square End - This tip design is the least likely to fray.
-
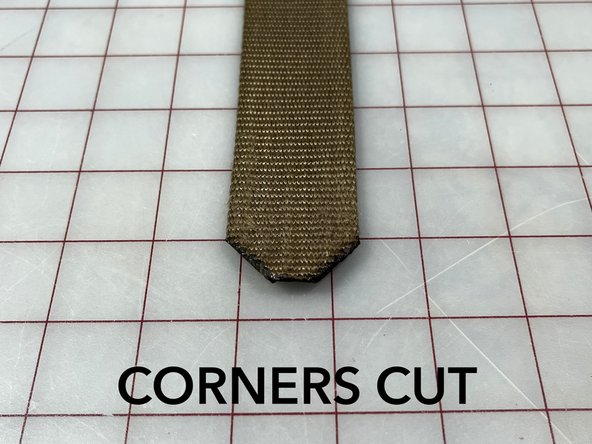
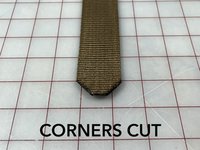
Corners Cut - This is a hybrid of the point and square designs.
-
Draw the desired tip design at the mark made in Step 2 with chalk or a heat-erasable pen.
-
-
-
Use a scrap piece of webbing to test that the hot knife has come up to temperature. The knife should easily melt through the webbing.
-
Holding the belt tight from both ends, carefully cut on the marked line.
-
Save or discard the removed webbing responsibly.
-
Allow the belt to fully cool before handling.
-
Turn off the hot knife and alert those working nearby that the knife is off but still hot.
-
-
-
-
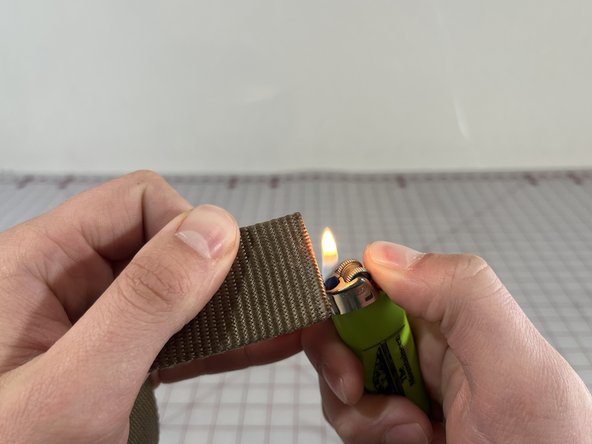
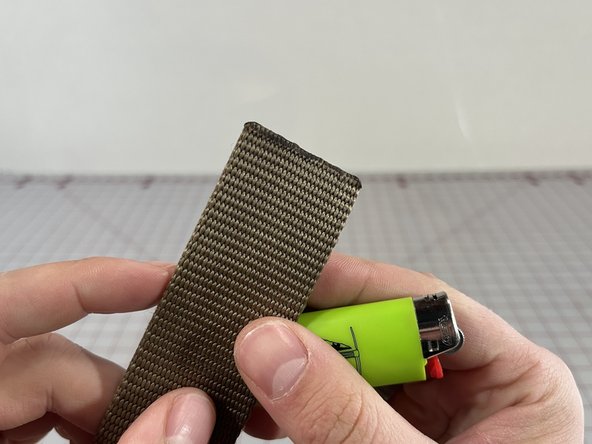
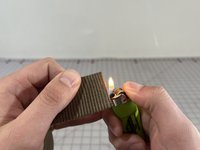
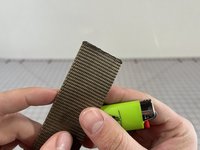
If needed, use a lighter to melt and soften the melted edge on both sides until it has the desired smoothness.
-
Allow the belt to fully cool.
-
-
-
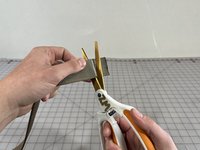
To shorten a webbing belt without a hot knife:
-
Follow the marking instructions in Steps 2 and 3.
-
Cut along the line with a pair of sharp scissors.
-
Then use the technique in Step 5 to melt the cut edge until it's fully encased and no frayed pieces remain.
-
-