Introduction
This guide will show how to remove the battery from the speaker. To access the battery, the front panel must first be removed using the Front Panel Guide. This repair may be necessary if the battery no longer holds a charge, charges inconsistently, or needs replacement due to age or damage.
Before beginning, ensure the device is powered off and disconnected from any charging source. A Phillips screwdriver and a plastic opening tool are required for disassembly. Take care when handling internal components, as the battery and surrounding connectors are sensitive and can be damaged if pulled or bent.
Once the front panel is removed, the internal components and battery will be exposed for removal and replacement.
What you need
-
-
Place the speaker on your work surface.
-
Use a plastic opening tool to lift the edge of the rubber base and peel it away from the housing.
-
Set the rubber base aside.
 Ask FixBot
-
-
-
Remove the 5.4 mm screw securing the small carry strap using a 4 mm flathead screwdriver.
-
Gently slide the strap and its plastic bracket out of place.
-
Set the strap and screw aside.
-
-
-
-
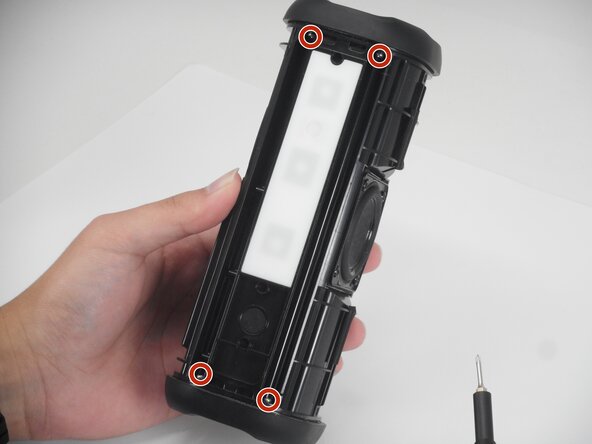
Use a Phillips #00 screwdriver to remove the 11.4 mm screws along the panel.
-
Gently lift the rubber control panel away from the housing.
-
-
-
Rotate the speaker so the exposed internal side is facing you and is easy to work on.
-
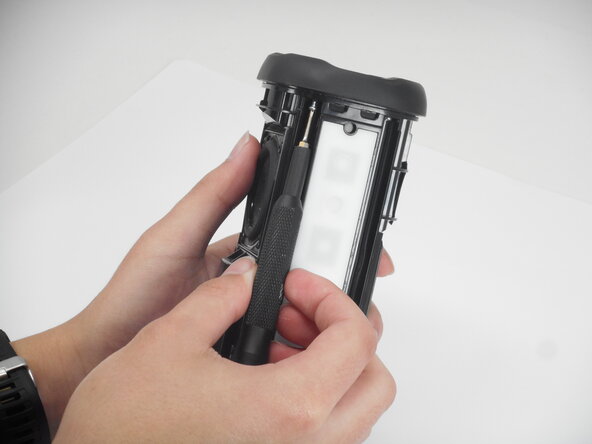
Use a Phillips #1 screwdriver to remove the six 7.9 mm screws securing the internal frame and speaker driver to the housing.
-
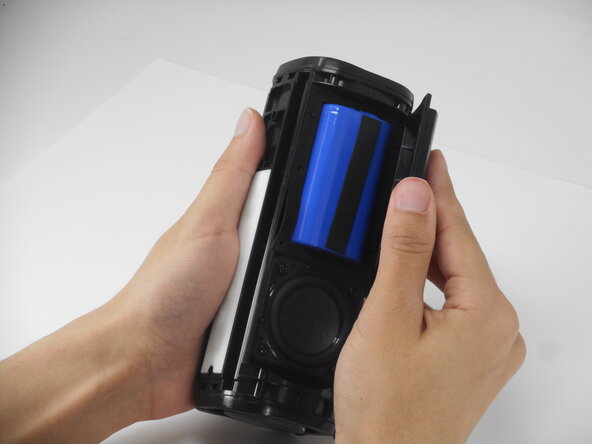
Lift out the battery cover.
-
-
-
Turn the speaker so the Tribit logo faces you directly.
-
Use a plastic opening tool to gently pry up the top cover.
-
Remove the top cover to reveal wires connected to the circuit board.
-


To reassemble your device, follow the above steps in reverse order.
For optimal performance, after completing this guide, calibrate your newly installed battery.
Take your e-waste to an R2 or e-Stewards certified recycler.
Repair didn’t go as planned? Try some basic troubleshooting or ask our Answers community for help.
Team

University of Memphis, Team 1-5, Sneed Spring 2026 Member of University of Memphis, Team 1-5, Sneed Spring 2026
UM-SNEED-S26S1G5
3 Members
6 Guides authored