
Touch Activated Lamp Transistor Replacement

James Parker and one other contributor
Last updated on Jun 7, 2021
Views: 2.1K
View statistics:
- Past 24 Hours:
- 3
- Past 7 Days:
- 17
- Past 30 Days:
- 107
- All Time:
- 2,111
Comments: 2
1 comment on steps, 1 guide comment.
Go to guide commentsCompleted: 0 1
No one has marked this guide "completed." Will you be the first?
1 person has marked this guide "completed." It's you — great job!
Favorites: 0 1
No one has favorited (and subscribed to) this guide. Will you be the first?
1 person has favorited (and subscribed to) this guide — and that's you!
Introduction
Go to step 1 ↓In this guide, you will be instructed how to repair a transistor in a 3 setting touch lamp. First you will need to take apart the device, followed by a small bit of circuit repair.
An indicator that a transistor has broken on a touch lamp is that it will revert to static “on” and “off“ options.
It is important to note that this is also a general guide, and will not necessarily match your lamp. If you do not already have a replacement transistor ready to use, follow the guide to step 4 and look on the transistor for its specifications so that a replacement can be ordered.
Be sure to unplug your lamp prior to beginning the guide. Soldering is required for this guide, if you do not have soldering skills, check out the How to Solder and Desolder Connections article on the site.
What you need
Tools


-
-
-
Using the Phillips #00 screwdriver, remove the 5 mm screws holding the bottom plate to the bottom of the lamp.
-
-
-
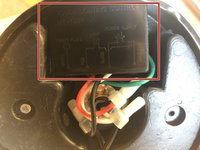
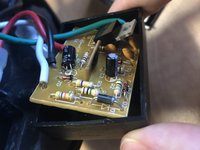
Remove the bottom panel and locate the circuit box. The circuit box is usually a small plastic container with several wires entering it.
-
-
-
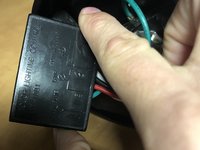
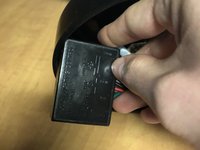
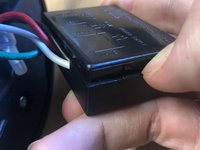
Pry open the circuit box with your fingers or plastic opening tool and remove the circuit board.
-
-
-
-
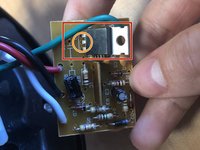
Locate the transistor.
-
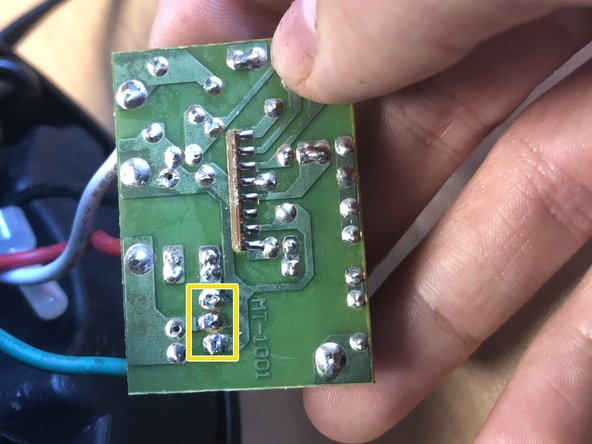
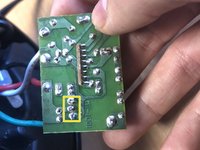
Note the location of the three pins of the transistor.
-
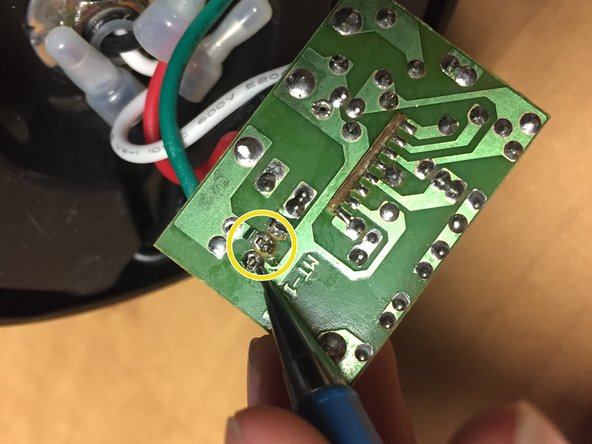
On the reverse side of the board, carefully desolder these three pins and remove the broken transistor.
-
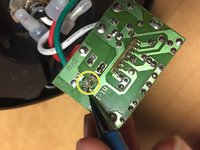
Pay attention to the direction in which the new transistor is facing, Solder it in where the damaged one was removed. Ensure that no solder from each of the pins contact each other or any other component.
-


 Ask FixBot





To reassemble your device, follow these instructions in reverse order.

Team

Embry-Riddle Aeronautical University, Team S7-G12, Rauch Spring 2021 Member of Embry-Riddle Aeronautical University, Team S7-G12, Rauch Spring 2021
ERAU-RAUCH-S21S7G12
1 Member
12 Guides authored
1 Guide Comment
The touch lamp I repaired had a slightly different lighting control box labelled MT-1009A (perhaps it was just an off/on). Anyway I followed the same procedure as above and soldered in a new 3 pin triac (BT134 PH600E) and all worked well. Good pictures, thanks
