
Toshiba Thrive 4G Battery Replacement

Courtney Campbell and 4 other contributors
Last updated on Jan 14, 2026
Views: 633
View statistics:
- Past 24 Hours:
- 2
- Past 7 Days:
- 22
- Past 30 Days:
- 96
- All Time:
- 633
Comments: 0
No one has left comments on this guide. Will you be first?
Go to guide commentsCompleted: 0 1
No one has marked this guide "completed." Will you be the first?
1 person has marked this guide "completed." It's you — great job!
Favorites: 0 1
No one has favorited (and subscribed to) this guide. Will you be the first?
1 person has favorited (and subscribed to) this guide — and that's you!
Incorrect Tools
Help make this guide better by using the correct tools in images and/or text.
Markup Mishap
This guide needs better markups. Help out by correcting or making some markup annotations.
Better Introduction
Improve this guide by completing or revising its introduction.
Missing Details
Some of this guide's details are missing. Help users by adding tools, difficulty, or time.
What you need
Tools
-
Spudger4.9

-
-
-
To remove the outer casing, wedge the pry tool in between the front and back panel, and pull them apart.
 Ask FixBot
-
-
-
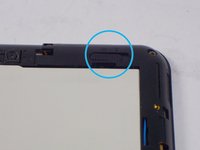
Locate the lock switch, at the top left corner of the device, and adjust to the unlocked position. (from left to right)
-
-
-
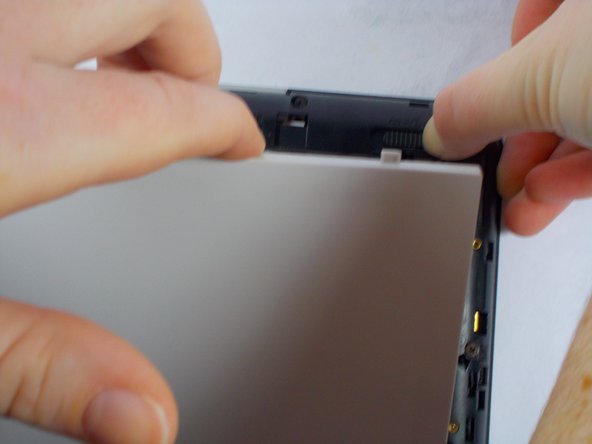
Use your fingers to push the release switch, which is located at the top right corner of the device to the right.
-
While pushing the release switch to the right, use your other hand to pull the battery away from the inner casing.
-
-
-
-
To replace the battery, take your replacement piece and flip it upside down, revealing the warnings and specifications of that specific battery.
-
Locate the crevice at the bottom of the battery, which has black openings in it.
-
Line up the black openings with the golden prongs located on the inner casing, and slide the battery into place.
-
Move the lock/unlock switch to the locked position
-
-



To reassemble your device, follow these instructions in reverse order.

Team

UMass Dartmouth, Team 1-1, Shastany Fall 2014 Member of UMass Dartmouth, Team 1-1, Shastany Fall 2014
UMASSD-SHASTANY-F14S1G1
3 Members
36 Guides authored
