Introduction
You can use this guide to replace the rear-facing camera in the Toshiba Excite 7 tablet. You may need this repair if the camera won’t open, won’t take photos/video, or produces blurry or unusable images after basic troubleshooting (clean the lens and restart the tablet).
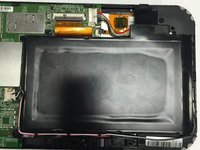
The rear-facing camera is the module that captures photos and video from the back of the tablet. This replacement requires opening the rear cover, disconnecting the battery, and removing the circuit board to access the camera connector.
Before you begin, power off the tablet. Disconnect the battery as soon as it’s accessible, and handle the ribbon cables carefully to avoid tearing the connectors. No soldering is required, but this repair is best for users who are comfortable with small screws and delicate cable locks.
What you need
-
-
Remove the back cover.
-
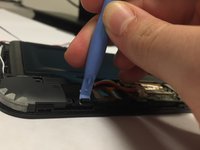
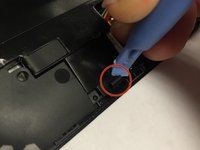
Work your fingernail or flat object under the cover’s seal. Start at the top right corner just above the front facing camera this is the device “Weak Spot”.
-
After you pry open the first clip slide the flat object along the perimeter of the cover until the cover is removable. You should hear the clips pop open.
 Ask FixBot
-
-
-
Remove any black tape from the device.
-
Keep the tape; you will need to put it back on when you are done.
-
-
-
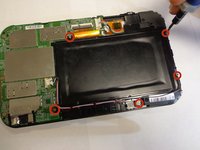
Remove the remaining three screws to unfasten the circuit board.
-
-
-
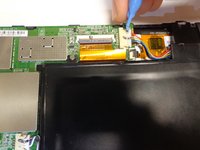
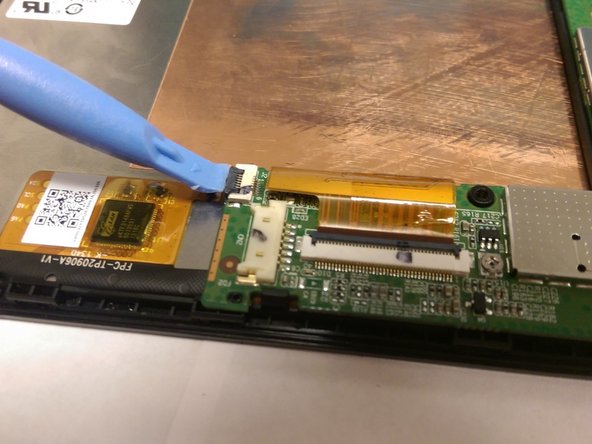
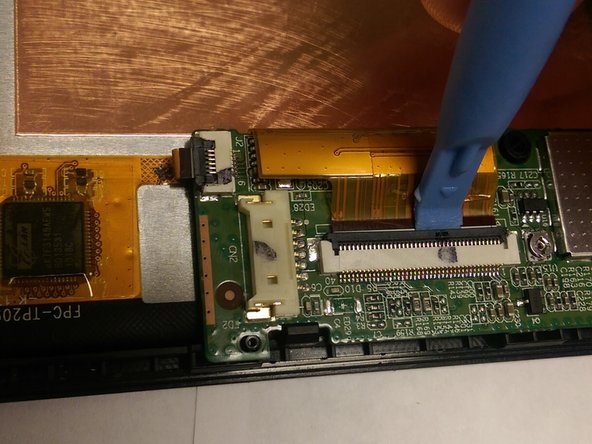
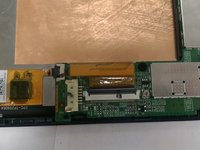
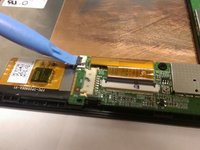
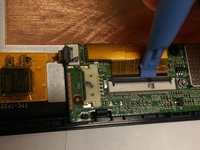
The screen is connected to the circuit board by two ribbon cables (orange). Each cable assembly includes three components: the ribbon cable, the white connector, and the black locking lever.
-
Gently flip up the black locking lever using a plastic opening tool, then slide the ribbon cables out of their connectors.
-
-
-
Use an opening tool to remove the circuit board by gently coaxing it from the clips located just to the right of the circuit board.
-
-
-
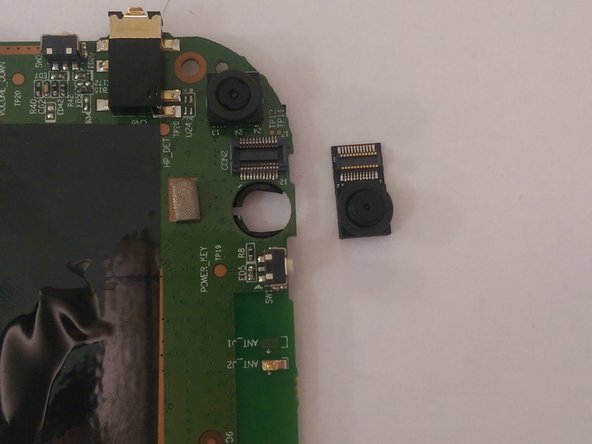
Flip the circuit board over.
-
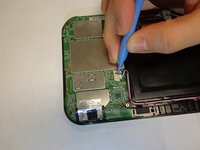
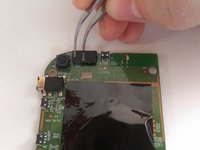
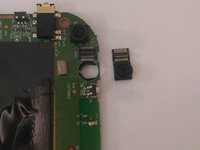
Gently disconnect the camera from the circuit board.
-










To reassemble your device, follow these instructions in reverse order.

Team

USF Tampa, Team 1-3, Tanski Winter 2015 Member of USF Tampa, Team 1-3, Tanski Winter 2015
USFT-TANSKI-W15S1G3
4 Members
12 Guides authored
