Introduction
The back panel is located on the back of the computer. If you need to replace the back panel due to damage, follow this guide. There is one tool needed for this guide.
What you need
-
-
-
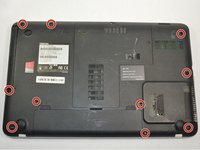
Turn the Toshiba Dynabook T552-58G so that the back panel is facing you.
 Ask FixBot
-
-
-
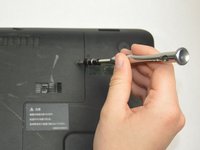
Remove the 10 screws located on the back panel of the Toshiba Dynabook T552-58G using a PH 0 screwdriver.
-
-
-
-
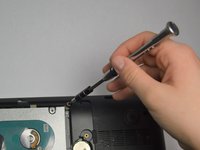
Remove the black screw using the J0 screwdriver. This is located by the top right foot of the device.
-
This will allow removal of the hard drive cover.
-
-
-
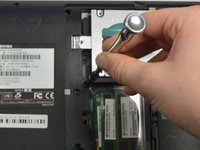
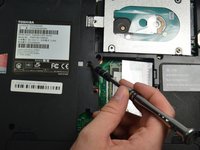
Remove the single screw located below the hard drive using the J0 screwdriver. This screw is 5.3 mm long.
-
-
-
Remove two screws located diagonally from the bottom-left screw of the hard drive using a J0 screwdriver. The screw closest to the hard drive is 5.2 mm long and the screw farther away is 4.2 mm long.
-
Remove the screw located diagonally from the top right screw of the hard drive using a J0 screwdriver. This screw is 5.2 mm long.
-
-
-
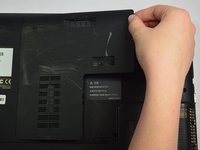
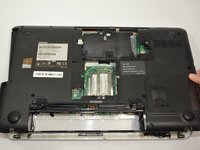
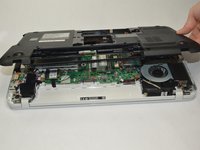
Slowly lift the back panel away from the computer.
-
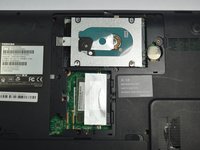
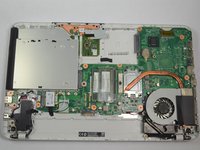
Once lifted, carefully remove the back panel.
-
-








To reassemble your device, follow these instructions in reverse order.

Team

Appalachian State University, Team S1-G3, Menagarishvili Spring 2019 Member of Appalachian State University, Team S1-G3, Menagarishvili Spring 2019
APSU-MENAGARISHVILI-S19S1G3
3 Members
72 Guides authored
