
TomTom Runner LCD Screen Replacement Guide

Amber Scarborough and 2 other contributors
Last updated on May 25, 2017
Views: 11K
View statistics:
- Past 24 Hours:
- 5
- Past 7 Days:
- 28
- Past 30 Days:
- 116
- All Time:
- 11,065
Comments: 12
4 comments on steps, 8 guide comments.
Go to guide commentsCompleted: 2 3
2 people have marked this guide "completed." Will you be next?
3 people have marked this guide "completed." Including you — great job!
Favorites: 0 1
No one has favorited (and subscribed to) this guide. Will you be the first?
1 person has favorited (and subscribed to) this guide — and that's you!
Featured Student Guide
This guide has been the hard work of our awesome students and is found to be exceptionally cool by the iFixit staff.
Introduction
Go to step 1 ↓If the screen appears undamaged on the outside, but the screen is still unresponsive to charging or pressing the buttons, then the screen may need to be replaced. Use this guide to learn how to replace the screen.
What you need
Tools


-
-
-
First, lift the bottom part of the band to start removing the wristband from the button area of the watch.
 Ask FixBot
-
-
-
Continue to lift up on the band until the screen of the watch becomes loose from the band.
-
Continue to pull up on the wristband until it is completely off the watch.
-
-
-
-
-
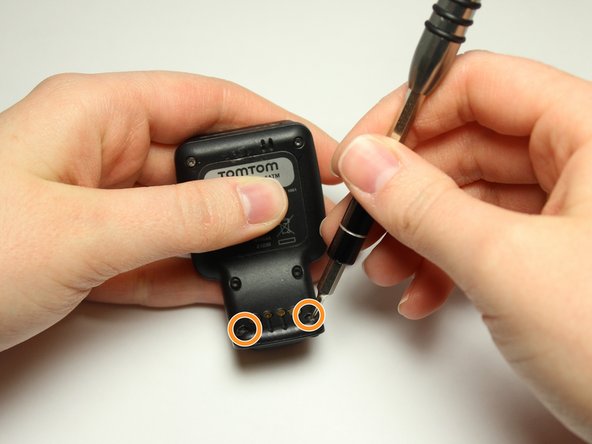
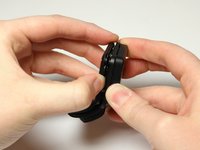
Flip over the watch and remove the four 3.0 mm Torx head screws with a T4 Torx head screwdriver.
-
-
-
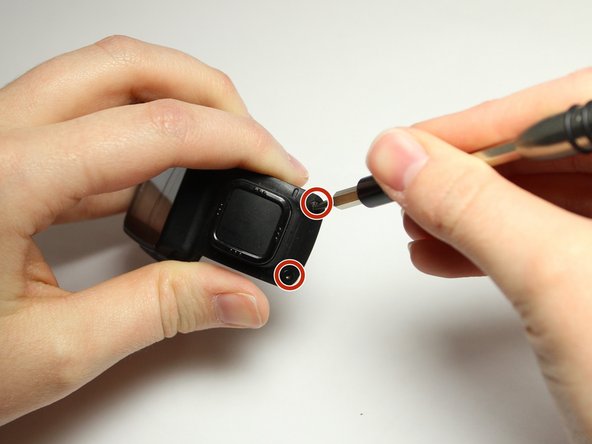
Remove the two 3.0 mm Torx screws from the front. Use a T4 Torx screwdriver to remove the screws.
-
The two 3.0 mm Torx screws are painted blue at the end. These screws have screw holders around them that will also need to be removed.
-
Unscrew the screws from the front of the watch casing and the screw holders fall out from the back of the watch casing.
-
-
-
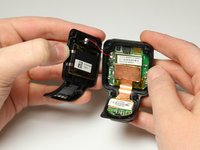
Gently wiggle the black box vibrator component away from the back panel with your fingers or a Spudger tool.
-
-
-
Tool used on this step:Tweezers$4.99
-
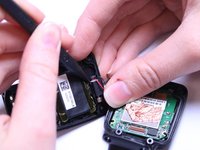
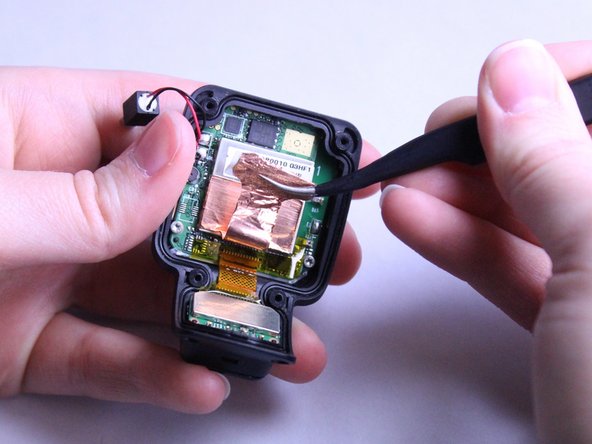
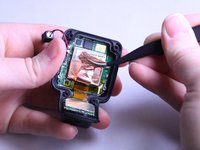
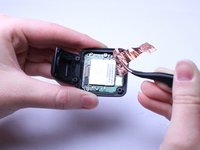
Now lift the smaller square of copper off the Front Panel. Use the bent, metal precision tweezers and slide it under the smaller square of copper lining then gently lift it up.
-
-
-
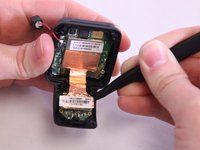
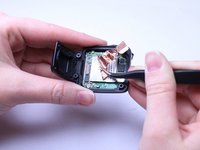
Use the bent, metal precision tweezers to remove the thin copper piece from large square silver piece in the Front Casing.
-
-
-
-
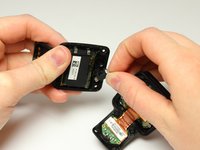
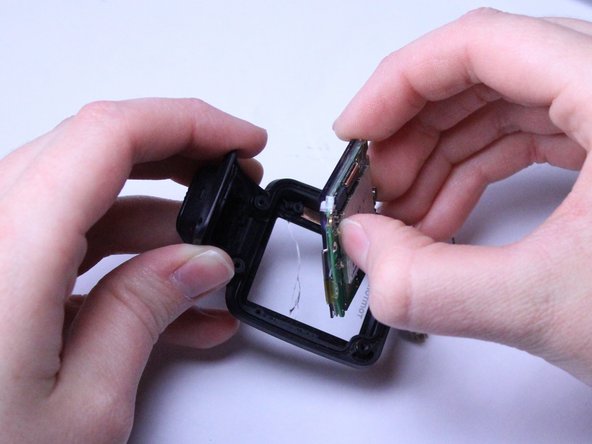
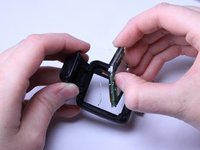
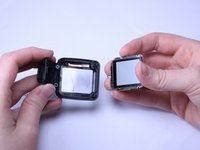
Use your fingers to gently pull the whole green motherboard out of the Front Casing.
-
-
-
-
-
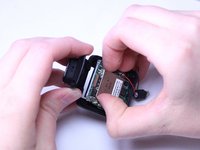
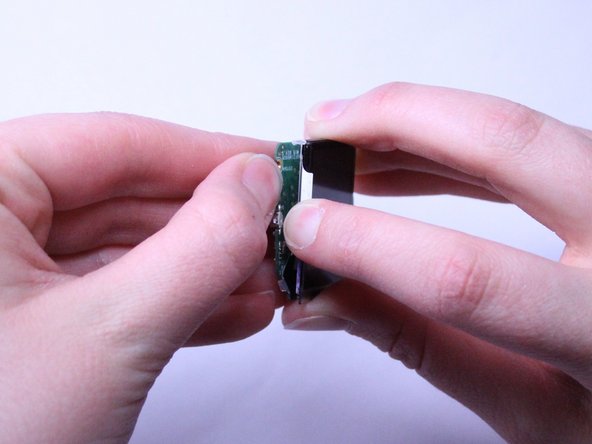
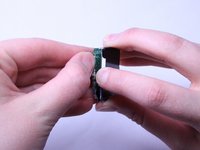
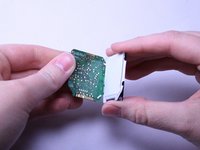
Using the pointed end of the black Spudger tool, gently pry the motherboard away from the screen.
-
Once you have the motherboard partially pried off, use your fingers to gently pop it out of the clear, plastic clips holding it in place.
-
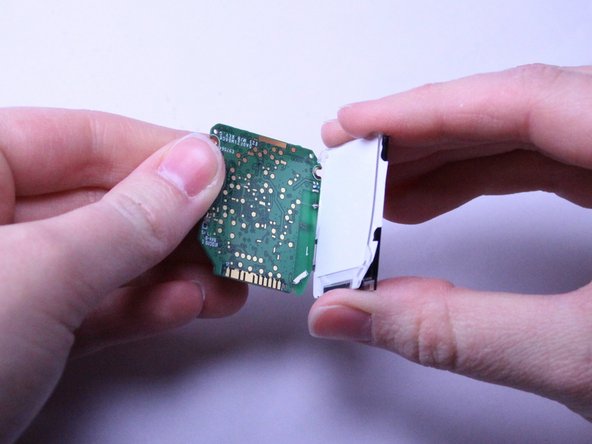
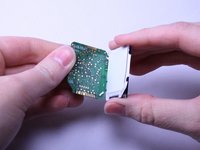
Continue to pull the motherboard away from the screen to fully expose the white backing of the screen.
-
-
-
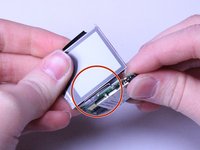
Once the white backing of the screen is exposed, carefully flip the two pieces, the motherboard and the screen, over while they are still connected.
-
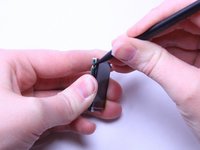
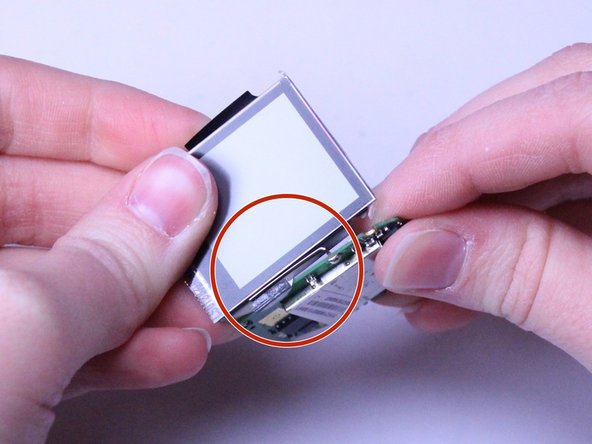
Look for the small metal piece attached to the motherboard that is wrapped around the front of the screen.
-
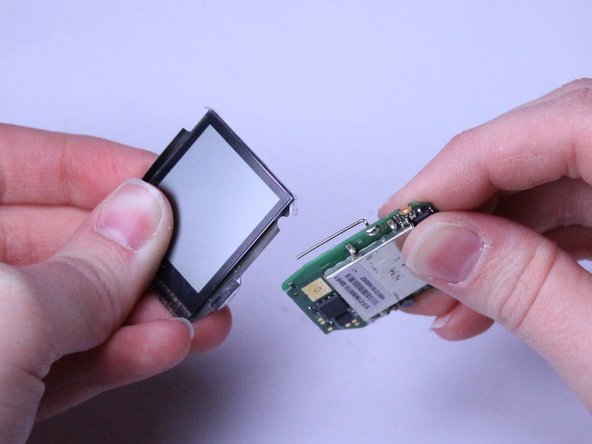
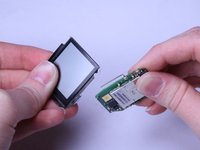
Gently slide the screen under and back to free it from the metal piece.
-
-
-
Once free from the Front Casing and the motherboard, you are ready to replace the screen.
-

















To reassemble your device, follow these instructions in reverse order.
Cancel: I did not complete this guide.
2 other people completed this guide.

Team

Texas Tech, Team S8-G6, Bennett Spring 2017 Member of Texas Tech, Team S8-G6, Bennett Spring 2017
TTU-BENNETT-S17S8G6
4 Members
72 Guides authored
8 Guide Comments
Who sells the replacement screens? I can’t find them anywhere online. Do I need to contact TomTom directly?
Who sells the replacement screens? I can’t find them anywhere online.
This article is useless unless you know where to buy the replacement screen!!!!
this tutorial is without function because there is no sale of replacement screens. unfortunately
