Free Shipping on Domestic Orders $75+

TomTom One XL Charging Port Replacement

What you need

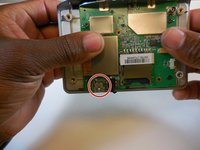
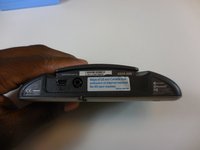
    1. TomTom One XL Charging Port Replacement, Back Panel: step 1, image 1 of 2 TomTom One XL Charging Port Replacement, Back Panel: step 1, image 2 of 2
      • Remove the 4 .4mm screws on the back of the device.

      Ask FixBot

      Add Comment

    2. TomTom One XL Charging Port Replacement: step 2, image 1 of 1
      • Using the palate knife tool, pry the back from the LCD screen. Apply a moderate pressure to separate them.

      • You can rotate TOMTOM XL to make prying back off easier.

      • Be careful not to injure the two wires connecting the pieces.

      Ask FixBot

      Add Comment

    3. TomTom One XL Charging Port Replacement: step 3, image 1 of 1
      • After prying both halves apart, they will be connected by two wires.

      • Carefully set the two halves next to each other making sure not to stress or damage the wires.

      Ask FixBot

      Add Comment

    4. TomTom One XL Charging Port Replacement: step 4, image 1 of 2 TomTom One XL Charging Port Replacement: step 4, image 2 of 2
      Tool used on this step:
      Tweezers
      $4.99
      Buy
      • Using the tweezers separate the wires connecting the battery and speaker to the mother board.

      • Be gentle while pulling the wires out, the plugs are easily injured.

      Ask FixBot

      Add Comment

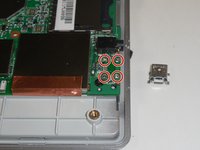
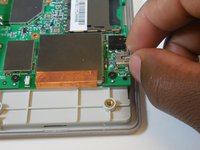
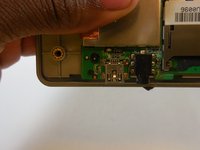
    1. TomTom One XL Charging Port Replacement, Charging Port: step 5, image 1 of 2 TomTom One XL Charging Port Replacement, Charging Port: step 5, image 2 of 2
      • If this is your first time solder then refer to IFixIt's safety guide.

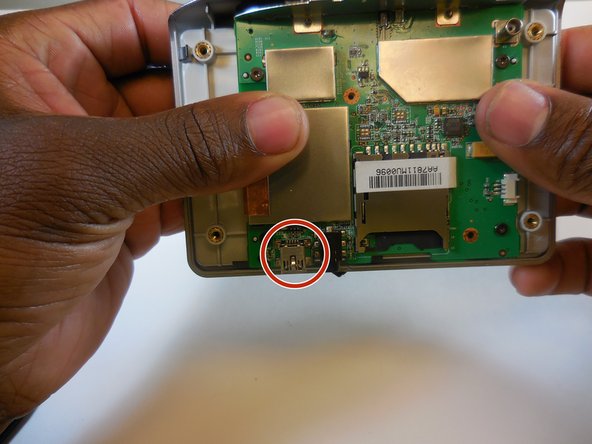
      • Locate where the charger port goes on the circuit board.

      • Locate the four connecter on circuit board and charger port which need to be soldered.

      • Don't forget, the soldering iron is hot.

      Ask FixBot

      Add Comment

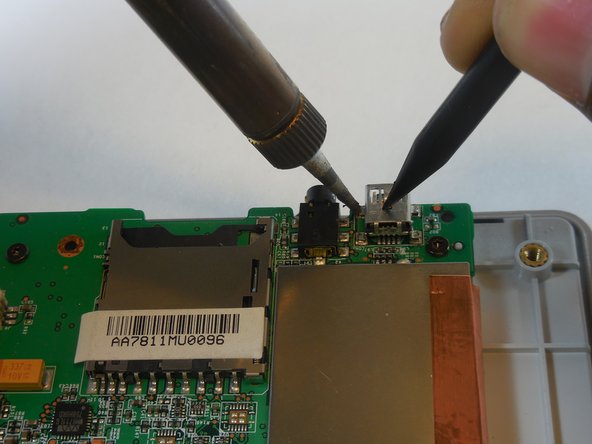
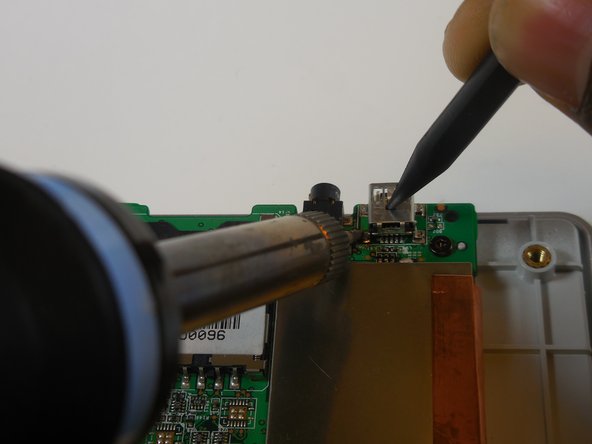
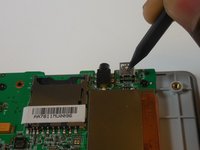
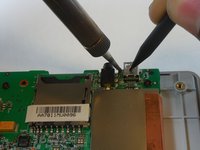
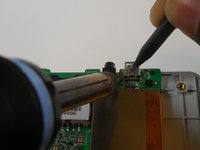
    2. TomTom One XL Charging Port Replacement: step 6, image 1 of 3 TomTom One XL Charging Port Replacement: step 6, image 2 of 3 TomTom One XL Charging Port Replacement: step 6, image 3 of 3
      • Using your plastic opening tool press down firmly on the top of the charger port.

      • While the soldering iron is hot press it again the four corners of the charger port.

      • Don't touch the charger port with your hands, it may have heated up during soldering.

      Ask FixBot

      Add Comment

    3. TomTom One XL Charging Port Replacement: step 7, image 1 of 3 TomTom One XL Charging Port Replacement: step 7, image 2 of 3 TomTom One XL Charging Port Replacement: step 7, image 3 of 3
      • Let the circuit board and charger port cool down for a few minutes.

      • Lift circuit board up, after making sure its cool, to see if four corners are all connected.

      • Plug in the charger to make sure it works, if not repeat steps and make sure the port is making a clean connection.

      Ask FixBot

      Add Comment

Conclusion

To reassemble your device, follow these instructions in reverse order.

Cancel: I did not complete this guide.

DeVhan

Member since: 03/11/15

401 Reputation

4 Guides authored

0 Guide Comments

Add Comment

View Statistics:

Past 24 Hours: 0

Past 7 Days: 6

Past 30 Days: 25

All Time: 2,762