Introduction
The Tomtom Go Blue&Me is specific to certain models of Fiat, Alfa Romeo, Lancia, Jeep and Chrysler. This model is basically a Tomtom, with a "custom" boot screen showing the brand of the car it is connected to. The pedestal/stand that connects it to the car, is only the power supply. For the data connection, Bluetooth is used.
What you need
-
-
-
Use a flat head screwdriver or plastic spatula to remove the bezels from the side of the screen.
-
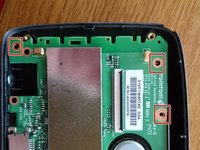
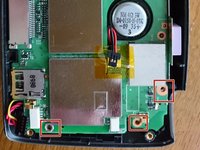
Now the torx screws are visible
 Ask FixBot
-
-
-
When the screws are out, the screen is separated from the back of the housing.
-
the screen is still connected with a flat cable and a power cable
-
The power cable should be pulled first
-
The flat cable can be disconnected by lifting up the black part of the connector.
-
-
-
-
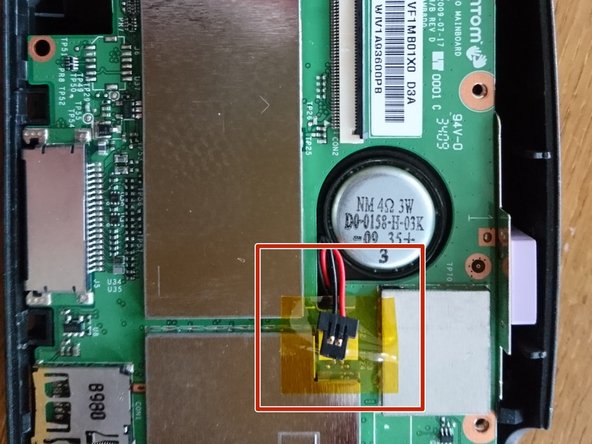
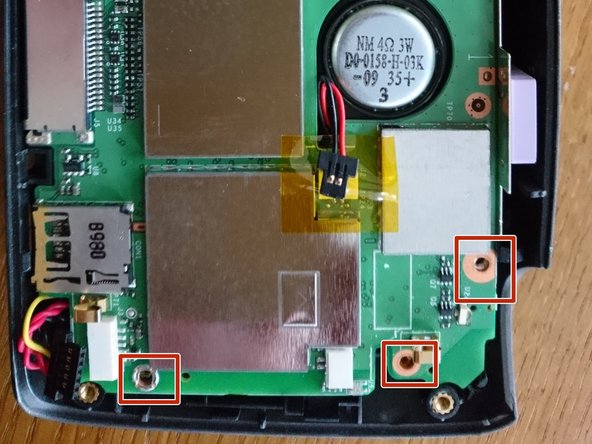
Next, the main board should be disconnected from the battery
-
and from the loud speaker
-
-
-
When you now lift out the mainboard, you have access to the battery and loudspeaker.
-
The battery is glued in. you need to heat it up to get it out.
-
-
-
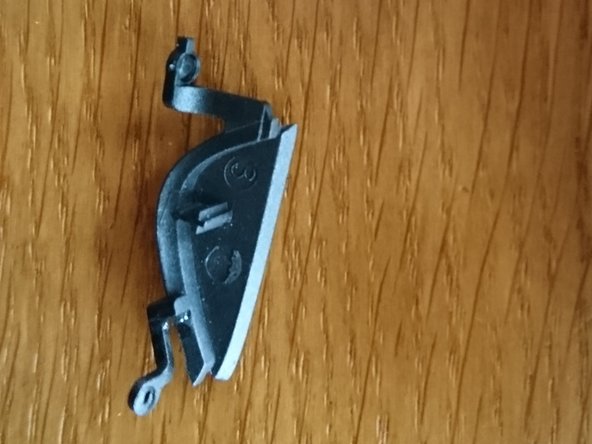
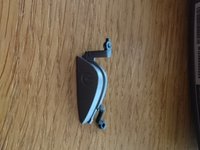
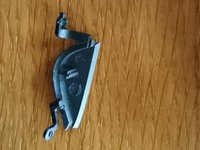
This little piece of plastic was my reason for opening it up. The longer leg was broken. I glued it with superglue and put it back. so far this seams feasible
-
Please note the broken bits in the holes at the end of the legs: you can not actually take this out without breaking it! so be ware!
-
-





To reassemble your device, follow these instructions in reverse order.
Cancel: I did not complete this guide.
One other person completed this guide.

