Free Shipping on Domestic Orders $75+

Toast Master Blender Button Replacement

Views: 1.5K

View statistics:

Past 24 Hours:
5
Past 7 Days:
32
Past 30 Days:
157
All Time:
1,457
Comments: 0

No one has left comments on this guide. Will you be first?

Go to guide comments
Completed: 1

1 person has marked this guide "completed." Will you be next?

Favorites: 0

No one has favorited (and subscribed to) this guide. Will you be the first?

Time Required: 5 - 10 minutes
Difficulty: Moderate
Toast Master Blender Button Replacement

Introduction

Go to step 1 ↓

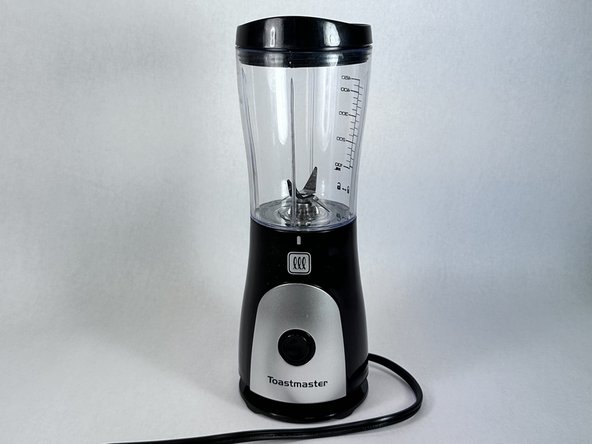
The Toastmaster blender is operated by pressing down on the blend button, in which the blender will blend its contents until the button is released. Because plastic buttons are prone to deforming and slipping out of position, a blender's buttons may become loose due to repeated use causing the button to reposition in a way that will make the appliance malfunction. Small blenders are safe and repairing the button is not a difficult procedure. In general, repairing the button requires taking the blender apart, finding the correct position of the button, and putting it back in place.

Fixing broken or jammed devices is a commonly needed repair that can extend the life of the appliance. This can prevent unnecessary disposal of appliances that are still fixable and usable. This can not only save users in terms of costs, but it is also sustainable to prevent throwing appliances and devices out when they can still be fixed and used.

What you need

    1. Toast Master Blender Button Replacement, Blender Button: step 1, image 1 of 3 Toast Master Blender Button Replacement, Blender Button: step 1, image 2 of 3 Toast Master Blender Button Replacement, Blender Button: step 1, image 3 of 3
      • Unplug the plug if connected to any outlets.

      • Take off the cap from the blender and turn the appliance upside down.

      • The blender should be standing upward stably.

      Ask FixBot

      Add Comment

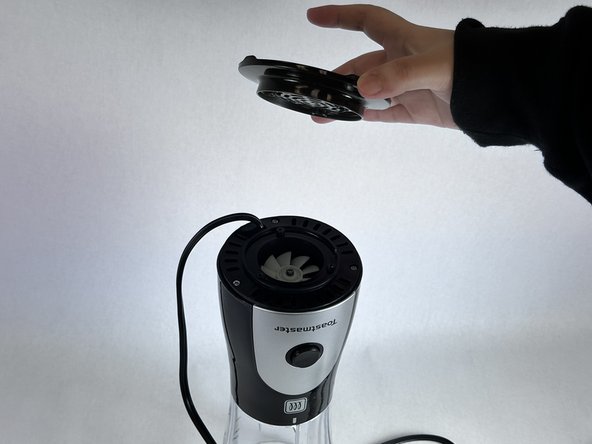
    2. Toast Master Blender Button Replacement: step 2, image 1 of 3 Toast Master Blender Button Replacement: step 2, image 2 of 3 Toast Master Blender Button Replacement: step 2, image 3 of 3
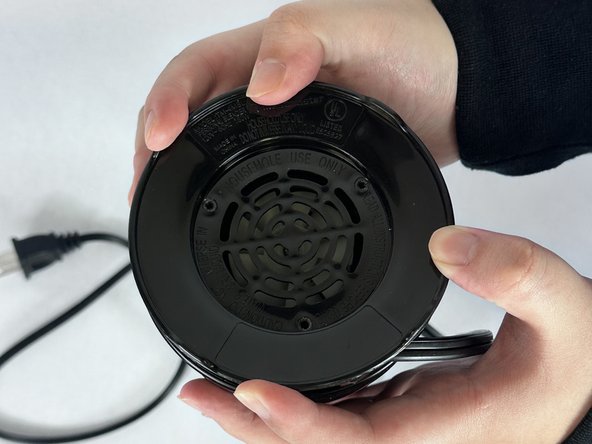
      • Use an allen wrench to remove the three screws from the bottom cover.

      Ask FixBot

      Add Comment

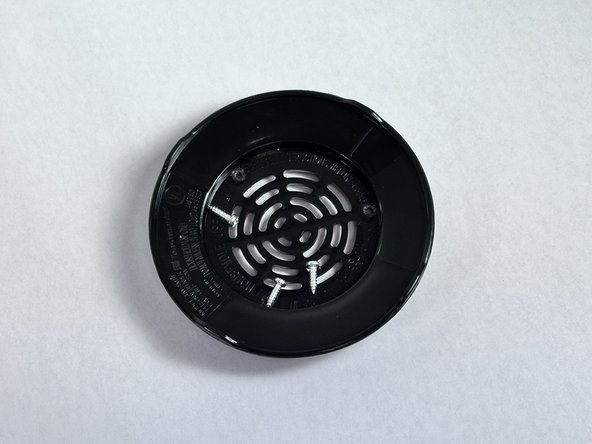
    3. Toast Master Blender Button Replacement: step 3, image 1 of 3 Toast Master Blender Button Replacement: step 3, image 2 of 3 Toast Master Blender Button Replacement: step 3, image 3 of 3
      • Take off the black blender stand.

      • Take off three silver screws.

      • Put the screws safely aside.

      Ask FixBot

      Add Comment

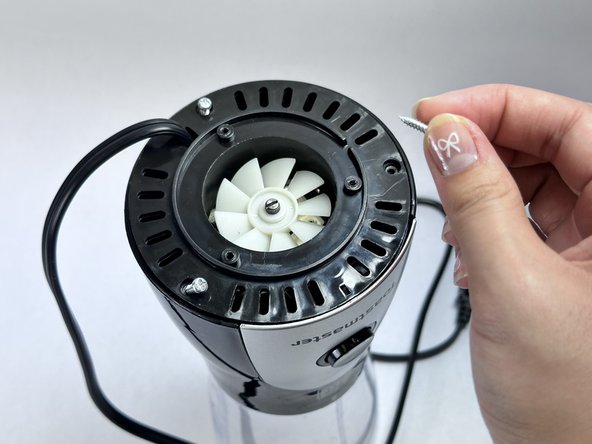
    4. Toast Master Blender Button Replacement: step 4, image 1 of 3 Toast Master Blender Button Replacement: step 4, image 2 of 3 Toast Master Blender Button Replacement: step 4, image 3 of 3
      • Use the Allen wrench to remove the three silver screws on the next level of the blender.

      Ask FixBot

      Add Comment

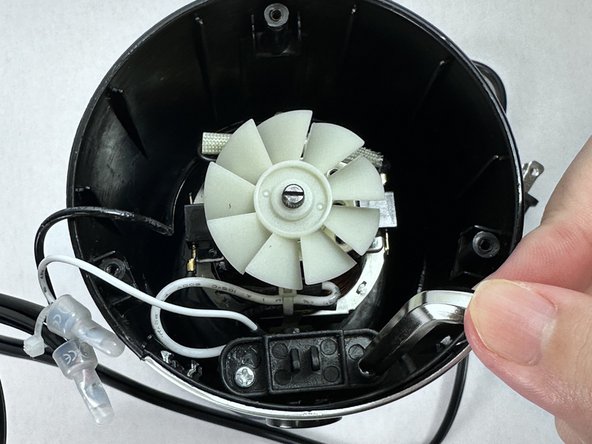
    5. Toast Master Blender Button Replacement: step 5, image 1 of 2 Toast Master Blender Button Replacement: step 5, image 2 of 2
      • Remove the black cap by lifting it upwards and gently placing it aside.

      • Do not pull hard on the wire as this may cause it to break

      Ask FixBot

      Add Comment

    6. Toast Master Blender Button Replacement: step 6, image 1 of 3 Toast Master Blender Button Replacement: step 6, image 2 of 3 Toast Master Blender Button Replacement: step 6, image 3 of 3
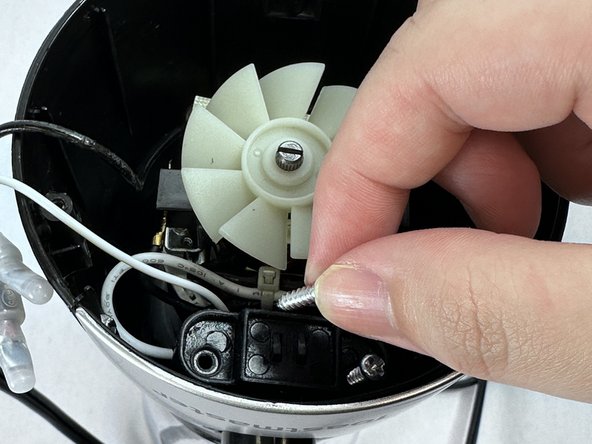
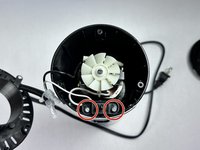
      • Looking into the internal part of the blender, identify the two silver screws near the button and unscrew them with the screwdriver.

      • Carefully remove two silver screws.

      Ask FixBot

      Add Comment

    7. Toast Master Blender Button Replacement: step 7, image 1 of 3 Toast Master Blender Button Replacement: step 7, image 2 of 3 Toast Master Blender Button Replacement: step 7, image 3 of 3
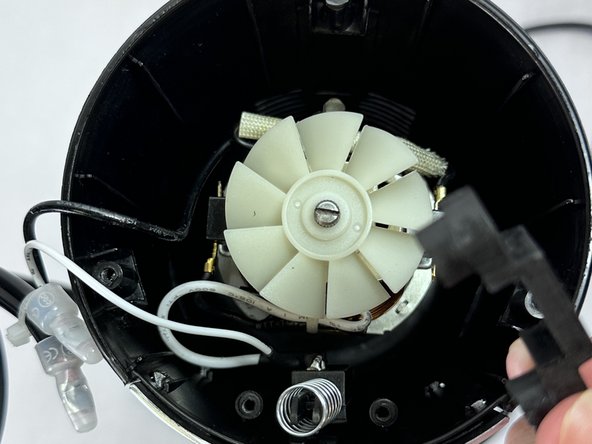
      • Take out the black piece that was attached with the screws and safely place it aside.

      Ask FixBot

      Add Comment

    8. Toast Master Blender Button Replacement: step 8, image 1 of 3 Toast Master Blender Button Replacement: step 8, image 2 of 3 Toast Master Blender Button Replacement: step 8, image 3 of 3
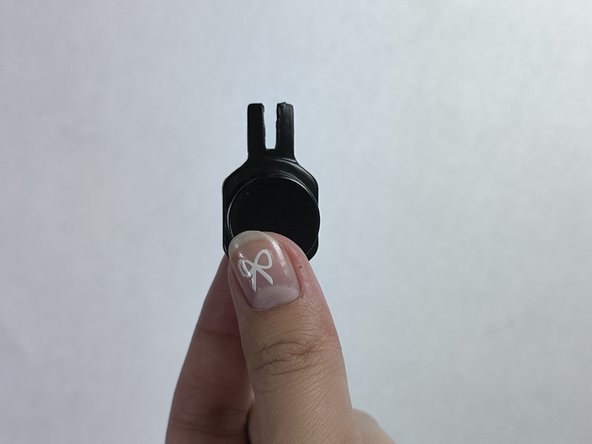
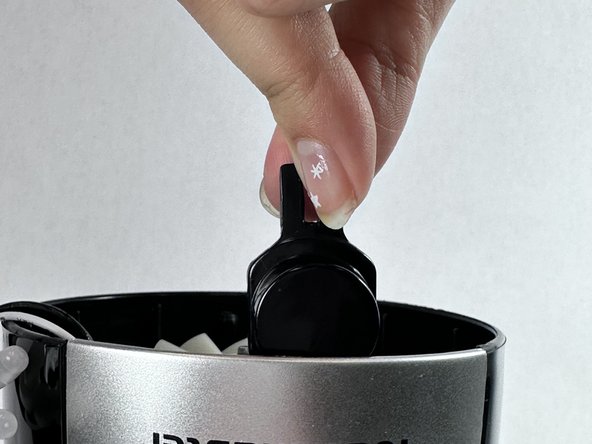
      • Take out the button from the blender.

      • This is the plastic button for Toast Master Blender. If you have a spare button, you can replace it.

      • Make sure that side is facing up and place it back into the original position.

      • The button should have a pointier side that resembles a bunny’s head.

      Ask FixBot

      Add Comment

    9. Toast Master Blender Button Replacement: step 9, image 1 of 1
      • Press the button and make sure it has a “click” sound.

      • If the button is still loose, go back to the previous step and recheck that the button is in the correct position.

      Ask FixBot

      Add Comment

    10. Toast Master Blender Button Replacement: step 10, image 1 of 3 Toast Master Blender Button Replacement: step 10, image 2 of 3 Toast Master Blender Button Replacement: step 10, image 3 of 3
      • Reassemble all the parts back, and screw all the screws back to its original place.

      • All the silver screws are the same size.

      • Make sure the black cap separates rotating paddles and wires.

      • There should be no wires wrapped around the rotating blades.

      Ask FixBot

      Add Comment

Conclusion

To reassemble your device, follow these instructions in reverse order.

Cancel: I did not complete this guide.

One other person completed this guide.

Jessica Li

Member since: 02/02/24

181 Reputation

1 Guide authored

Team

UC Davis, Team 4-8, Andersen Winter 2024 Member of UC Davis, Team 4-8, Andersen Winter 2024

UCD-ANDERSEN-W24S4G8

2 Members

12 Guides authored

0 Guide Comments

Add Comment

View Statistics:

Past 24 Hours: 5

Past 7 Days: 32

Past 30 Days: 157

All Time: 1,457