Free Shipping on Domestic Orders $75+

Titan Airless Sprayer IMPACT 410 Capacitor Replacement

What you need

    1. Titan Airless Sprayer IMPACT 410 Capacitor Replacement, Safety precautions: step 1, image 1 of 2 Titan Airless Sprayer IMPACT 410 Capacitor Replacement, Safety precautions: step 1, image 2 of 2
      • Before you begin, make sure to follow the pressure relief procedure documented in the user manual before powering down the paint sprayer and disconnecting the pump.

      • Turn off and unplug the sprayer.

      Ask FixBot
      Add Comment

    1. Titan Airless Sprayer IMPACT 410 Capacitor Replacement, Unfasten the motor cover: step 2, image 1 of 2 Titan Airless Sprayer IMPACT 410 Capacitor Replacement, Unfasten the motor cover: step 2, image 2 of 2
      • Use a Phillips driver to remove the four 12 mm-long screws (two on either side) securing the motor cover.

      Ask FixBot
      Add Comment

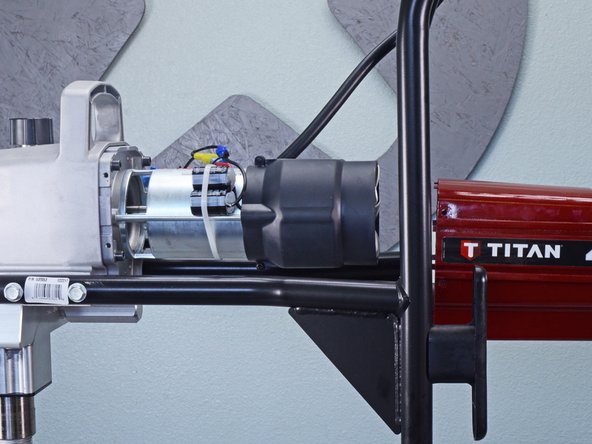
    2. Titan Airless Sprayer IMPACT 410 Capacitor Replacement, Remove the motor cover: step 3, image 1 of 3 Titan Airless Sprayer IMPACT 410 Capacitor Replacement, Remove the motor cover: step 3, image 2 of 3 Titan Airless Sprayer IMPACT 410 Capacitor Replacement, Remove the motor cover: step 3, image 3 of 3
      • Pull the motor cover straight off the motor.

      Ask FixBot

      Add Comment

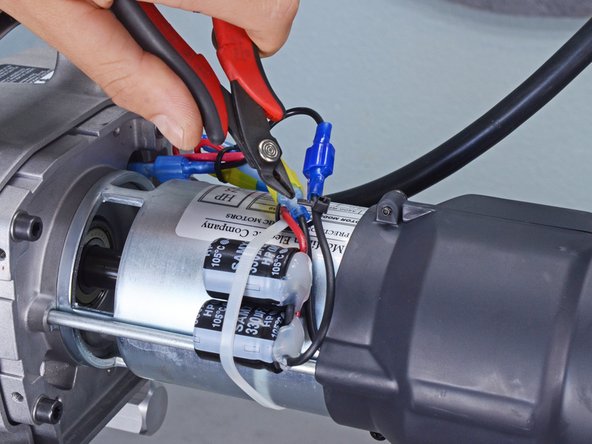
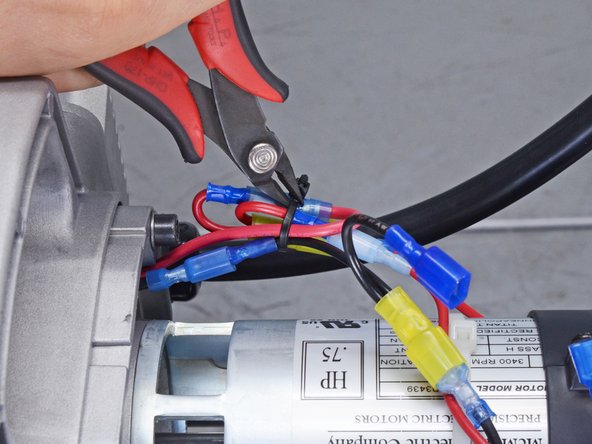
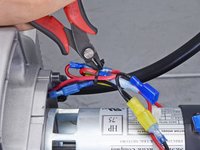
    3. Titan Airless Sprayer IMPACT 410 Capacitor Replacement, Isolate the capacitor wires: step 4, image 1 of 3 Titan Airless Sprayer IMPACT 410 Capacitor Replacement, Isolate the capacitor wires: step 4, image 2 of 3 Titan Airless Sprayer IMPACT 410 Capacitor Replacement, Isolate the capacitor wires: step 4, image 3 of 3
      • Use diagonal cutters, or scissors, to cut the two cable ties bundling the capacitor's positive and negative wires.

      • During reassembly, replace the cable ties.

      Ask FixBot

      Add Comment

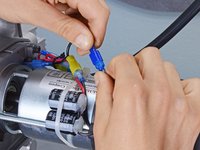
    4. Titan Airless Sprayer IMPACT 410 Capacitor Replacement, Disconnect the negative wire: step 5, image 1 of 2 Titan Airless Sprayer IMPACT 410 Capacitor Replacement, Disconnect the negative wire: step 5, image 2 of 2
      • Disconnect the black negative wire's spade connector.

      • Always grip cables by their connectors and not the wires themselves.

      Ask FixBot
      Add Comment

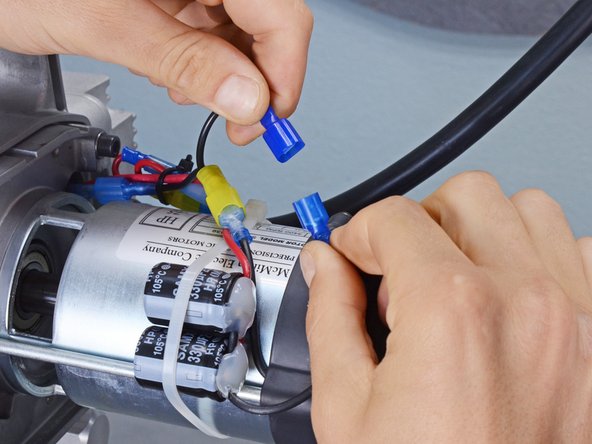
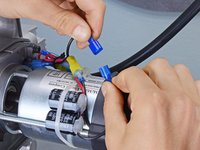
    5. Titan Airless Sprayer IMPACT 410 Capacitor Replacement, Disconnect the positive wire: step 6, image 1 of 2 Titan Airless Sprayer IMPACT 410 Capacitor Replacement, Disconnect the positive wire: step 6, image 2 of 2
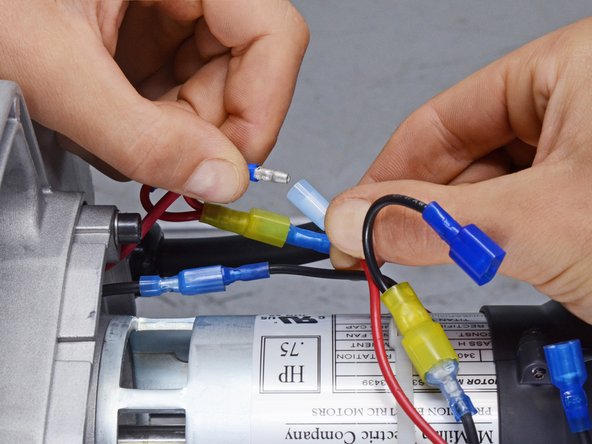
      • Disconnect the red positive wire's bullet connector.

      • Always grip cables by their connectors and not the wires themselves.

      Ask FixBot
      Add Comment

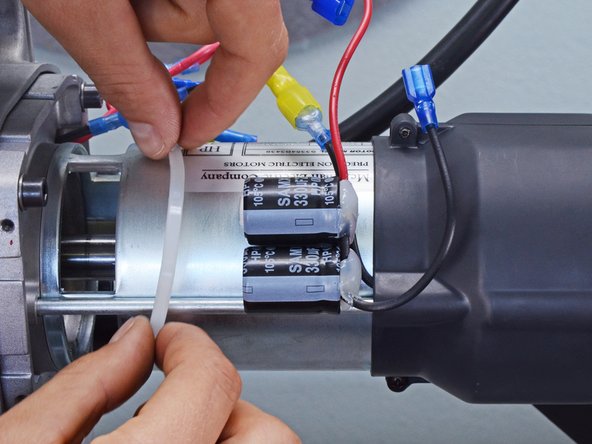
    6. Titan Airless Sprayer IMPACT 410 Capacitor Replacement, Isolate the capacitor: step 7, image 1 of 3 Titan Airless Sprayer IMPACT 410 Capacitor Replacement, Isolate the capacitor: step 7, image 2 of 3 Titan Airless Sprayer IMPACT 410 Capacitor Replacement, Isolate the capacitor: step 7, image 3 of 3
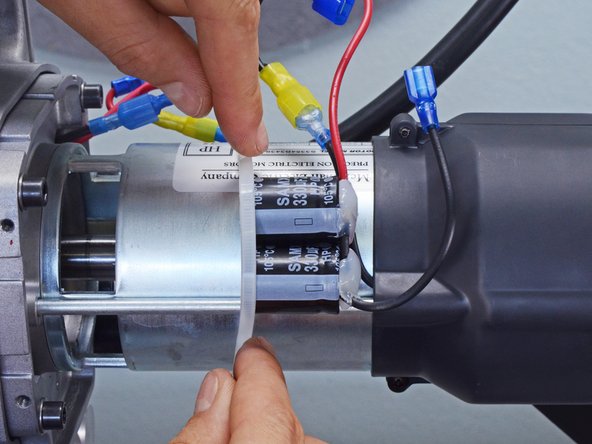
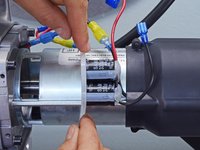
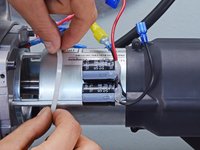
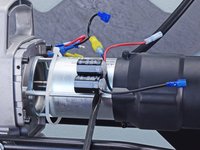
      • Grip the cable tie and slide it off the capacitors.

      Ask FixBot
      Add Comment

    7. Titan Airless Sprayer IMPACT 410 Capacitor Replacement, Discharge the capacitors: step 8, image 1 of 1
      • If you have already discharged the capacitors, skip this step.

      • Follow this guide to discharge your capacitors.

      Ask FixBot

      Add Comment

    8. Titan Airless Sprayer IMPACT 410 Capacitor Replacement, Remove the capacitors: step 9, image 1 of 2 Titan Airless Sprayer IMPACT 410 Capacitor Replacement, Remove the capacitors: step 9, image 2 of 2
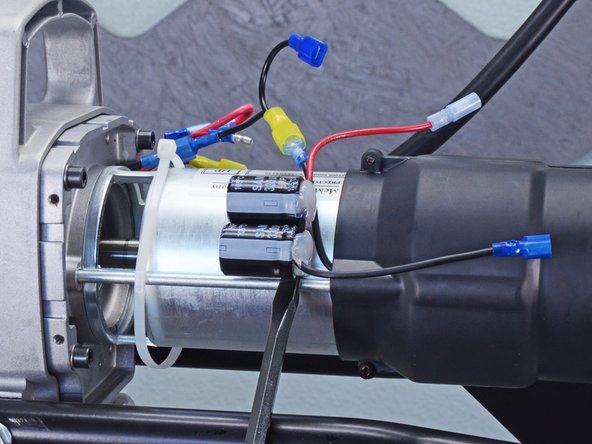
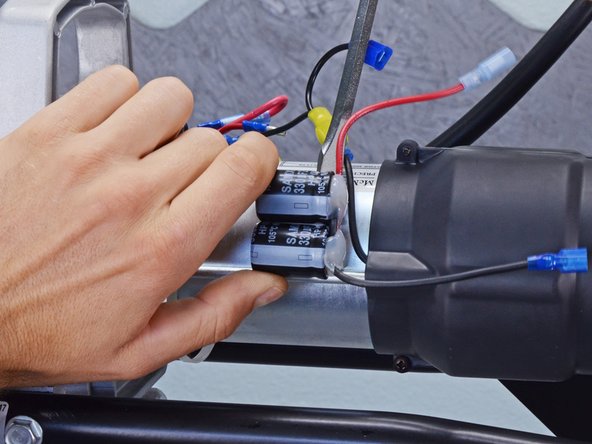
      • The capacitors are lightly adhered to the motor body.

      • Insert a flathead screwdriver underneath the capacitors, between the bottom cell and the adhesive.

      • Pry up to separate the bottom cell from the motor body.

      Ask FixBot
      Add Comment

    9. Titan Airless Sprayer IMPACT 410 Capacitor Replacement: step 10, image 1 of 3 Titan Airless Sprayer IMPACT 410 Capacitor Replacement: step 10, image 2 of 3 Titan Airless Sprayer IMPACT 410 Capacitor Replacement: step 10, image 3 of 3
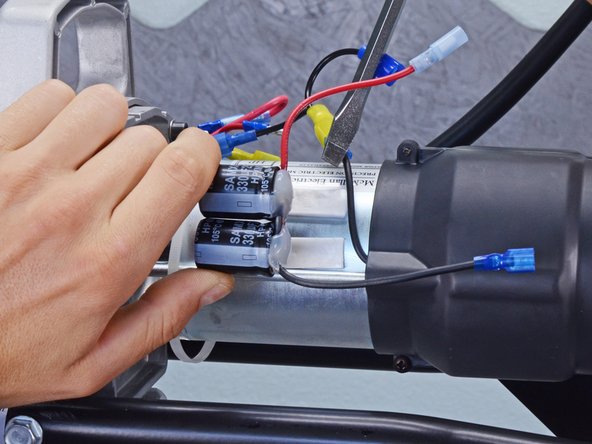
      • Insert a flathead screwdriver underneath the capacitors, between the top cell and the adhesive.

      • Pry up to separate the rest of the capacitor from the motor body.

      • Remove the capacitor.

      • During reassembly, if the adhesive is no longer sticky, replace it with double-sided foam adhesive.

      Ask FixBot
      Add Comment
Conclusion

To reassemble your device, follow these instructions in reverse order.

Cancel: I did not complete this guide.

One other person completed this guide.

Alex Diaz-Kokaisl

Member since: 01/16/22

247,513 Reputation

1,203 Guides authored

Team

iFixit Member of iFixit

Staff

123 Members

79,700 Guides authored

0 Guide Comments

Add Comment

View Statistics:

Past 24 Hours: 0

Past 7 Days: 7

Past 30 Days: 34

All Time: 996