Introduction
In this guide we will show the steps required to replace the AA batteries installed in the device. You will have to remove the back cover before doing starting this guide
What you need
-
-
-
Grab the back of the calculator with one hand and the cover with the other.
-
Pull the cover off from one of the sides for easy removal.
 Ask FixBot
-
-
-
Orientate the calculator with the top facing towards you.
-
Slide the locking tab,found on the top part of the calculator, to the unlock position.
-
-
-
-
"Locking Tab"
-
To remove the back cover, slide the cover away from the locking tab towards the bottom of the calculator until the cover no longer slides.
-
Then with the front of the calculator facing down, pull up on the back cover.
-
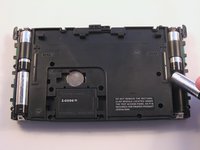
The calculator should now be orientated with the front facing down, as shown in picture 2.
-
-
-
-
-
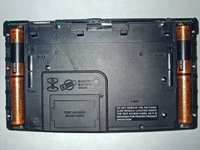
Remove the bottom batteries by pressing the battery towards you while pulling it out from the far end.
-
After the bottom battery has been removed push or slide the other(top) battery towards you until it is fully exposed in the battery slot.
-
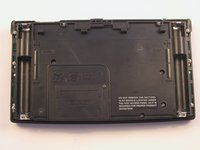
Now simply remove the battery.
-
-






To reassemble your device, follow these instructions in reverse order.
Cancel: I did not complete this guide.
4 other people completed this guide.

Team

Cal Poly, Team 15-51, Garner Spring 2010 Member of Cal Poly, Team 15-51, Garner Spring 2010
CPSU-GARNER-S10S15G51
5 Members
108 Guides authored
